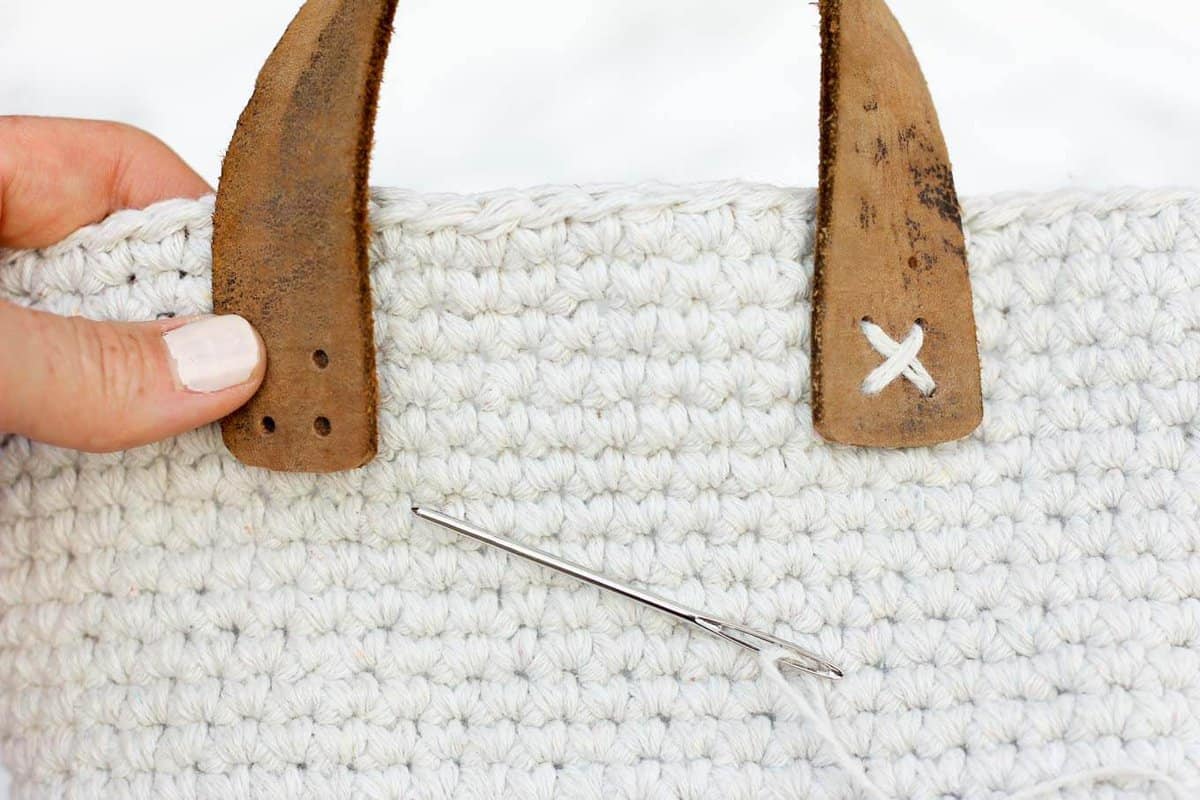
A handmade laundry hamper has to do more than look pretty. It needs a base that sits flat, walls that stay upright, handles you can actually grab, and stitches dense enough that the whole basket does not collapse the moment you put a towel inside.
That is exactly what this crochet laundry hamper pattern is designed to teach.
Instead of asking you to memorize a long sequence of increasingly large rounds, this tutorial uses a simple construction formula: crochet a flat circular base until it reaches the diameter you want, create a defined corner, then stop increasing and build the sides straight upward. Near the top, you will make two integrated handle openings and reinforce the rim.
The result is an adaptable storage hamper that can be made smaller for toys and yarn or taller for bathroom and bedroom laundry.
The project uses mostly single crochet, so an advanced stitch vocabulary is not required. What matters more is maintaining consistent tension and understanding where each round begins.
The basic bottom-up construction is also commonly used in professional crochet basket patterns. For example, Joy of Motion describes its laundry basket as beginning with an increased circular base, followed by a transition and straight sides. Our version below uses a newly written construction and different handle method rather than reproducing that pattern.
What You’ll Learn
By making this hamper, you will practice:
- Starting crochet in the round with a magic ring
- Increasing a flat single crochet circle
- Reading the shape of a crochet circle
- Preventing a basket base from ruffling or cupping
- Working in continuous spiral rounds
- Using BLO stitches to create a firm base edge
- Crocheting tall straight basket walls
- Checking and correcting stitch counts
- Positioning handles evenly
- Making integrated crochet handle openings
- Reinforcing the top rim
- Weaving in bulky yarn securely
- Adjusting the project to different sizes
Materials You’ll Need
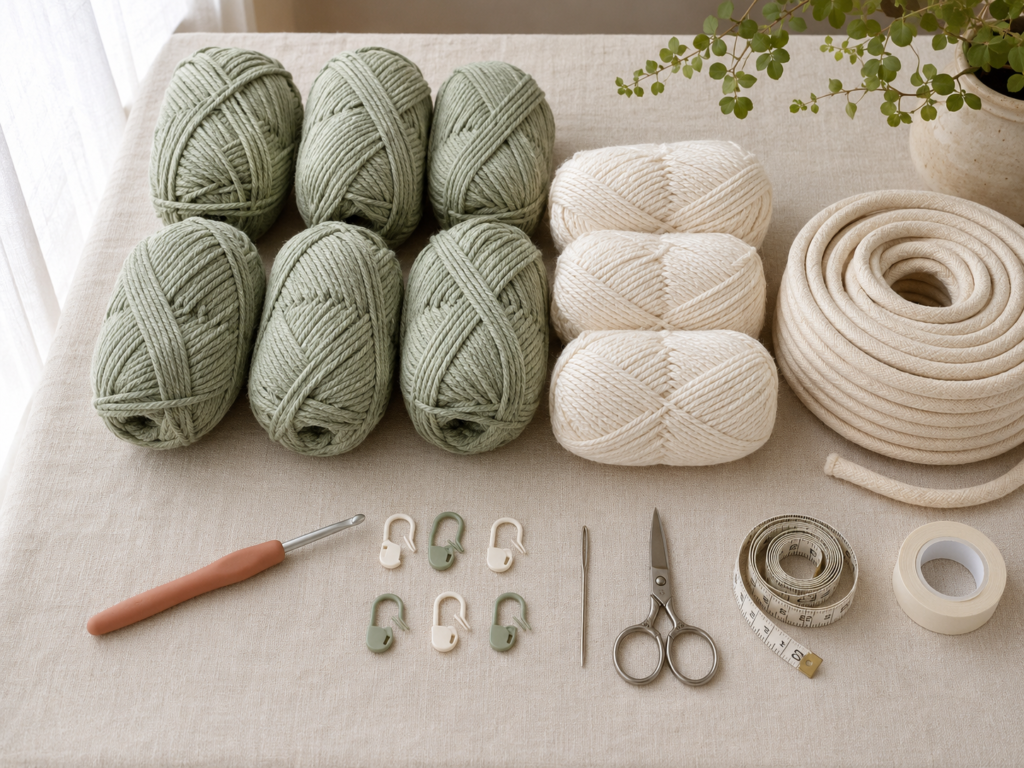
For a medium-to-large household hamper, gather:
- Approximately 1,000–1,300 g of firm bulky cotton tube or ribbon yarn
- 8 mm crochet hook
- 4 locking stitch markers
- Tapestry needle with an eye large enough for your yarn
- Sharp scissors
- Flexible measuring tape
- Optional removable marker or scrap yarn for tracking increase points
Cotton and cotton-rich tube yarns are useful here because the goal is structure rather than soft drape. Avoid choosing your yarn only by the number printed on the label: yarns within one weight category are not automatically interchangeable, and the Craft Yarn Council recommends checking gauge and fabric behavior when substituting.
Crochet Abbreviations Used
This tutorial uses US crochet terms.
- ch = chain
- sc = single crochet
- sl st = slip stitch
- st/sts = stitch/stitches
- inc = increase; work 2 sc in the same stitch
- BLO = back loop only
- rnd = round
- rep = repeat
- PM = place marker
These abbreviations follow common US crochet notation. The Craft Yarn Council’s abbreviation standards also list forms such as ch, sc, sl st, rep, rnd, and stitch-marker abbreviations.
A terminology warning for international readers: US single crochet is called double crochet in UK terminology, so check which terminology a crochet pattern uses before starting.
Before You Start
Gauge and tension
This is not a fitted garment, so matching an exact gauge is less important than producing the correct fabric.
Your stitches should be firm enough that:
- the base does not feel floppy,
- large gaps do not appear between stitches,
- the walls can stand when the hamper is empty,
- but inserting the hook is still comfortable.
Make a small swatch if you are unsure.
If the fabric feels loose and soft, try a smaller hook. If crocheting feels painful or you cannot insert the hook easily, increase the hook size slightly.
The Craft Yarn Council recommends comparing a gauge swatch with the project requirements and changing hook size when necessary.
How to count continuous rounds
This hamper is worked mostly in a spiral.
That means there is no slip stitch closing every round.
Place a marker in the first stitch of every new round and move it upward each time you reach it.
Do not rely on visual memory. A marker prevents one of the most common basket problems: accidentally adding or losing stitches at the beginning of a round.
How large should the base be?
For a practical bedroom laundry hamper, aim for approximately:
16–18 inches / 41–46 cm across
The exact diameter is flexible.
Stop increasing earlier for a narrow hamper. Continue longer for a wide family-size basket.
Finished size
The sample proportions in this tutorial are approximately:
- Base diameter: 17 in / 43 cm
- Height: 20 in / 51 cm
- Handle width: approximately 4–5 in / 10–13 cm
Because yarn thickness and crochet tension vary, treat these dimensions as targets rather than absolute specifications.
Step-by-Step Crochet Tutorial
Step 1: Start the Circular Base
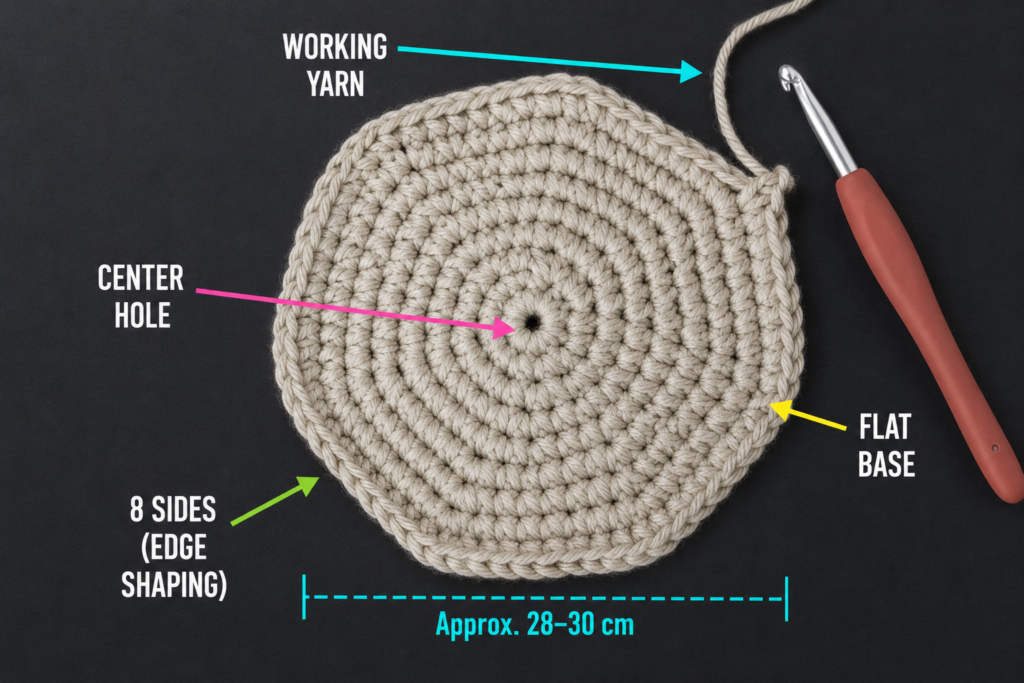
Make a magic ring.
Work 8 single crochet stitches into the ring.
Pull the ring closed carefully but do not over-tighten it until you are sure all eight stitches are present.
Place your marker in the first stitch.
For the next round, work 2 sc in each stitch.
You now have a small circle with twice as many stitches as you started with.
From here, the general idea is simple: each increase round adds another group of evenly spaced stitches around the circle.
Beginner tip:
If you struggle to identify the first stitch, place the marker in it immediately after crocheting it rather than waiting until the round is finished.
Common mistake to avoid:
Do not accidentally work into the slip knot or center ring as though it were another stitch.
Step 2: Continue Increasing Until the Base Is Wide Enough
The easiest way to understand a single crochet circle is as a growing spacing pattern.
After your first two rounds, continue like this conceptually:
- one regular stitch between increases,
- then two regular stitches between increases,
- then three,
- then four,
- and so on.
Instead of thinking, “I need to memorize Round 12,” think:
Each new increase round puts one additional normal single crochet between each pair of increases.
Keep the increases distributed evenly.
As the base becomes larger, periodically place it flat on the table.
A correct base should rest naturally without forcing it.
If the base starts ruffling
Ruffling means the circumference is growing faster than the center can support.
Try working one round without increasing before continuing.
If the base begins forming a bowl
Cupping means there is not enough circumference.
Check first for missed increases or an incorrect stitch count.
If your count is correct but the circle still cups strongly, your tension may be tighter than expected.
Continue until the circle measures approximately 17 inches / 43 cm across for the sample size.
Beginner tip:
Move the location of your increases slightly from one round to another instead of stacking every increase directly above the previous one. This can make the base look rounder rather than polygonal.
Common mistake to avoid:
Do not judge diameter while the base is stretched. Lay it relaxed and flat before measuring.
Step 3: Create the Corner Between the Base and Sides
Once the base reaches the diameter you want, stop increasing.
Now work one entire round of single crochet through the back loop only.
When looking at the top of a crochet stitch, you normally see a small V.
The strand of that V farther away from you is the back loop.
Insert the hook under only that strand and complete your single crochet normally.
Continue BLO single crochet around the entire base.
This creates a visible horizontal ridge and encourages the following rounds to turn upward rather than continuing outward.
After the BLO round, return to working through both loops.
Beginner tip:
Fold the wall upward gently with your fingers after completing several inches. You should see a clean ridge around the bottom.
Common mistake to avoid:
Do not continue increasing once you begin the wall. Even a few accidental increases can make the hamper flare outward.
Step 4: Crochet the Straight Hamper Walls
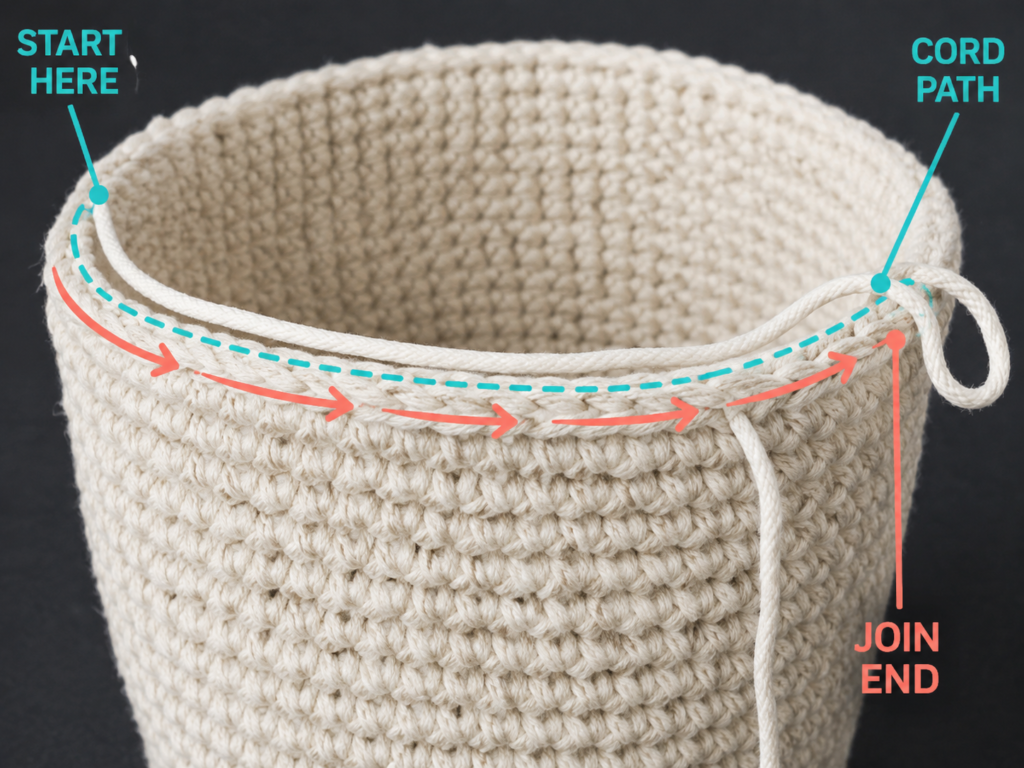
From now on, work one sc into every stitch.
No increases.
No decreases.
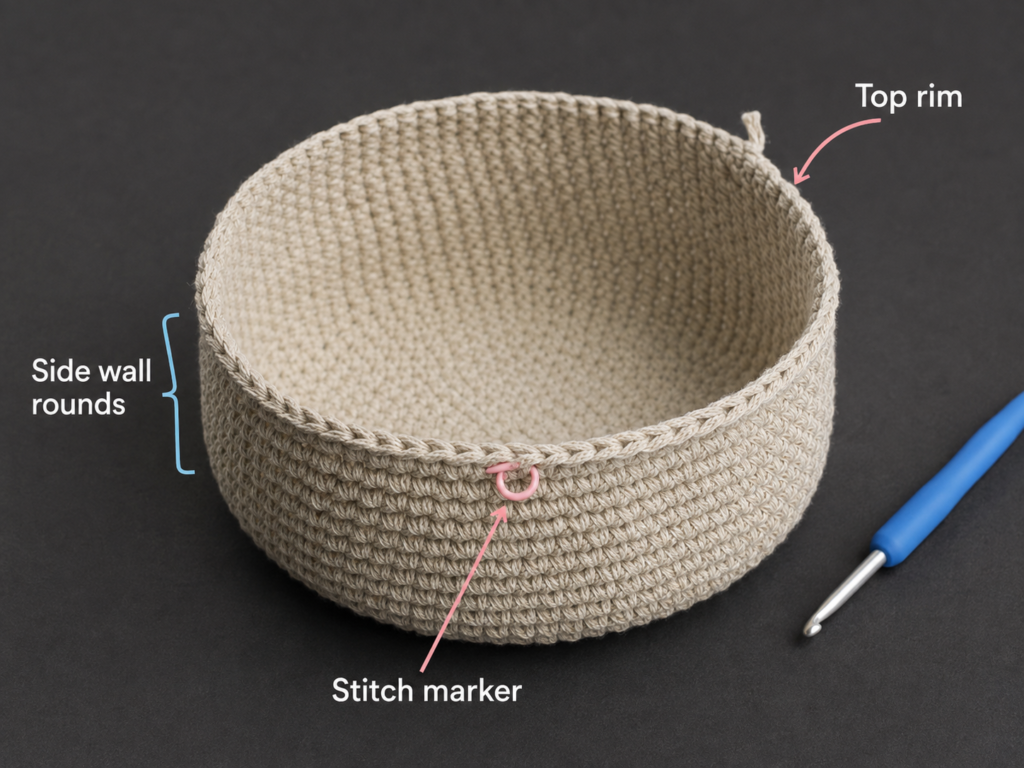
Continue moving the stitch marker at the beginning of each round.
After the first few wall rounds, your project may look more like a shallow bowl than a basket. That is normal.
As more rounds are added, the weight and density of the fabric help the sides become more vertical.
Pause every few inches and count your stitches.
Your stitch count should remain the same as the final circumference of the base.
If you began the wall with 120 stitches, for example, every regular side round should still contain 120 stitches.
The exact number does not matter nearly as much as keeping it consistent.
Work until the hamper is approximately 16–17 inches tall from the base before beginning the handle section.
Beginner tip:
Rotate the hamper occasionally and look at it from several angles. Spotting a flare or indentation early is easier than fixing it ten rounds later.
Common mistake to avoid:
The stitch immediately beside your marker is easy to skip. Count periodically instead of waiting until the top of the hamper.
Step 5: Check the Structure Before Making the Handles
Set the hamper on a flat floor or table.
Do not stuff it with towels yet.
You want to see how it behaves unsupported.
Check three things.
First: Is the bottom flat?
A slight curve is acceptable, but the hamper should not rock badly.
Second: Are the walls approximately vertical?
Minor softness is normal in crochet. Severe flaring generally indicates accidental increases.
Third: Is the rim level?
Place your measuring tape at four points around the basket and compare the height.
If one section is noticeably taller, inspect that area for missed or extra stitches.
You can add another regular round if you want the handles positioned higher.
Beginner tip:
Measure now. Once the handles are added, changing the overall height becomes less convenient.
Step 6: Mark Two Even Handle Openings
Lay the hamper so you can identify two opposite sides.
Flatten only the upper few inches gently; do not crease the base.
Decide where the first handle should sit.
Place one stitch marker at the left edge of the future opening and another at the right edge.
A comfortable handle opening is usually around 4–5 inches / 10–13 cm wide.
Now locate the exact opposite side of the hamper and repeat.
Count the stitches between the markers on both sides.
The two handle sections should contain the same number.
Also count the stitches between the first handle and second handle on each side. These two sections should be as equal as possible.
This symmetry matters because uneven handle placement can make the hamper twist when lifted.
Beginner tip:
Do not rely on eyesight alone. Count the stitches.
Common mistake to avoid:
Do not make the opening extremely wide. Large handles reduce support at the rim.
Step 7: Crochet the Handle Openings
Crochet normally until you reach the first handle marker.
Instead of crocheting into the stitches between the two markers, chain across the gap.
Make enough chain stitches for the chain to span the marked section without pulling tightly.
A useful rule is to chain approximately the same number of stitches you are skipping, then check the physical size of the opening.
Skip the marked stitches.
Insert the hook into the first stitch after the second marker and continue single crocheting.
Work around until you reach the second handle.
Repeat exactly the same process.
When the round is complete, you should have two matching chain bridges.
Do not worry if they look thin. The next rounds will reinforce them.
Beginner tip:
Before continuing, put your hand through each opening. It is much easier to change the chain now than after reinforcing it.
Common mistake to avoid:
Do not pull the handle chains tightly. A tight chain can gather the entire top edge.
Step 8: Reinforce the Handles and Top Rim
On the next round, single crochet normally until you reach a chain-space handle.
Work single crochet stitches around the chain, rather than trying to locate each individual chain loop if the thick yarn makes them difficult to see.
Distribute enough stitches across the opening that the handle lies flat without gathering or flaring.
Repeat at the second opening.
Complete the round.
Then work another full round of single crochet around the entire top edge, including the stitches above both handles.
If your yarn is relatively soft, add one additional reinforcement round.
The rim should now feel noticeably stronger.
You can finish with a final round of slip stitches for an especially compact edge, but do not pull the slip stitches too tightly.
Beginner tip:
Try carrying the empty hamper before fastening off. If the handle stretches more than you like, one extra reinforcement round can make a significant difference.
Common mistake to avoid:
Do not pack excessive stitches into the chain space. Too many stitches make the handle flare outward.
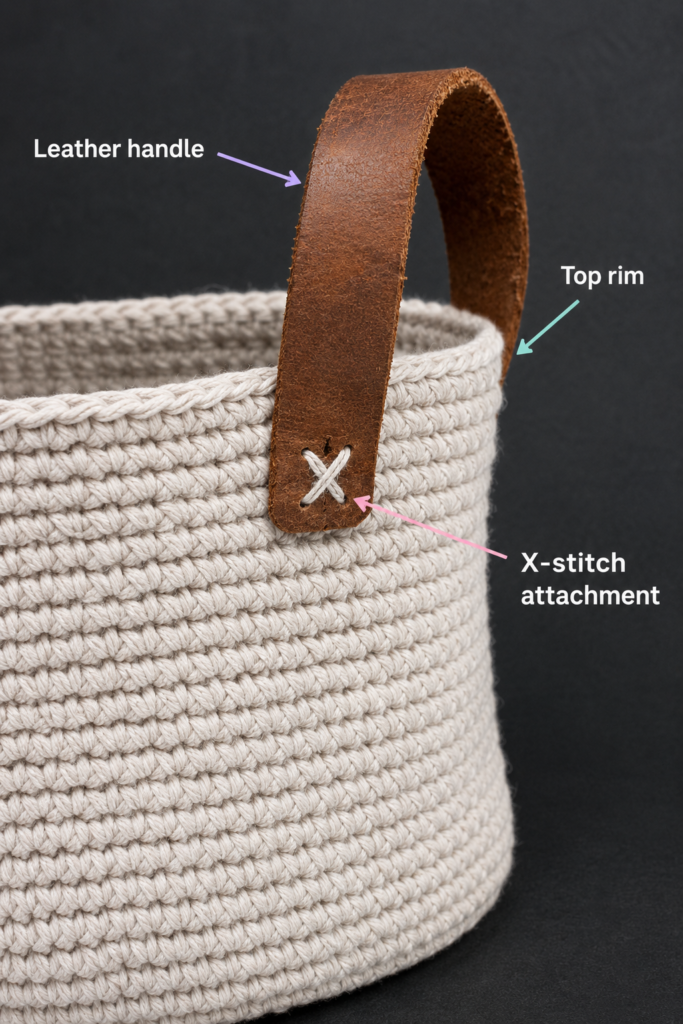
Pattern Notes or Stitch Notes
Continuous rounds
The base and sides are primarily worked as a spiral.
Do not join after every round unless specifically choosing a joined-round variation.
Keep a marker in the first stitch.
Turning chains
There are no turning chains because you are not turning the work.
Stitch count
Once the base is complete, the stitch count should remain constant until the handle round.
If the circumference grows, an accidental increase has probably been added.
If it shrinks, you probably skipped a stitch.
Right side and wrong side
Keep the right side facing outward while working the walls.
If you prefer the texture of the opposite side, you can turn the basket before starting the straight-wall section, but do so intentionally and keep that orientation consistent.
Size adjustment
This pattern is intentionally formula based:
Wider hamper: Increase the base for additional rounds.
Narrower hamper: Stop increasing sooner.
Taller hamper: Add more straight wall rounds.
Short storage basket: Stop the sides early.
This makes the same construction useful for toy baskets, blanket baskets, bathroom storage, yarn storage, and nursery organizers.
Common Beginner Mistakes
1. The base becomes wavy
Cause: Too many increases.
Fix: Check your stitch count. If the count is correct but the circle still ruffles, work a plain round without increasing and reassess.
2. The base turns into a bowl too early
Cause: Too few increases, very tight tension, or skipped stitches.
Fix: Count the round carefully before adding extra increases.
3. The walls flare outward
Cause: Accidental increases after the base was finished.
Fix: Count the current round against the first side round. Remove any added stitches gradually or unravel to the error if the flare is severe.
4. The hamper is floppy
The source tutorial’s comments also illustrate how yarn firmness and gauge influence basket structure; its designer recommends checking gauge and potentially using a smaller hook when the finished basket is too floppy.
Fix: For your project, try a firmer yarn, tighter tension, or a slightly smaller hook. You can also add a removable fabric liner or flexible basket insert after completion.
5. The sides lean
Cause: Irregular tension or inconsistent stitch count.
Fix: Place the hamper on a flat surface every several rounds and inspect it from all directions.
6. One handle is larger
Cause: Different skipped-stitch or chain counts.
Fix: Write down the numbers used for the first handle and repeat them exactly for the second.
7. The handle openings stretch too much
Cause: Insufficient reinforcement or yarn with excessive elasticity.
Fix: Add another tight single crochet round around the rim and handles.
How to Customize This Crochet Project
Change the color
A laundry hamper looks especially polished in a single neutral or muted shade because the texture remains the visual focus.
Good choices include:
- dusty sage,
- warm ivory,
- oatmeal,
- clay,
- charcoal,
- muted navy.
For a color-blocked version, crochet the base and lower third in a darker shade, then change color for the upper walls.
Make a striped hamper
Wide stripes work better than many thin ones on a large project.
Try three broad sections:
- darker base,
- lighter center,
- darker rim.
Change the size
The base determines the width.
The number of plain rounds determines the height.
This means the same tutorial can make:
- small bathroom basket,
- toy basket,
- yarn storage basket,
- blanket basket,
- nursery hamper,
- full-size laundry hamper.
Add more texture
Confident beginners can substitute selected wall rounds with:
- BLO single crochet,
- waistcoat stitch,
- alternating front/back loop texture,
- spike stitches.
Keep the base and handles dense.
A laundry hamper is primarily structural, so very open lace stitches are less suitable.
Add a fabric liner
A removable cotton liner can prevent delicate clothing from catching on textured yarn and makes the inside easier to wash.
Make the liner slightly larger than the internal dimensions so it does not pull against the crochet walls.
Gift ideas
A handmade hamper can become part of a larger gift:
- baby shower hamper filled with blankets,
- housewarming hamper with towels,
- dorm-room laundry basket,
- crochet-lover storage basket filled with yarn,
- bathroom hamper paired with handmade washcloths.
Finishing Instructions
When the final reinforcement round looks even, finish with a slip stitch.
Cut the yarn leaving a tail approximately 8–10 inches long.
Pull the tail completely through the final loop.
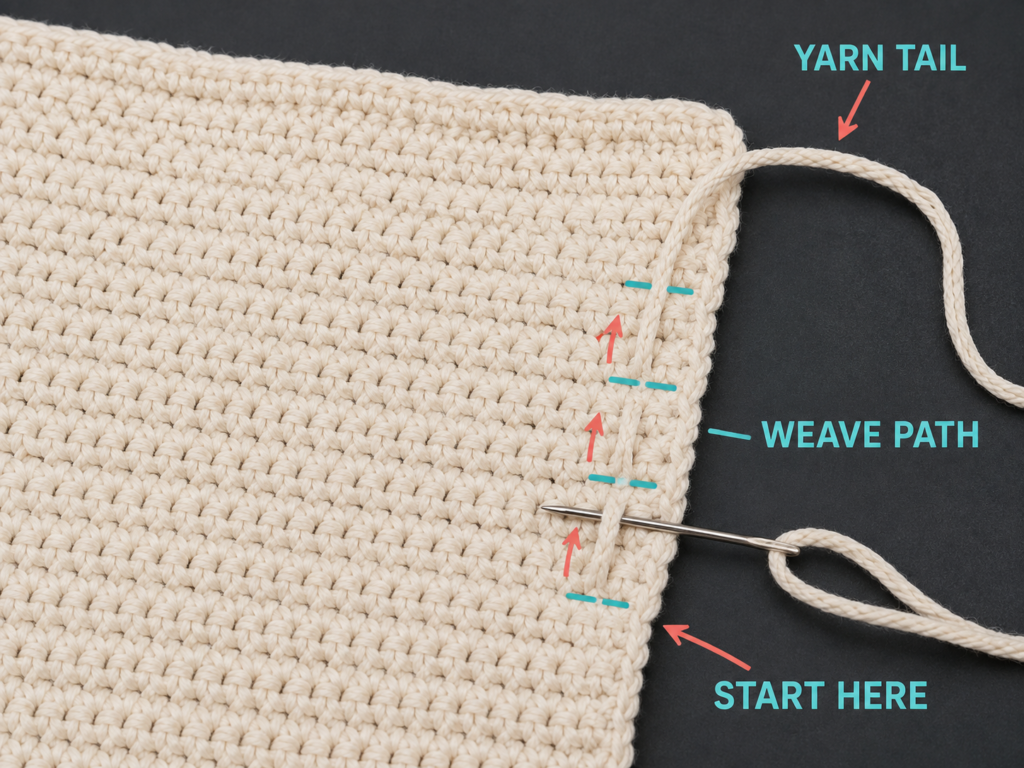
Thread the yarn onto a tapestry needle.
Rather than weaving the tail in only one direction, pass it through several dense stitches on the inside of the rim, reverse direction, and weave through another section.
Trim only after the end feels secure.
Do the same with the starting tail at the center of the base.
[IMAGE SLOT 10]
Source page URL:
https://makeanddocrew.com/twine-leather-free-crochet-basket-pattern/
Reference image URL only — do not republish unless you own rights:
https://makeanddocrew.com/wp-content/uploads/2016/06/Twine-Leather-Free-Crochet-Basket-Pattern-10.jpg
Consistency note: Same basket texture; original generated image will show end weaving rather than leather attachment.
Midjourney prompt: Use Image Plan — Image 10.
Alt text: Weaving in the final yarn end inside a crochet hamper rim.
Suggested file name: crochet-hamper-weave-in-ends.jpg
Shaping
Place the finished hamper on a flat surface.
Use your hands to:
- press the base outward,
- straighten the walls,
- reshape the handle openings,
- level the top rim.
You can temporarily fill the hamper with folded towels to encourage the walls into their final position.
Blocking
Traditional wet blocking is usually unnecessary for a structural basket.
If the yarn manufacturer permits it, lightly dampening and reshaping the project may help settle the stitches.
Avoid aggressively stretching the fabric because that can make the walls softer.
Washing and care
Always check the yarn label first.
Heavy cotton crochet becomes substantially heavier when wet, so support the basket rather than hanging it by the handles while saturated.
Reshape while drying.
Avoid high heat unless your specific yarn’s care instructions allow it.
Quick Printable-Style Summary
Skill level: Easy / confident beginner
Construction: Bottom-up, seamless, worked mainly in continuous rounds
Suggested yarn: Bulky cotton tube or ribbon yarn
Suggested hook: 8 mm
Main stitches: Magic ring, single crochet, sc increase, BLO single crochet, chain, slip stitch
Starting method: Magic ring with 8 sc
Base: Increase evenly until approximately 17 in / 43 cm diameter
Transition: One BLO single crochet round with no increases
Sides: Single crochet evenly with no increases until approximately 16–17 in / 41–43 cm high before handle section
Handles: Mark equal openings on opposite sides, chain across skipped stitches, then reinforce on following rounds
Finished target size: Approximately 17 in wide × 20 in high
Finishing: Reinforce rim, slip stitch, fasten off, weave in ends, hand-shape
FAQ
What is the best yarn for a crochet laundry hamper?
A firm, low-stretch bulky cotton yarn is one of the easiest options because it creates dense stitches without requiring several thin strands held together.
Ribbon yarn, tube yarn, and certain rope-style yarns can also work.
Whichever yarn you choose, test the fabric before committing to a full hamper.
How do I make my crochet basket stiff?
The three biggest factors are yarn firmness, hook size, and tension.
Use a structurally firm yarn and a hook that produces dense stitches.
If the basket feels too loose, reduce the hook size gradually rather than suddenly crocheting extremely tightly.
Can I use acrylic yarn?
Technically yes, but many acrylic yarns are softer and more elastic than ideal basket materials.
If you use acrylic, consider holding multiple strands together and testing a small basket first.
How much yarn does a crochet laundry hamper need?
Large hampers consume considerably more yarn than ordinary baskets.
For the sample proportions in this tutorial, planning for roughly 1,000–1,300 grams of bulky yarn gives a practical starting range, but actual usage depends heavily on yarn density, meterage, gauge, base diameter, and final height.
Buying an extra skein is safer than discovering near the rim that your color lot has sold out.
How can I make the hamper larger?
Continue increasing the circular base until it reaches your preferred diameter.
After that, stop increasing and work straight upward.
To make it taller, simply add more side rounds before creating the handles.
Why is my crochet circle becoming hexagonal or octagonal?
Increase points stacked directly above one another can create visible corners.
Staggering the location of the increases on some rounds helps create a visually smoother circle.
The shape usually becomes less obvious once the basket is filled.
Should a crochet laundry hamper be lined?
A liner is optional.
Crochet alone works well for ordinary clothes and towels, but a removable fabric liner is useful if you plan to store delicate clothing, want a washable interior, or prefer a more structured finish.
Conclusion
A good crochet laundry hamper is really a lesson in controlled shaping.
First you encourage the fabric to expand into a flat circle. Then you deliberately stop that expansion. From that point forward, the same simple stitch begins building height instead of width.
Once you understand that change, large crochet baskets become much less intimidating.
Take your time with the base, count your stitches periodically, and check the project on a flat surface while you work. Those three habits matter more than crocheting quickly.
When the hamper is finished, the same construction can be scaled down for practically any storage basket you need.