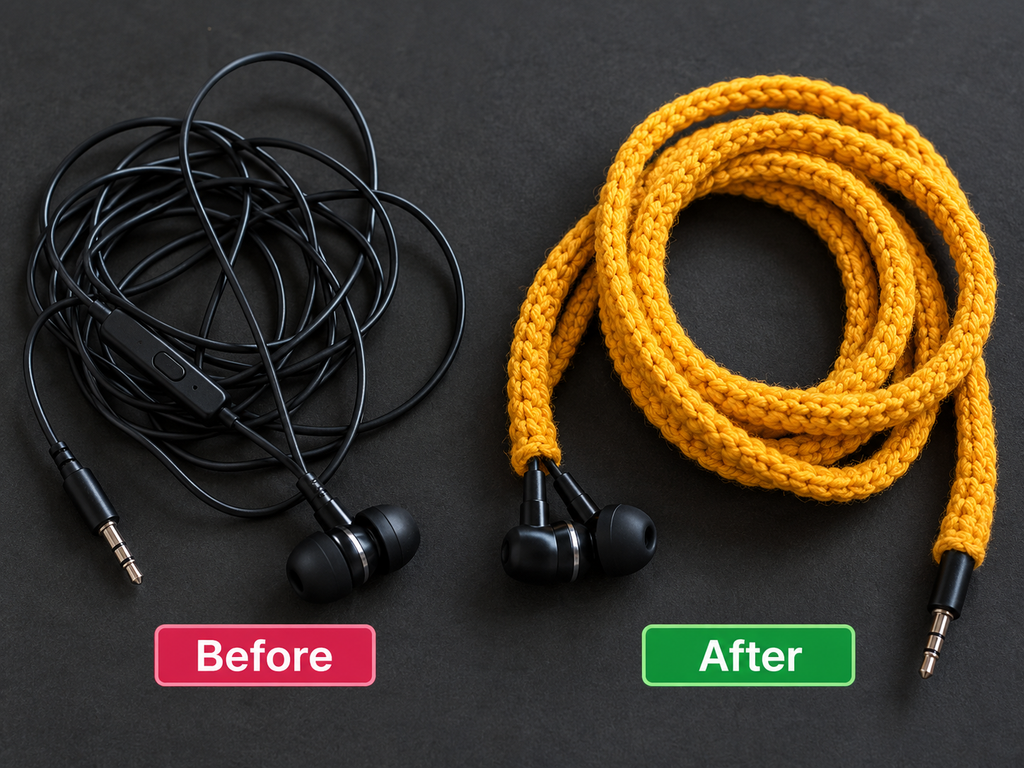
If you’ve ever pulled your wired headphones out of your bag and found the cord twisted into a little knot, you’ll understand why a crochet headphone cord cover is such a fun idea.
This project transforms an ordinary pair of wired earbuds with a colorful, handmade yarn covering. It’s small enough to make with leftover cotton yarn, and it’s an approachable way to practice your single crochet stitches.
The best part? You don’t need to crochet a flat rectangle, count dozens of rows, or sew several pieces together. Instead, you’ll work simple crochet stitches around straight sections of the existing headphone wire.
In this beginner-friendly guide, I’ll show you how to crochet wired headphones one section at a time, keep the stitches neat, choose the right yarn, and finish everything without covering the microphone, plug, or other important hardware.
Before starting, there’s one important distinction: this is a decorative cover for an intact headphone cord, not a repair for damaged wiring. Yarn can change the appearance of a cable, but it does not restore insulation, fix an electrical problem, or guarantee that the headphones won’t tangle.
What You’ll Learn
By the end of this tutorial, you’ll know how to:
- Choose lightweight yarn and a crochet hook that suit a narrow headphone cord.
- Make a slip knot and crochet around an existing wire without piercing it.
- Maintain even stitch spacing along a flexible cable.
- Work separate sections around a headphone Y-split and microphone.
- Finish and secure your yarn tails neatly.
- Customize the finished headphones using different colors and simple stitch-spacing variations.
You only need to know the basic single crochet stitch. If you’ve never worked around a cord before, the first few stitches will feel slightly different from crocheting into a regular foundation chain, but the movements become familiar with practice.
Crochet Wired Headphones Pattern at a Glance
| Project Detail | Recommendation |
|---|---|
| Skill level | Beginner |
| Technique | Single crochet around a cord |
| Yarn | Fine cotton, fingering or sport weight |
| Hook | 2.25–2.75 mm |
| Yarn quantity | Approximately 10–30 yards, depending on cord length and stitch spacing |
| Estimated time | 1–3 hours |
| Construction | Separate straight cable sections |
| Stitch repeat | One single crochet around the cord, repeated |
| Finished size | Custom |
Materials You’ll Need
The right materials make a big difference, especially when you’re working around something as narrow as a headphone wire.
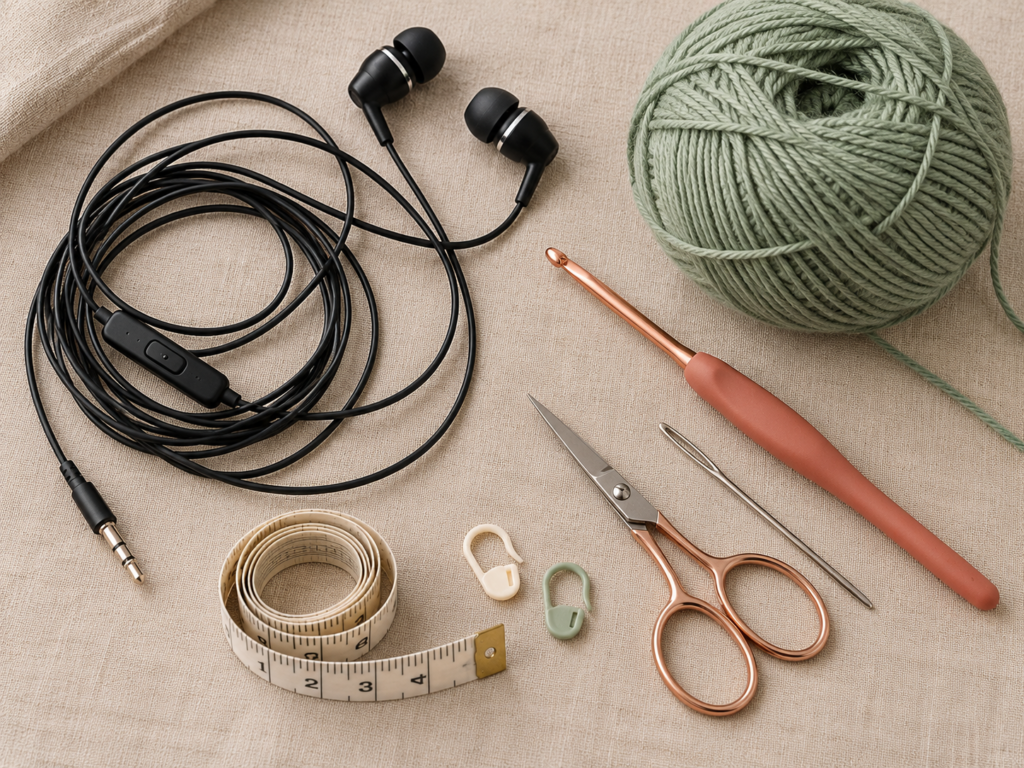
1. Lightweight Cotton Yarn
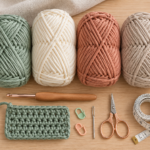
I recommend starting with smooth cotton yarn in a fingering or fine sport weight.
Cotton provides visible stitches and relatively little fuzzy texture, making it easier to see what you’re doing. It also creates a crisp, handmade finish.
For this tutorial, I’ll use dusty sage-green cotton yarn. The color looks lovely against black earbuds, and it’s light enough to show the individual crochet stitches in photos.
You can choose another color, of course. Cream, pastel pink, lavender, and muted teal are all pretty options.
Avoid very bulky yarn, fuzzy novelty yarn, or heavy decorations. Thick yarn can make the headphone cord noticeably heavier, especially near your ears.
2. Crochet Hook
Use a 2.5 mm crochet hook as your starting point.
If your yarn is especially fine, try a 2.25 mm hook. If you struggle to catch the yarn cleanly, move up to 2.75 mm.
The goal is to make comfortable, consistent stitches without squeezing the cable.
3. Wired Headphones
Choose wired earbuds with an intact, flexible outer cable covering.
The cable should have no exposed wires, cracked insulation, loose connectors, overheating history, or intermittent electrical faults.
For the easiest beginner project, choose headphones that have simple, straight cable sections without too many buttons or bulky fittings.
4. Other Tools
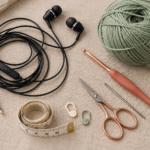
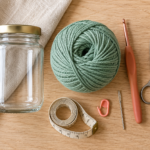
You’ll also need small scissors, a blunt yarn needle, a measuring tape, and optionally two removable stitch markers.
A stitch marker can help hold an unfinished loop in place when you need to pause.
You’ll work the yarn directly around the cable, so no sewing machine, stuffing, fabric lining, or glue is required.
Crochet Abbreviations Used
This tutorial uses standard US crochet terms.
| Abbreviation | Meaning |
|---|---|
| sc | Single crochet |
| sl st | Slip stitch |
| st | Stitch |
| sts | Stitches |
| rep | Repeat |
US/UK terminology note: The US single crochet stitch is called double crochet in UK terminology. All instructions below use the US name.
There are no increases, decreases, turning chains, or complicated stitch combinations in the main project.
Before You Start
Check the Headphone Cord Carefully
Spread your headphones on a clean table and look at every section of the cable.
Identify the earbud housings, the two thinner upper branches, the point where the branches meet, any built-in microphone or volume control, and the plug.
Leave the plug, strain reliefs, microphone, control buttons, Y-split, and earbud housings uncovered.
It’s also important to keep the cable flexible. Do not pull stitches tight enough to compress the wire or force it into a curved shape.
If you notice any signs of cable damage, stop and replace the headphones rather than crocheting over the problem.
Measure the Sections You Want to Cover
You don’t need an exact stitch count for this project. The number of stitches depends on your yarn thickness, hook size, tension, and how much cable you choose to cover.
Measure the usable straight portions of the cord instead.
For a typical wired earbud set, you may find three useful areas: the main cable below the Y-split and the two smaller branches leading toward the earbuds. A microphone or remote may divide one branch into additional areas.
Leave a comfortable length of exposed cable around all hardware and molded strain-relief points. A gap of roughly 2–3 cm is a conservative starting point where space allows, rather than a universal manufacturer-approved clearance.
Practice on a Separate Cord First
If this is your first time crocheting around something, I recommend practicing on a piece of cotton cord or smooth craft rope.
It will help you understand how the hook passes underneath the cord and catches the working yarn.
Practice until you can produce five or ten stitches without pulling the cord into a curve.
Then you’ll be much more confident working on your headphones.
Understand the Difference Between Tight and Secure
One of the most common beginner mistakes is thinking that tighter stitches must be better.
For this project, tight stitches are not necessarily helpful.
Your crochet should sit comfortably around the cable while allowing it to bend naturally during use. You want a consistent decorative sleeve, not an extremely stiff or compressed wire.
Step-by-Step Crochet Wired Headphones Tutorial
This original method uses separate stretches of single crochet. It starts on the main headphone cable and then moves to each earbud branch.
Separating the sections makes it easier to leave the Y-split, microphone, and strain reliefs exposed.
Step 1: Make Your Starting Slip Knot
Begin with the headphones unplugged from your device.
Place them on your table with the main cable lying straight. Find a suitable starting point above the plug’s strain relief, leaving a section of bare cable.
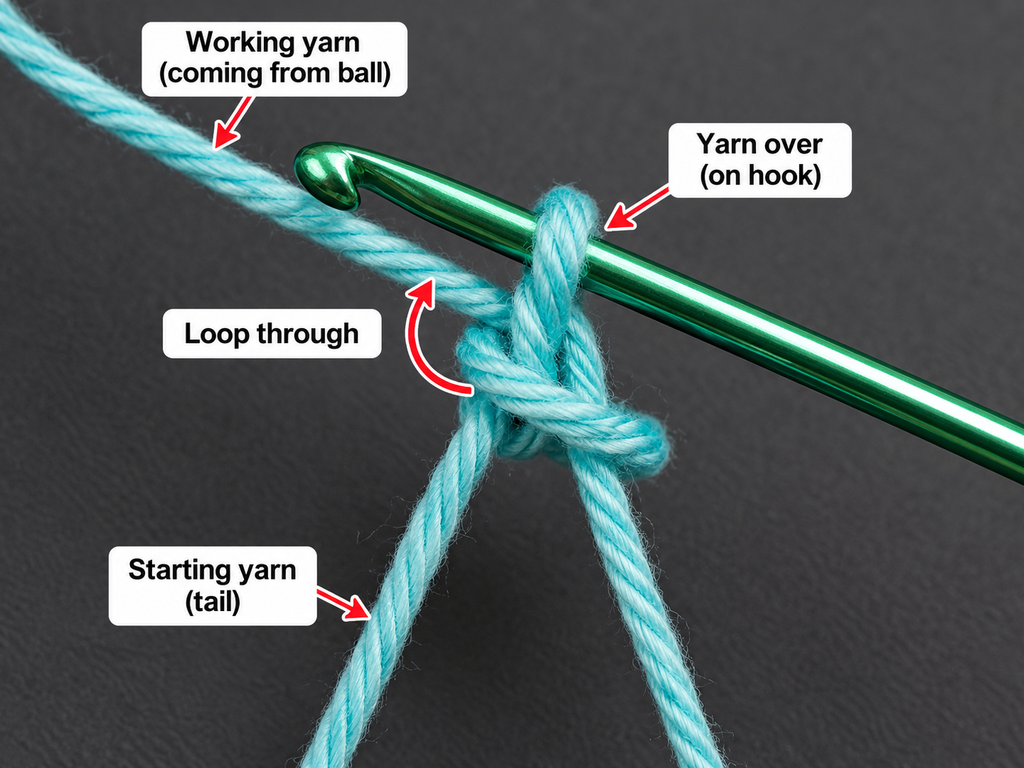
Make a regular slip knot with your yarn and place it on the crochet hook.
Hold the hook in your preferred hand. With the other hand, gently position the headphone cable beneath the working loop.
Do not tie a tight knot directly around the headphone wire. You only need a normal adjustable loop on your hook to begin crocheting.
Leave a yarn tail about 10–15 cm long so you can secure it later.
Beginner tip: Use a light-colored yarn for your first attempt. It’s much easier to see the loop on your hook.
Common mistake to avoid: Don’t begin directly against the molded plug or its flexible strain relief. The cable needs room to bend where it joins the connector.
Step 2: Make Your First Single Crochet Around the Cord
Now you’re ready for the most important part of the project.
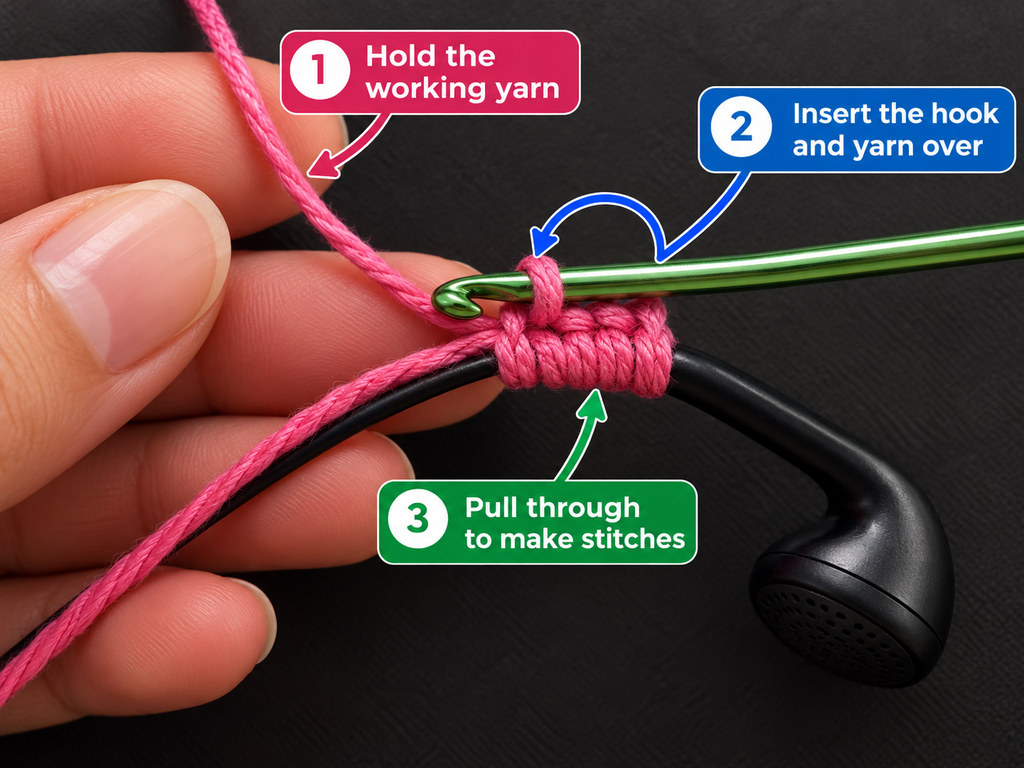
Hold the headphone cord horizontally in front of you. Keep the working yarn behind the cord.
With your slip knot already on the hook:
- Bring your crochet hook underneath the headphone cord.
- Catch the working yarn with the hook.
- Pull the yarn underneath the cord and back toward you.
- You should now have two loops on your hook.
- Yarn over again.
- Pull the yarn through both loops.
You’ve completed your first single crochet around the cable.
Notice that you didn’t insert the hook through another crochet stitch. Instead, the cable itself acts as the center around which the stitch is formed.
Keep the stitch relaxed.
You should be able to straighten the cable easily after making it.
Beginner tip: Repeat the hand movement slowly until you understand where the working yarn needs to sit. Once the position feels natural, the stitches become much quicker.
Common mistake to avoid: Never push the hook into the plastic or rubber covering of the headphone wire. The hook passes completely around the outside of the cord.
Step 3: Continue Crocheting Along the Main Cord
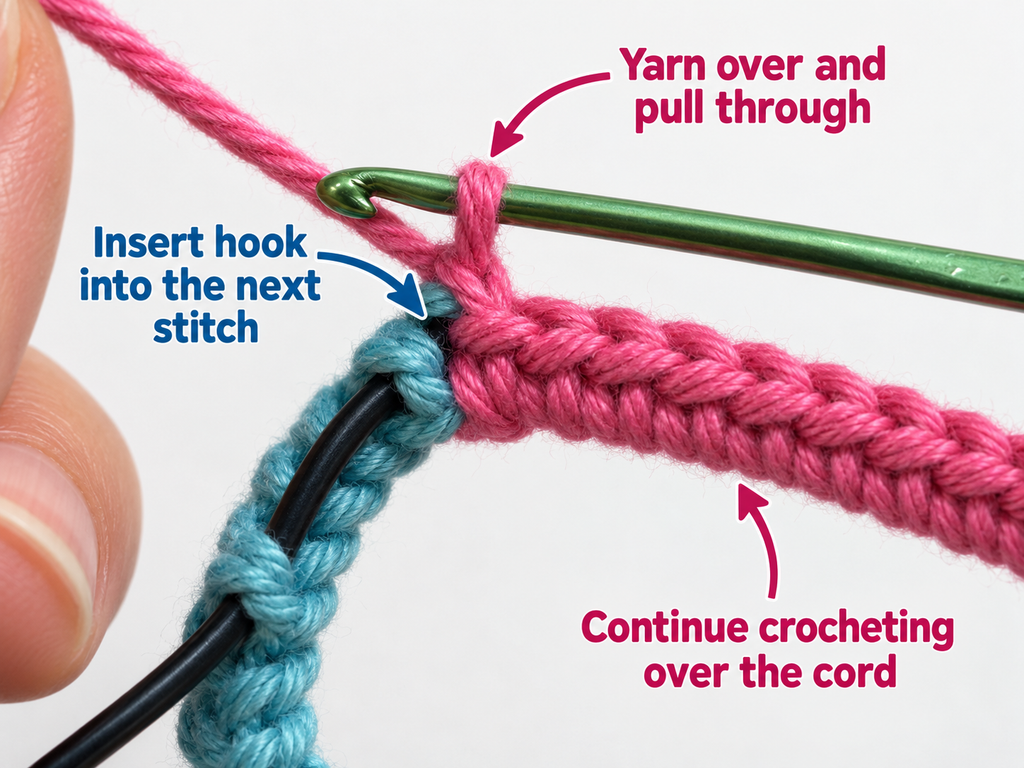
Once you’ve made the first stitch, continue repeating the same movement.
Pass the hook underneath the cable, catch the working yarn, pull up a loop, yarn over, and pull through both loops.
Keep the stitches sitting next to one another.
You don’t need to squeeze them together tightly. A little visible space between stitches is perfectly fine, particularly when you’re using a thin yarn.
After completing about ten stitches, stop and look at your work.
The stitches should create a narrow decorative strip that wraps around the cable.
As you continue, they may naturally rotate a little around the wire. That’s normal for this technique.
Work for several centimeters, then pause again.
Gently straighten the headphone cord and check the crochet tension. The wire should not look shorter, kinked, or twisted by the yarn.
Beginner tip: Hold the cable close to the working stitch rather than pulling on a long section of wire. This gives you better control without putting unnecessary strain on the earbuds.
Common mistake to avoid: Avoid pushing every completed stitch tightly against the previous one. Overcrowding can make the cable curl or become noticeably rigid.
Step 4: Check Your Stitch Spacing and Tension
After crocheting a few inches of cable, take a moment to inspect your work.
This small check can save you from having to undo a long section later.
Place the cord flat on your work surface.
Look closely at the stitches. They should be fairly even, without large sudden gaps or thick clusters of yarn.
Now lift the cord gently and allow it to hang naturally.
Does it remain flexible? Does it form a strange spiral? Is any section curling sharply?
If the cable curves strongly where you’ve crocheted, the stitches may be too tight or too densely packed.
Undo a few stitches and try again with slightly less tension or more spacing between them.
You can also try a larger crochet hook if your yarn is catching or the stitches feel difficult to work.
Don’t worry about creating a perfectly packed tube that hides every millimeter of cable. A lightweight cover with neat, relaxed stitches is often more practical.
Beginner tip: Use the same comfortable hand position from the first stitch to the last. Your muscles will develop a natural rhythm as you work.
Common mistake to avoid: Don’t tug the completed crochet section along the cable to force it into place. Adjust your stitch spacing gently, without pulling on connectors.
Step 5: Stop Before the Headphone Y-Split
Continue working up the main headphone cable until you approach the point where it divides into the two earbud branches.
This connecting piece is usually called the Y-split or splitter.
It’s important not to pull tight crochet stitches directly over this molded area.
Stop with enough bare cable remaining for the splitter and neighboring wire to move freely.
To finish the current section, cut the working yarn, leaving a tail approximately 10–15 cm long.
Yarn over and pull the cut end through the loop on the hook to fasten off.
Gently snug the final yarn loop without pulling on the cable.
You’ll hide the loose end later.
Some earbud-cover techniques continue crocheting directly across the junction. For this tutorial, we’ll leave that area uncovered and work each branch separately.
This makes the construction easier to understand and avoids placing decorative stitches directly over the splitter.
Beginner tip: Lay your work flat before fastening off to check whether the uncovered area is long enough.
Common mistake to avoid: Don’t crochet so close to the splitter that the first few centimeters of the branches become stiff.
Step 6: Crochet the First Earbud Branch
Now move to one of the two upper wires.
These sections are often thinner and more delicate than the main cable, so it’s especially important to maintain relaxed tension.
Begin on a straight, intact section above the Y-split, leaving the molded junction and its neighboring cable uncovered.
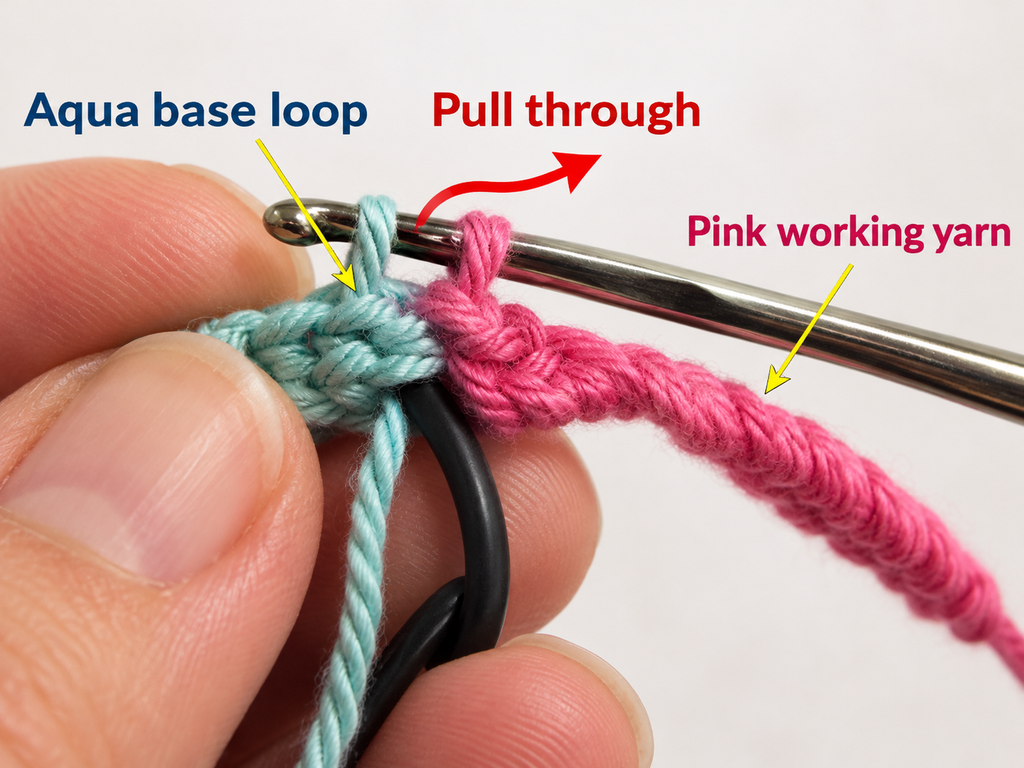
Make a new slip knot and place it on your crochet hook.
Work your first single crochet around this branch exactly as you did on the main cable.
Continue making single crochet stitches along the wire, moving toward the earbud.
If your headphones have an inline microphone or volume-control unit, stop before reaching it.
Fasten off, then begin another crochet section beyond the unit only if there is a suitable length of straight, undamaged cable.
Remember to leave the buttons, openings, and adjacent flexible wire uncovered.
Stop before reaching the earbud housing and its strain relief.
Beginner tip: You may find it easier to work with the earbuds resting on the tabletop rather than letting them hang from the cord.
Common mistake to avoid: Don’t accidentally twist the cable while working. Occasionally lay it straight to confirm that the crocheted sleeve isn’t forcing a spiral.
Step 7: Crochet the Second Earbud Branch
Repeat the same process on the remaining headphone branch.
Begin above the splitter with a new slip knot and work single crochet stitches around the cable.
Try to keep your stitches similar in size and spacing to those on the first branch.
You don’t need exactly the same stitch count if the branches have different lengths or different control hardware.
Instead, concentrate on keeping the finished appearance balanced.
Work slowly whenever you approach a microphone, small rubber fitting, or the earbud itself.
Finish the crochet while a safe section of bare cable remains between the yarn and any molded hardware.
At this point, both branches and the main cord should have matching decorative crochet sections.
You should still be able to recognize and access every electronic control and connector.
Beginner tip: If your two headphone wires are different lengths, measure the straight sections individually rather than trying to force them to match.
Common mistake to avoid: Don’t use the yarn to pull the two upper branches together. They must remain separate and hang naturally.
Step 8: Secure the Yarn Ends
Once you’ve crocheted all the sections, you’ll have a few loose yarn tails.
Thread one tail through a blunt yarn needle.
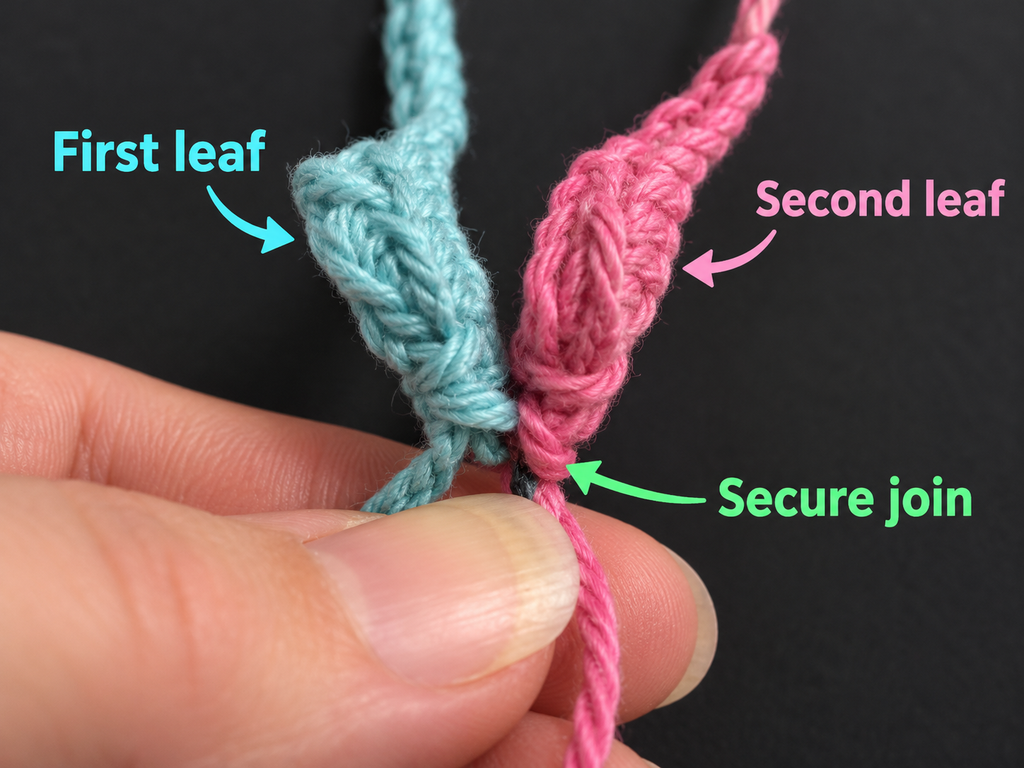
Carefully weave the yarn through the backs of several existing crochet stitches, running along the fabric of the sleeve.
Keep the needle outside the cable’s insulation at all times.
If your yarn is smooth and slippery, change direction once within the crochet stitches to help secure the tail.
After checking that the tail holds, trim the excess yarn close to the crocheted section without cutting into the cable.
Repeat for the remaining ends.
You should now have a tidy handmade cord cover with no long strands dangling from it.
Beginner tip: A blunt needle is easier to control around electronics than a sharp sewing needle.
Common mistake to avoid: Never use the wire’s plastic covering as fabric for your needle. Weave through the crochet stitches only.
Step 9: Test the Finished Headphones
Before using your headphones normally, inspect the entire project.
Hold the cable gently at each end of a covered section and check whether the yarn allows natural movement.
Next, confirm that the Y-split and both earbud connections remain flexible.
Check that the microphone, volume buttons, and plug are all accessible.
Finally, connect the headphones to a compatible device and test the left and right audio channels and any built-in controls.
If the wire behaves differently after crocheting, remove the decorative cover rather than trying to force the cable back into position.
Congratulations! Your handmade crochet wired headphones are finished.
Pattern Notes and Stitch Notes
This project is more forgiving than many traditional crochet patterns because you’re not making a piece that needs to meet a precise stitch gauge or shape.
Still, a few details are worth remembering.
Starting method: Begin each independent section with a regular slip knot and then work single crochet around the cord.
Turning chain: None. You’re not working back-and-forth rows.
Stitch count: Variable. Make as many stitches as required to cover the selected length without restricting flexibility.
Repeat: Pass hook under cable, pull up a loop, yarn over, pull through both loops.
Rounds: None. The crochet is worked continuously along the cable, not as joined circular rounds.
Right side / wrong side: There isn’t a conventional right or wrong side. The exposed stitch heads create the visible surface.
Gauge: No formal gauge swatch is necessary. The important tests are even stitch spacing and an uncompressed, freely bending cable.
Size adjustments: Stop sooner or start later to leave more of the cable uncovered. The number of stitches changes automatically.
Common Beginner Mistakes and How to Fix Them
1. Pulling the Stitches Too Tight
If your covered wire begins to curl, kink, or feel stiff, your tension may be too tight.
Undo the affected section and remake it with slightly looser stitches. You can also try a larger hook.
2. Choosing Yarn That’s Too Thick
Bulky yarn can make small earbuds feel heavy and awkward.
Switch to lightweight cotton yarn if the finished cover becomes too thick. The thinner the headphone cable, the more important yarn weight becomes.
3. Crocheting Directly Over the Microphone
It’s tempting to cover everything in one continuous line, but this can interfere with buttons or microphone openings.
Stop before the microphone or remote. Fasten off and begin a separate section afterward, with adequate uncovered space.
4. Forgetting to Leave Room at the Plug
The area where the cable enters the plug needs to bend naturally.
If crochet stitches reach directly against the molded connector, remove enough stitches to restore flexibility.
5. Making Uneven Stitches
Some stitches may be crowded together while others have large gaps.
Try working in shorter sections, checking every few centimeters. Consistent hand positioning usually improves your stitch spacing.
6. Pulling the Yarn Tail Through the Cable Covering
You only want to sew through the crochet yarn.
Use a blunt needle and carefully weave the tail under existing stitches rather than piercing the electronics cable.
7. Assuming Crochet Can Repair a Broken Wire
A decorative yarn covering doesn’t fix broken conductors or compromised insulation.
If the headphones crackle, disconnect unexpectedly, heat up, or show visible wiring damage, stop using them and replace or professionally repair them.
How to Customize This Crochet Project
Once you’ve learned the basic single crochet cord-cover technique, there are several ways to make it your own.
Try Different Yarn Colors
A single pastel color gives your headphones a soft and simple handmade style.
Sage green, lavender, dusty rose, or pale blue all work beautifully.
For something brighter, try contrasting colors on separate headphone branches.
You could make one branch pink and the other purple, for example, while using cream yarn on the main cable.
This makes it easier to tell the wires apart at a glance.
Create a Simple Color-Block Effect
Instead of changing colors every few stitches, use one color for an entire section.
For example, crochet the lower cable in teal and both upper branches in cream.
This keeps the design simple without adding many loose yarn ends or bulky knots.
Experiment With Stitch Spacing
A close stitch spacing creates a denser decorative sleeve.
Slightly wider spacing produces a lighter appearance and may preserve more flexibility.
Try several stitches on a practice cord to see which effect you prefer.
Avoid dense or heavily textured stitches that make the cable stiff.
Add a Minimal Decorative Accent
If you enjoy tiny crochet embellishments, consider making a separate removable charm to attach to a carrying pouch or organizer instead of directly to the cable.
Avoid heavy beads, large charms, or dangling embellishments near the earbuds. Extra weight can pull on the cable or make the earbuds uncomfortable.
Make a Matching Headphone Pouch
A small crochet drawstring pouch is an excellent companion project.
Unlike the cable sleeve, the pouch can use thicker yarn and decorative stitches.
A matching pouch can hold the finished earbuds while protecting them from loose items in your bag.
Just coil the cable gently rather than pulling it into a tight bundle.
Finishing Instructions
Your yarn ends should now be woven in, but give the project one final inspection before calling it complete.
Check every beginning and ending point to make sure the yarn isn’t working loose.
Remove any stitch markers.
Lay the headphones flat and make sure the cable is free of sharp bends, unexpected twists, or tightly compressed sections.
You don’t need to block this project. In fact, traditional crochet blocking techniques are not appropriate here because the yarn is attached to an electronic accessory.
Avoid soaking, steaming, or heat-blocking the cable.
If the crochet becomes dirty, gently spot-clean the yarn with an almost-dry cloth, keeping moisture away from electronic openings and connectors. Allow the cleaned area to dry fully before use.
For thorough washing, a separate removable sleeve would be more suitable than permanently crocheting around the headphone wire.
Store the headphones in a clean, dry place and coil the cord loosely.
Quick Printable-Style Summary
Easy Crochet Wired Headphone Cord Cover
Beginner · US crochet terms
1–3 hours
Materials: Fine cotton yarn, 2.5 mm crochet hook, intact wired earbuds, scissors, blunt yarn needle.
Stitches: Single crochet around a cord.
Starting method: Slip knot on hook; work the first sc around a straight section of cable.
Repeat: Insert hook under cable, pull up a loop, yarn over, pull through both loops.
Construction: Main cord first, then work the two earbud branches separately.
Finishing: Fasten off and weave tails through crochet stitches.
Important: Leave all connectors, controls, the splitter, and strain reliefs uncovered. Copy quick pattern summary
Frequently Asked Questions About Crochet Wired Headphones
1. Can beginners crochet around a headphone cord?
Yes. This is a manageable beginner project if you already understand the basic single crochet stitch.
The unusual part is learning how to work around the cable instead of into another crochet stitch.
Practicing on craft cord first can help you learn the movement before working on actual headphones.
2. What yarn is best for crocheting wired headphones?
Smooth lightweight cotton yarn is a useful starting choice.
Fingering or fine sport-weight cotton generally creates a less bulky covering than medium-weight yarn.
Avoid yarn that’s extremely fuzzy, heavy, or difficult to clean.
3. What crochet hook size should I use?
A 2.5 mm hook works well as a starting point with fine cotton yarn.
You can try 2.25 mm for a finer yarn or 2.75 mm if the stitches feel too difficult to work.
Because you’re crocheting around a cable, aim for comfortable stitch formation and flexibility rather than an exact gauge.
4. Will crochet stop my headphones from tangling?
A crocheted cover can change how a cable behaves and may help reduce some tangling, but results vary.
It also adds thickness and weight to the cable.
The safest way to store wired earbuds is still to coil them gently and keep them in a small pouch rather than stuffing them loosely into a bag.
5. Can I crochet over the microphone or volume controls?
I don’t recommend it.
Crocheting directly over these parts can obstruct controls, interfere with microphone openings, or make the surrounding cable less flexible.
Stop your crochet before the hardware and begin a new section afterward if there’s enough undamaged, straight cable.
6. Can I wash the finished crochet headphone cover?
Avoid immersing wired headphones in water.
The cotton yarn might be washable by itself, but the attached electronic cable and connectors may not be.
For small marks, carefully spot-clean the yarn while protecting the electronics from moisture.
Allow the cleaned section to dry completely before reconnecting the headphones.
7. Can I use this technique on charging cables?
I don’t recommend adapting this decorative method directly to charging or mains-power cables.
Charging cables can have different temperature, connector, and electrical requirements. A yarn sleeve can hide damage, restrict inspection, and potentially affect heat dissipation.
Use this tutorial for intact, low-power wired headphone cables only, and follow the device manufacturer’s care instructions.
Conclusion
Making crochet wired headphones is a simple way to personalize an everyday accessory while practicing your single crochet technique.
You don’t need complicated stitches or a large amount of yarn. A small cotton yarn ball, a fine crochet hook, and a little patience are enough to create a colorful cord-cover design.
The key is keeping the stitches even and relaxed while leaving all electronic connections and controls exposed.
When you’re finished, your earbuds will have a distinctive handmade appearance that you can coordinate with your favorite crochet accessories.
Save this crochet wired headphones tutorial for your next small weekend project, or try making a matching crochet pouch to keep your earbuds neatly stored.