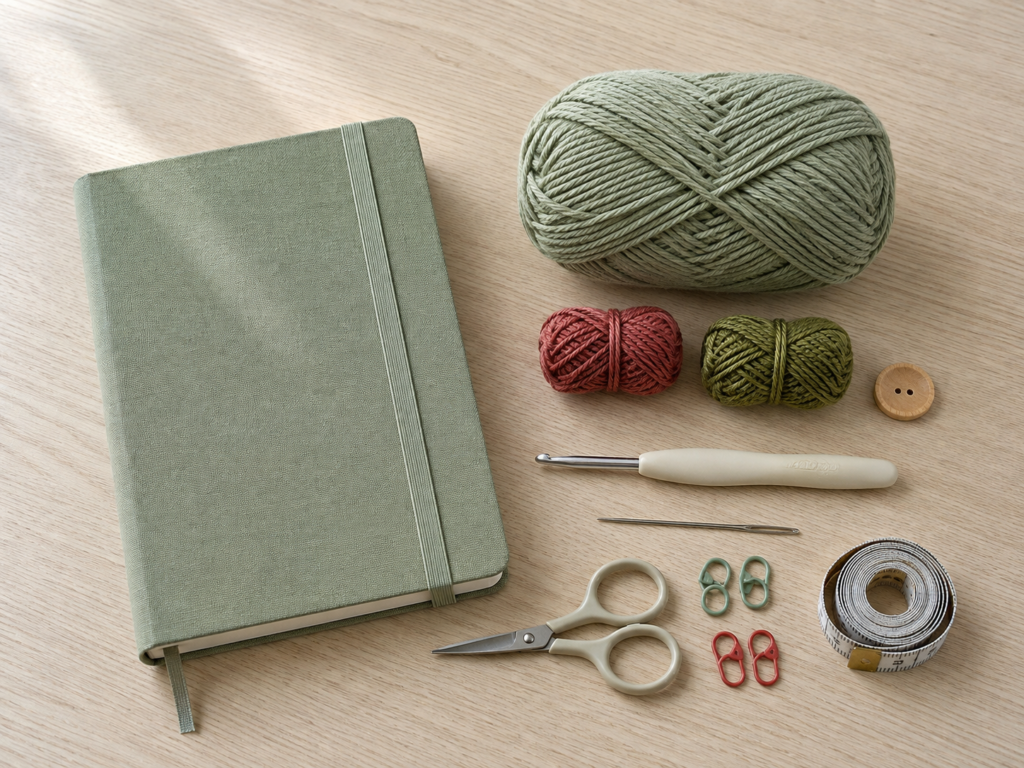
A teacher planner gets opened, closed, carried, stacked with notebooks, and slipped into a tote countless times during the school year. A simple handmade band helps keep loose notes and pages contained, while a small crochet pocket gives you a convenient place for a favorite pen.
This crochet teacher planner band pattern is designed as a practical beginner project rather than a decorative accessory that never gets used. The basic band is a narrow ribbed strip made from medium cotton yarn. You crochet it to fit the exact planner you have, add a simple buttonhole closure, and then choose whether you want to add a small pen pocket and teacher-themed apple applique.
Because the length is measured directly against the planner, there is no need to match somebody else’s exact row count. That makes the project suitable for spiral planners, hard-cover teacher planners, A5 journals, notebooks, lesson-planning books, and even recipe or project journals.
The construction is intentionally straightforward: crochet a strip, test the fit, make a buttonhole, sew on the button, and add the optional pocket.
What You’ll Learn
- How to measure a planner before crocheting a fitted band
- How to make a narrow crochet strip with straight edges
- How to work half double crochet in the back loop only
- How to create a simple crochet buttonhole
- How to test stretch before finishing
- How to make a small crochet pen pocket
- How to sew a pocket neatly onto crochet fabric
- How to add an optional teacher-themed apple accent
- How to adjust the project for different planner sizes
Skill Level
Beginner to Easy
You should be comfortable making chains and basic crochet stitches. The buttonhole is simple enough for a beginner who can count stitches carefully.
Finished Size
The sample-style band is approximately:
- 1¾–2 inches / 4.5–5 cm wide
- Length: customized to your planner
- Optional pen pocket: approximately 1½–1¾ inches wide and 3 inches tall
Do not rely only on these measurements. Measure your own planner because teacher planners vary significantly in height, thickness, binding, and cover style.
Estimated Time
About 1½–2½ hours.
The plain band is considerably quicker. Add extra time if you make the pen pocket or apple applique.
Materials You’ll Need
- Approximately 35–50 yards of medium/worsted #4 cotton yarn for the band and pocket
- Small amount of red or coral cotton yarn for the optional apple
- Small amount of green yarn for the optional leaf
- 4.0 mm crochet hook
- One approximately ¾–1 inch button
- Yarn needle or tapestry needle
- Scissors
- Measuring tape
- 2–4 locking stitch markers, optional
- Teacher planner, journal, or notebook you want the band to fit
Cotton is particularly useful here because it creates a sturdy fabric that resists becoming overly fuzzy with repeated use. The Craft Yarn Council classifies worsted and aran yarns in the medium/#4 category, although recommended hook ranges are general guidelines rather than requirements for every design.
For this project, the relatively small 4.0 mm hook deliberately creates a firm fabric rather than a loose, drapey one.
Crochet Abbreviations Used
This pattern uses U.S. crochet terminology.
- ch = chain
- hdc = half double crochet
- sc = single crochet
- sl st = slip stitch
- st/sts = stitch/stitches
- BLO = back loop only
- rep = repeat
- RS = right side
- WS = wrong side
The Craft Yarn Council maintains standardized crochet abbreviations and also notes important U.S./U.K. differences. For example, U.S. single crochet corresponds to U.K. double crochet, so always confirm which terminology a pattern uses before starting.
Before You Start
Measure the planner first
Close the planner normally, with any papers or inserts that usually live inside it.
Decide how you want the band to sit. For most planners, a vertical band running from the top edge, around the back, and back to the bottom/front looks clean and leaves the page-opening side accessible.
Wrap a flexible measuring tape around the planner in exactly that direction.
Write down that number.
That is your planner circumference measurement.
Gauge and tension
Exact gauge is not critical because you will test the project directly against the planner.
However, your fabric should be:
- firm enough to hold its shape;
- flexible enough to curve around the planner;
- stretchy enough to accommodate a few additional sheets;
- not so loose that you can see large gaps between stitches.
If your fabric feels floppy, try a hook 0.5 mm smaller.
If your band feels rigid and difficult to stretch, go up 0.5 mm.
How to count the stitches
The band in this tutorial uses 8 stitches per row.
After every few rows, count again.
A very common beginner problem is accidentally skipping the final stitch of the row. If the band begins becoming narrower, recount immediately instead of continuing.
How to keep the edges straight
The turning chain does not count as a stitch in this pattern.
Place your first actual hdc in the first stitch.
Place your final hdc into the last visible stitch.
A stitch marker in the first and last stitch can be helpful during the first several rows.
How to avoid curling
A little curling while working a narrow ribbed strip is normal.
Heavy curling usually indicates one of three issues:
- the foundation chain was made too tightly;
- the hook is too small for your tension;
- the first stitch of each row is being pulled unusually tight.
Blocking at the end will relax minor curling.
Choosing colors
For a teacher-themed project, practical school-inspired palettes work especially well:
- dusty sage + red apple;
- oatmeal + forest green;
- navy + mustard;
- dusty rose + cream;
- charcoal + red;
- school-color combinations.
If you are making this as a teacher gift, neutral band colors usually make the project easier to pair with an unknown planner color.
Step-by-Step Crochet Tutorial
Step 1: Measure the Planner and Start the Band
With the planner closed, measure around the exact path where the band will sit.
Suppose your measurement is 18 inches. Do not immediately crochet an 18-inch strip. Ribbed crochet has some stretch, and the button closure adds adjustability.
You will begin with the width of the band first.
Foundation
Ch 9.
Row 1
Hdc in the 2nd ch from the hook and in each remaining chain across.
You should have:
8 hdc
Turn.
The starting chain determines the width rather than the finished length.
If you want a narrower minimalist band, begin with fewer chains.
If you want a broader band with space for two pens, add stitches.
Beginner tip:
Make the foundation chain slightly looser than your normal chains. A tight foundation can pull one edge inward.
Common mistake to avoid:
Do not crochet into the chain that is still sitting on the hook. Count nine completed chains before beginning Row 1.
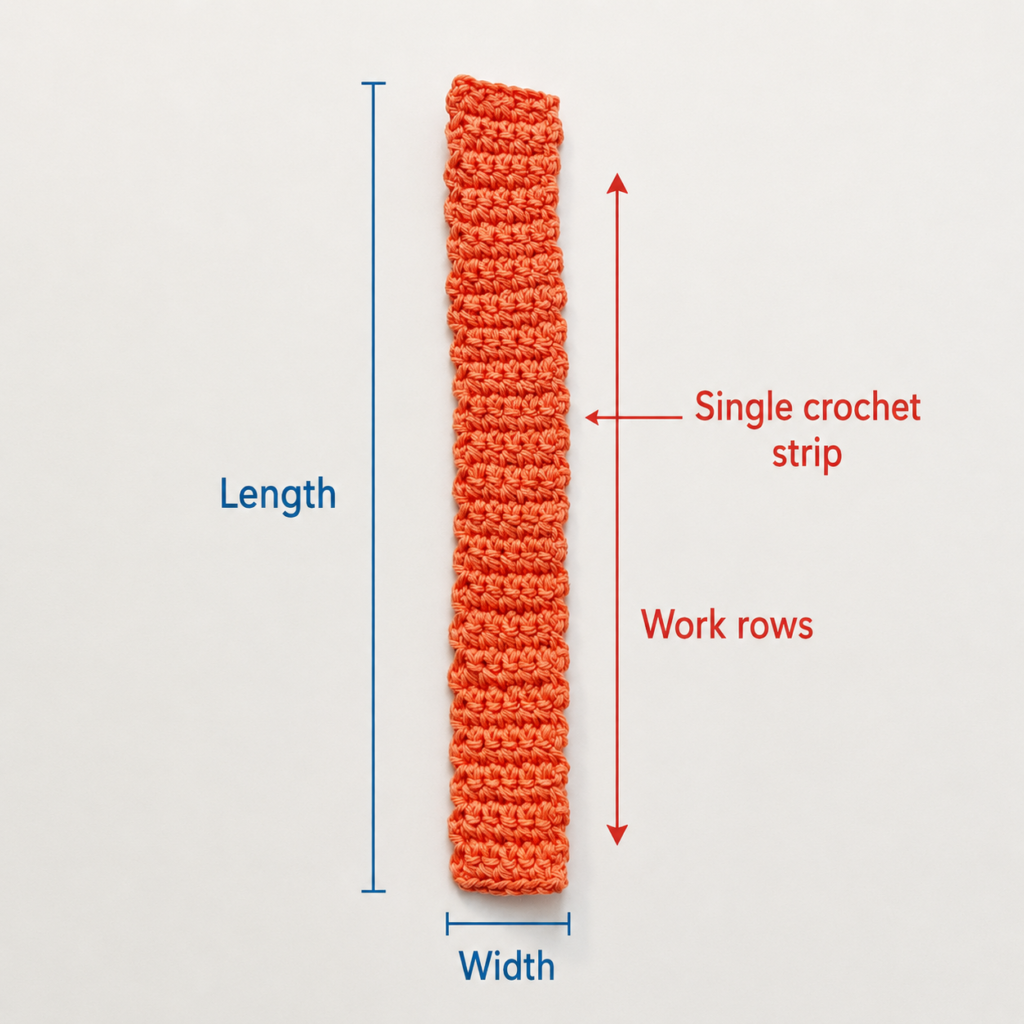
Step 2: Crochet the Ribbed Main Band
Row 2
Ch 1 and turn.
Work 1 hdc BLO in each of the 8 stitches across.
Turn.
Following Rows
Repeat Row 2.
Instead of working through both top loops of each stitch, insert the hook only through the loop farthest away from you.
This creates subtle horizontal ribs across the strip.
Continue repeating the row until the band is approximately 1–1½ inches shorter than your planner circumference measurement.
Do not fasten off yet.
The reason for stopping early is simple: the band stretches slightly, and the closure section adds a few more rows.
How to recognize the back loop
Look at the top of the row. Each crochet stitch forms a small “V.”
The loop closer to you is the front loop.
The loop farther away is the back loop.
Insert your hook under only that far loop.
Beginner tip:
Stop every 10–15 rows and gently stretch the band. This gives you a realistic idea of its working length.
Common mistake to avoid:
Do not alternate randomly between BLO and both loops. The band will lose its consistent ribbed texture.
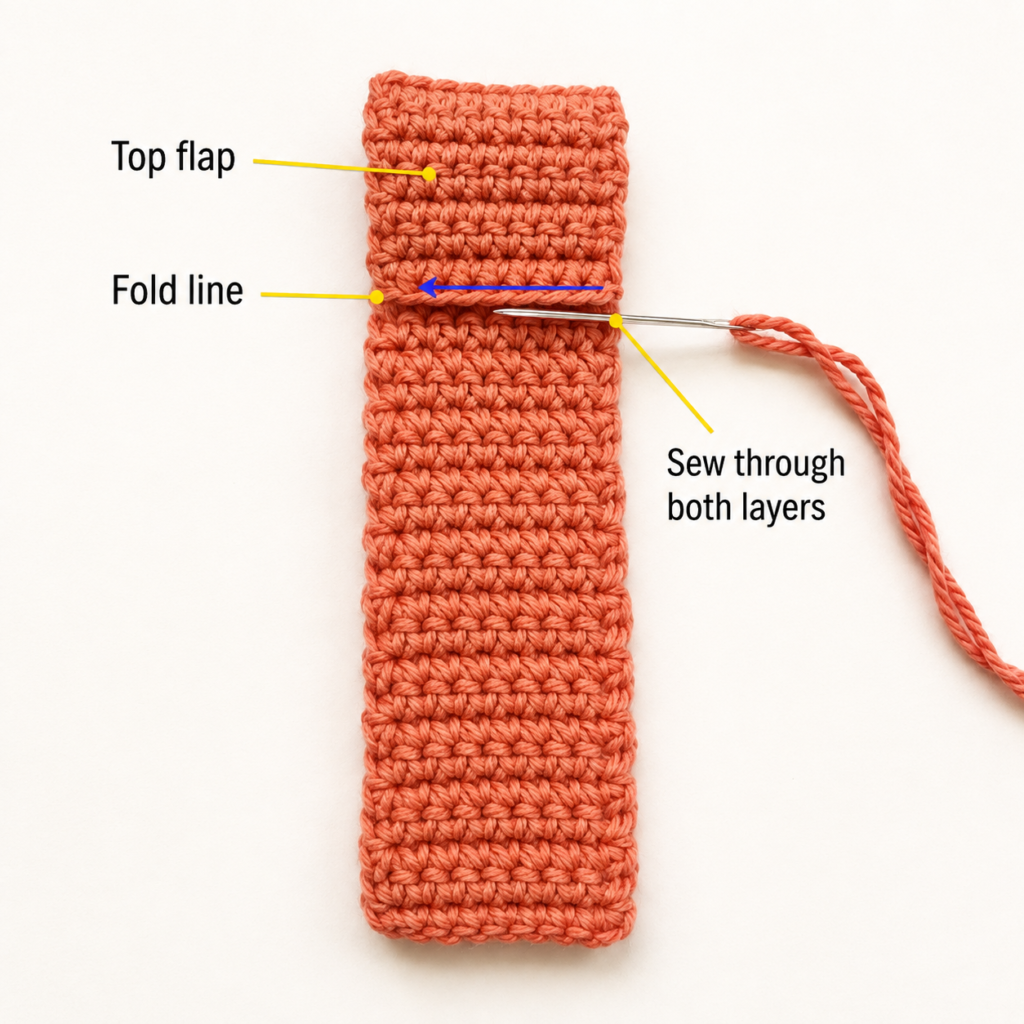
Step 3: Test the Band Around the Planner
Take the hook out temporarily or secure the working loop with a locking stitch marker.
Wrap the unfinished band around the closed planner.
Bring the two ends toward each other.
The strip should sit snugly without bending the planner cover or stretching so tightly that the crochet ribs become distorted.
Aim for a small gap or light overlap before making the closure.
If there is a large gap, crochet more rows.
If the strip already overlaps by several inches, remove rows.
This fit test is more reliable than copying a fixed row count because:
- planner thickness varies;
- spiral bindings add bulk;
- leather covers are thicker than paperboard covers;
- individual crochet tension changes finished row height.
Beginner tip:
Put the pens, sticky notes, or insert pages you normally store in the planner inside it before performing your final fit test.
Common mistake to avoid:
Do not pull the band to its maximum stretch while measuring. The band should fit with gentle tension, not extreme tension.
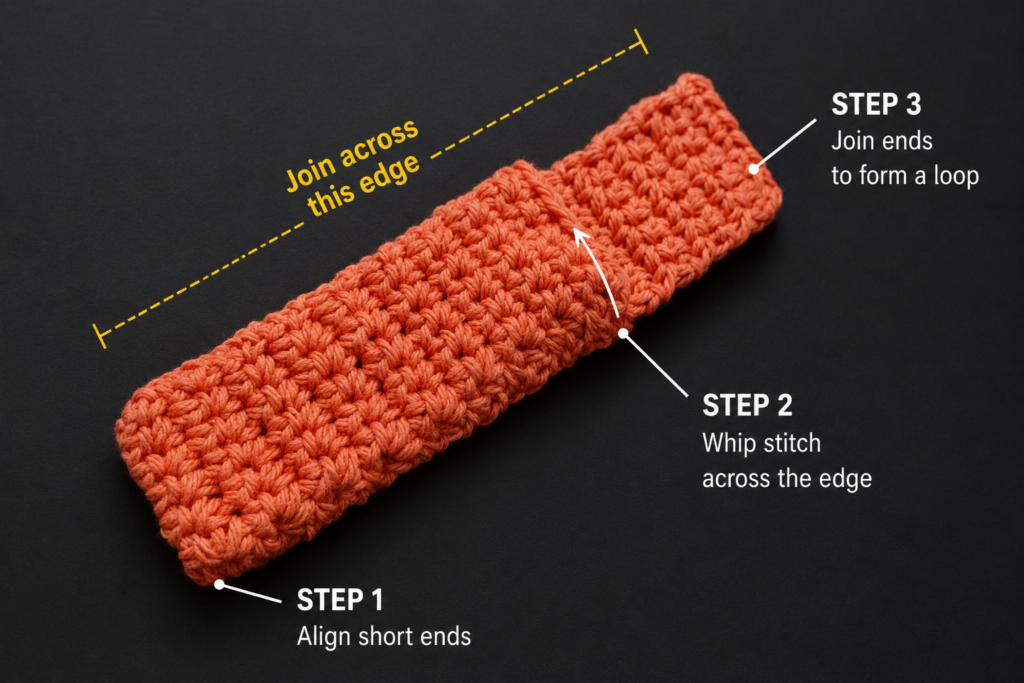
Step 4: Make the Buttonhole
Once the length feels correct, make the buttonhole near the working end.
Buttonhole Row
Ch 1 and turn.
Hdc BLO in the first 3 sts.
Ch 2.
Skip the next 2 sts.
Hdc BLO in the final 3 sts.
You now have a small opening centered in the band.
Next Row
Ch 1 and turn.
Hdc BLO in the first 3 sts.
Work 2 hdc into the ch-2 space.
Hdc BLO in the final 3 sts.
You should again have the equivalent of 8 stitch positions.
Finish the End
Work another 1–3 ordinary BLO rows, depending on how much end fabric you want beyond the buttonhole.
Fasten off and leave enough yarn to weave in securely.
Test your selected button through the hole before sewing it onto the opposite end.
If the button is too large, carefully undo the last rows and remake the hole with an extra chain.
Beginner tip:
A slightly snug buttonhole is better than a very loose one. Cotton relaxes with repeated use.
Common mistake to avoid:
Do not cut the crochet fabric to enlarge a buttonhole. Crochet stitches can unravel quickly once cut.
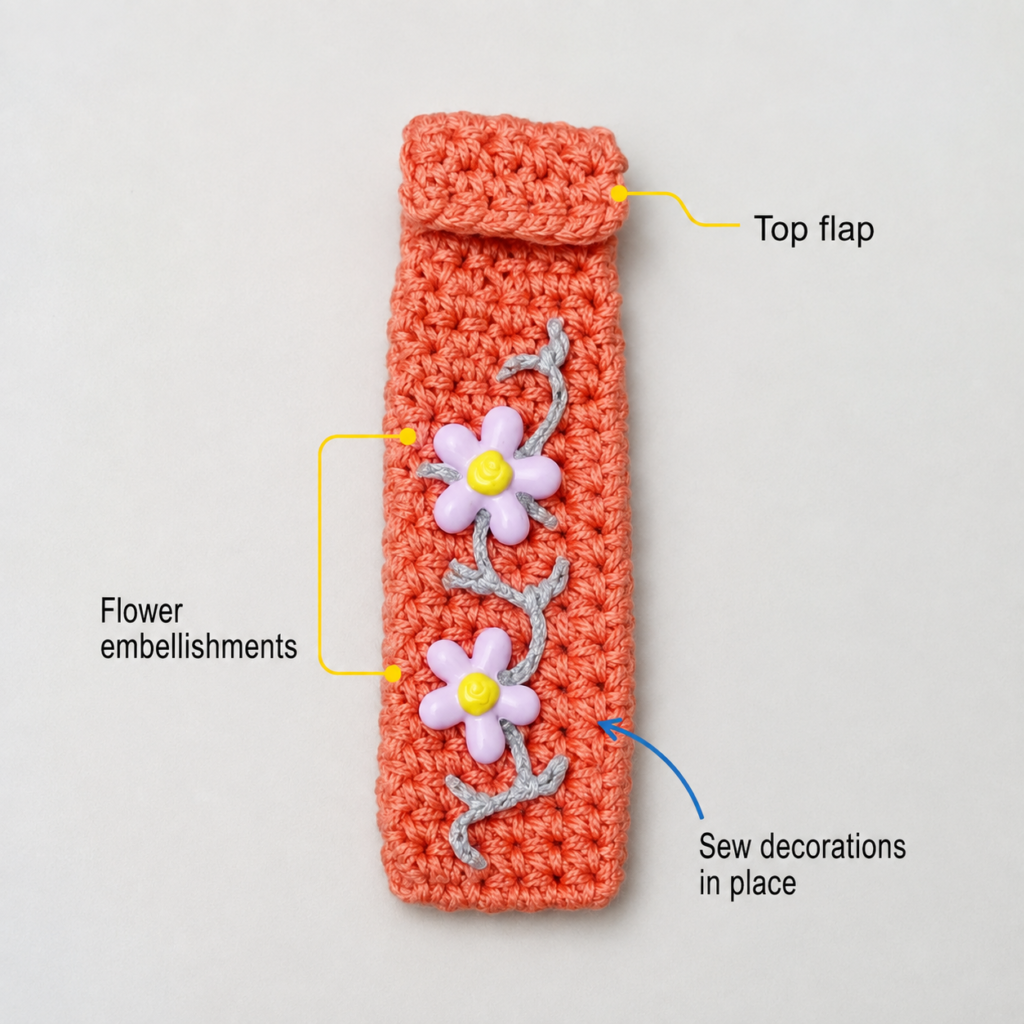
Step 5: Sew on the Button
Wrap the completed band around the planner again.
Overlap the buttonhole end over the starting end.
Use a stitch marker to indicate the exact point where the button should sit.
Remove the band.
Thread a yarn needle with strong matching yarn or sewing thread and secure the button firmly.
Check the fit again.
If the band feels slightly too loose, move the button farther from the starting edge.
If it is too tight, move it closer to the edge.
This small adjustment is one reason a button closure works well for planners whose thickness changes through the school year.
Step 6: Crochet the Optional Pen Pocket
The band is completely usable now, so you can stop here.
For a more functional teacher-planner version, add the pocket.
Pocket Foundation
Ch 7.
Pocket Row 1
Sc in the 2nd ch from the hook and each chain across.
6 sc
Turn.
Pocket Row 2
Ch 1.
Sc in each stitch across.
Turn.
Continue
Repeat Row 2 until the rectangle measures approximately 3 inches / 7.5 cm tall, or long enough to hold the lower portion of your preferred pen.
Fasten off, leaving a long sewing tail.
The pocket should be slightly narrower than or approximately equal to the width of the main band.
Before attaching it, slide a pen against the rectangle and make sure there is enough room for the pen’s barrel.
Beginner tip:
A pocket should hold the pen, not swallow the whole pen. About one-third to one-half of the pen length inside the pocket is usually enough.
Step 7: Sew the Pocket Onto the Band
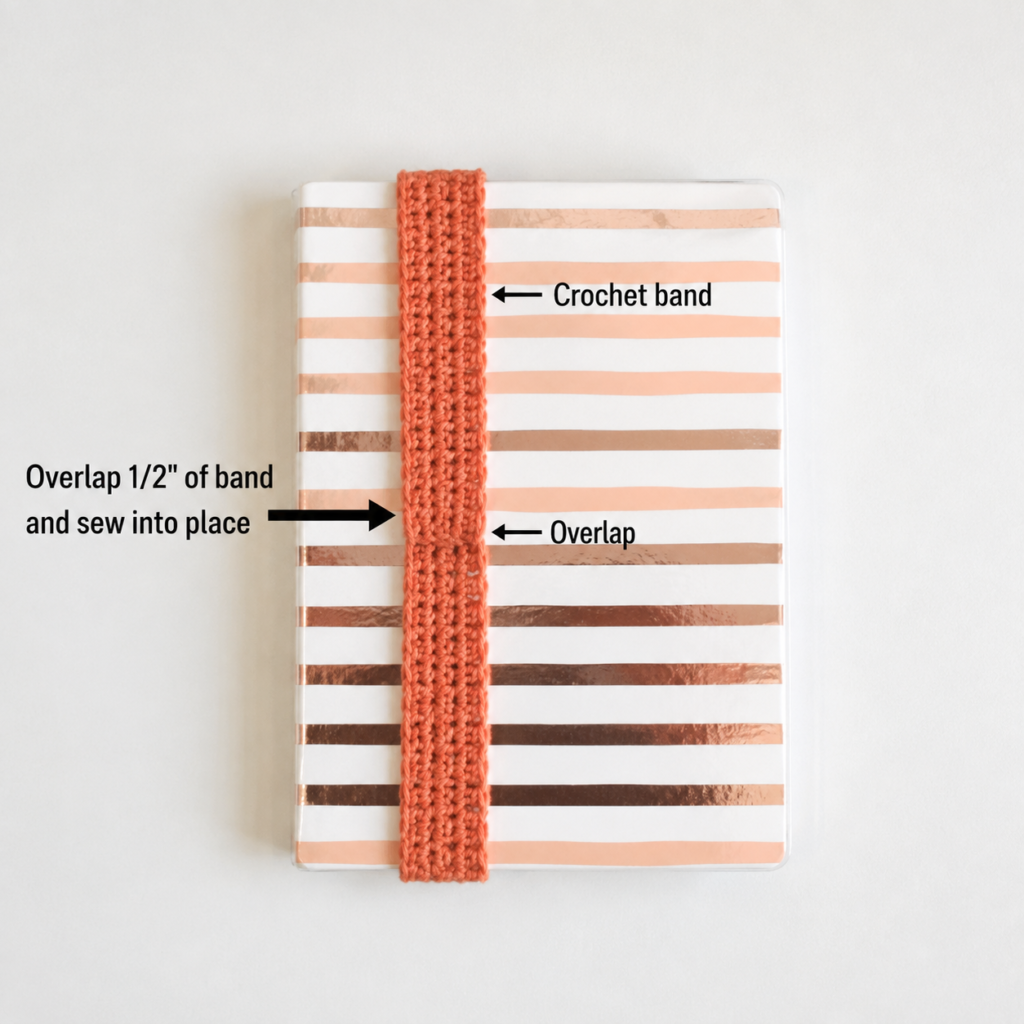
Remove the band from the planner before sewing.
Center the pocket over the section that will sit on the front cover.
Use stitch markers to hold it in position.
With the long yarn tail and a tapestry needle, sew:
- down one side;
- across the bottom;
- up the opposite side.
Leave the top completely open.
Use small stitches and avoid pulling the seam so tightly that the main band puckers.
Insert your pen before cutting the yarn. If the pocket is too tight, remove one seam and reposition it slightly.
If it is too loose, bring the side seams inward by one crochet stitch.
Step 8: Add an Optional Crochet Apple
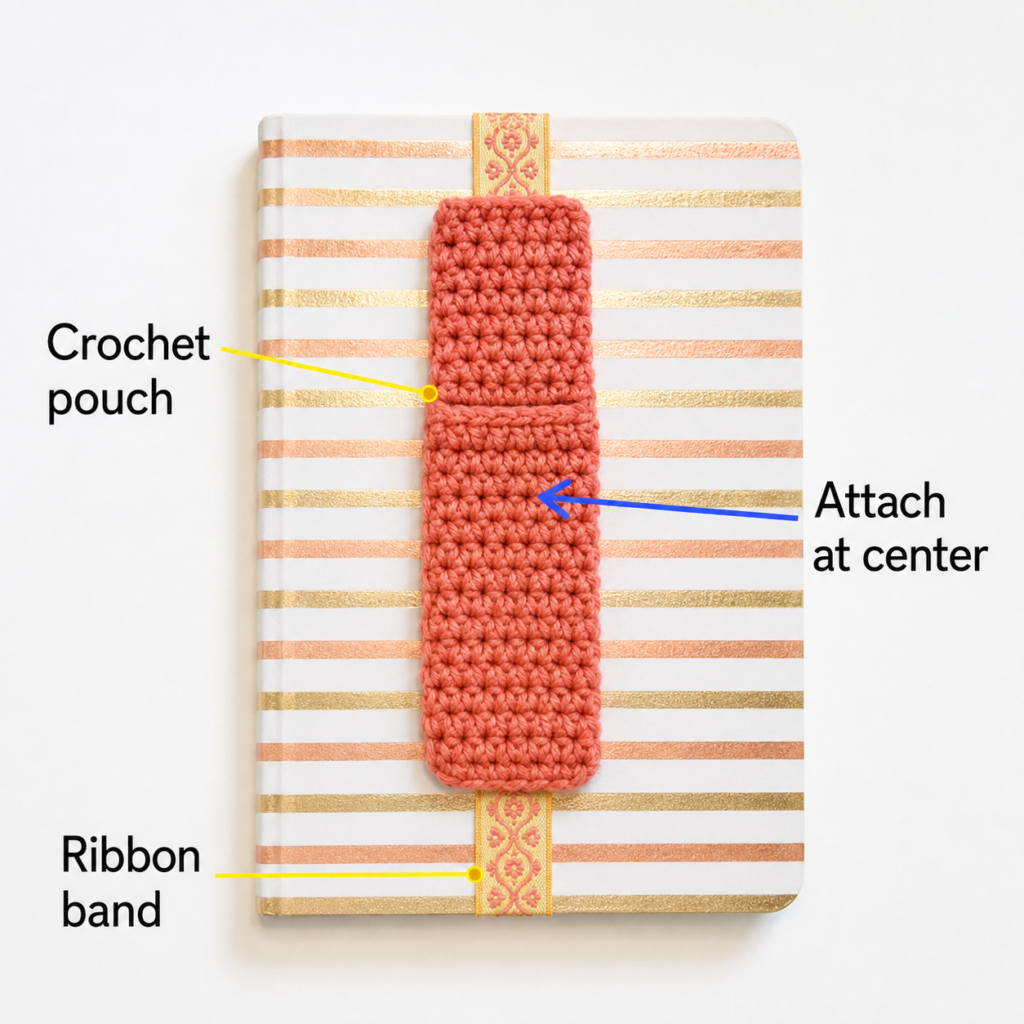
A small apple immediately gives the planner band a teacher-gift feel.
This embellishment is optional.
Apple
With red yarn, make a magic ring.
Round 1: Work 6 sc into the ring. Join with a sl st.
Round 2: Work 2 sc in every stitch around. You will have 12 sts.
Round 3: Sc in next st, 2 sc in next st. Repeat around. You will have 18 sts.
Fasten off.
The circle does not need to be perfectly round. When sewing it down, make a small inward stitch at the upper center to create the slight dip associated with an apple shape.
Leaf
With green yarn:
Ch 4.
Sl st in the 2nd ch from hook.
Sc in next ch.
Hdc in final ch.
Fasten off.
Sew the leaf at the upper edge of the apple.
Attach the apple near the lower part of the pen pocket so it does not interfere with inserting or removing the pen.
Pattern Notes or Stitch Notes
Turning Chain
The ch-1 at the beginning of a row does not count as a stitch.
Stitch Count
The main band maintains 8 hdc positions per row.
Count periodically.
The pen pocket maintains 6 sc per row unless you intentionally resize it.
Repeat Pattern
The primary repeat is simply:
Ch 1, turn, hdc BLO across.
That repeat creates the ribbed main fabric.
Right Side and Wrong Side
This pattern is reversible enough that there is no critical right or wrong side for the plain band.
Once you attach the pocket or applique, designate that side as the RS.
Size Adjustment
The length should always be adjusted to the actual planner.
For a wider band:
- add foundation chains;
- maintain the new stitch count on every row;
- center the buttonhole accordingly.
For a narrower band:
- reduce the foundation chain;
- ensure there is still enough width to support your selected button.
Common Beginner Mistakes
1. The band gradually becomes narrower
Cause: The last stitch of some rows is being skipped.
Fix: Count all 8 stitches after each row until the edges become easy to recognize.
2. One edge is much tighter
Cause: The foundation chain or turning loops are too tight.
Fix: Relax your yarn tension and avoid pulling the working loop tight after turning.
3. The ribbing disappears
Cause: Some stitches were worked through both loops instead of BLO.
Fix: Look for the top “V” and consistently use only the back loop.
4. The band is too loose on the planner
Cause: The strip was measured flat without considering stretch.
Fix: Move the button farther inward or remove several rows and remake the buttonhole.
5. The buttonhole stretches too much
Cause: The opening is larger than the button.
Fix: Use a slightly larger button, or reinforce the opening with a round of tightly worked slip stitches.
6. The pen pocket puckers the main band
Cause: The sewing stitches were pulled too tightly.
Fix: Remove the seam and sew again using relaxed, evenly spaced stitches.
7. The pen falls out
Cause: The pocket is too wide or too shallow.
Fix: Narrow the seams slightly or crochet a taller replacement pocket.
How to Customize This Crochet Project
Change the Yarn
Cotton gives the cleanest structured result, but a cotton-acrylic blend can make the band softer and stretchier.
Avoid very fuzzy yarns if the planner will be used daily because repeated friction can make the surface pill.
Change the Colors
Teacher-themed combinations include:
- red + cream;
- school-bus yellow + charcoal;
- forest green + oatmeal;
- navy + gold;
- sage + muted apple red.
You can also match the school colors.
Change the Size
The easiest adjustment is simply adding or removing rows before the buttonhole.
For width, change the starting chain.
Keep in mind that a very wide band may prevent the planner from lying completely flat when opened.
Add a Border
If you want a more defined edge, work a round of slip stitches around the entire band after finishing.
Do not make the border excessively tight.
Change the Texture
Instead of hdc BLO, try:
- plain hdc for a smoother band;
- single crochet for a denser band;
- lemon peel stitch for subtle texture;
- moss stitch for a flatter woven appearance.
Keep the stitch pattern simple if you plan to attach a pen pocket.
Add More Storage
For a wider band, make the pocket large enough for:
- two pens;
- a pen and highlighter;
- narrow sticky-note flags;
- small ruler.
Avoid heavy items because they may pull the band downward.
Teacher Gift Ideas
Pair the finished planner band with:
- a new planner;
- quality pens;
- sticky notes;
- a gift card;
- handmade bookmark;
- personalized teacher tag.
For end-of-year gifts, remove the apple and use a small flower or initial applique so the band feels less seasonal.
Finishing Instructions
Fastening Off
After the final crochet row, cut the yarn leaving approximately 6 inches.
Pull the tail completely through the working loop.
Weaving in Ends
Thread each loose end onto a tapestry needle.
Weave through the back of several stitches in one direction.
Change direction and weave through a second section.
Trim only after the yarn feels secure.
Do not simply cut the tail close to the knot.
Blocking
Cotton bands benefit from light blocking.
Lay the completed band flat.
Gently shape it into a straight rectangle.
Mist lightly with water.
Allow it to dry completely before attaching the pocket or using it.
Do not overstretch the band while wet or you may make it too long for the planner.
Shaping
After drying, wrap the band around the planner and leave it there for a few hours. This helps the fabric settle into its working shape.
Washing and Care
For a removable band made from washable cotton:
- hand wash in cool or lukewarm water;
- use mild detergent;
- avoid wringing;
- press gently in a towel;
- reshape;
- dry flat.
Check the care instructions on the actual yarn label because fiber blends can require different treatment.
Quick Printable-Style Summary
Skill level: Beginner/Easy
Yarn: Medium/worsted #4 cotton
Hook: 4.0 mm
Main stitches: ch, hdc, hdc BLO, sc, sl st
Band width: Approximately 1¾–2 inches
Starting method: Ch 9, then work 8 hdc across
Main repeat: Ch 1, turn, hdc BLO across
Length: Crochet until approximately 1–1½ inches shorter than the planner circumference, then fit-test and complete the closure section
Buttonhole: Center a small ch-2 opening between 3 stitches on each side
Pocket: Small 6-sc-wide rectangle, approximately 3 inches tall
Finishing: Sew on button, add pocket if desired, weave ends, lightly block and test fit
FAQ
Can a beginner make this crochet teacher planner band?
Yes. The basic band uses repetitive half double crochet rows. The only slightly different technique is working into the back loop and creating the small buttonhole.
What yarn is best for a crochet planner band?
Cotton is a strong choice because it creates a crisp fabric and handles frequent use well. Medium/#4 cotton also makes the stitches easy for beginners to see.
How long should a crochet planner band be?
There is no universal finished length. Measure around your actual closed planner and crochet to fit it. Stop slightly short, then test the stretch before completing the closure.
Can I make the band without a button?
Yes. Crochet the band to a snug loop measurement and sew the two ends together. That creates a permanently closed stretchy planner band.
You could also sew a short piece of elastic between the ends.
Can this pattern fit an Erin Condren, Happy Planner, A5 journal, or teacher lesson planner?
Yes, because length is determined by direct measurement rather than a fixed row count.
Very thick disc-bound planners may require a longer strip and slightly wider band.
Can I make the pen pocket wider?
Yes. Increase the pocket foundation chain and adjust the number of single crochet stitches.
If you want a two-pen pocket, consider widening the main planner band too so the pocket has a stable base.
Is the apple applique required?
No. It is purely decorative.
You can replace it with:
- a flower;
- pencil applique;
- heart;
- star;
- school initials;
- teacher’s initial;
- simple button.
Conclusion
A good small crochet project should be quick enough to finish in an evening but useful enough that it does not immediately disappear into a drawer. This crochet teacher planner band fits that goal especially well.
The ribbed band teaches consistent back-loop crochet, the adjustable button closure removes the need for an exact universal size, and the optional pen pocket turns a simple strip of crochet into something a teacher can use throughout the school year.
Once you have made the first one, keep the measurements for that planner style. You can then make additional versions in school colors, neutral gift colors, or seasonal combinations without reworking the entire sizing process.
Save the tutorial with your back-to-school crochet ideas, and consider making a matching crochet bookmark, pencil pouch, or teacher gift tag with the leftover cotton yarn.





