A classroom door is one of the first things students see each morning, so a small handmade decoration can make the entrance feel much warmer. This crochet classroom door hanger pattern combines simple crochet rounds, an easy shell border, a wooden hoop, a customizable teacher-name panel, and cheerful tassels into a project that looks detailed without requiring advanced crochet techniques.
The main section is crocheted as a flat circle. If you already know how to chain and make a double crochet, most of the project will feel familiar. Even if crocheting in the round is new to you, the predictable increase pattern makes this a useful first circular project.
You can personalize the finished hanger with a teacher’s surname, classroom number, grade, school colors, or a short word such as “READ,” “CREATE,” or “WELCOME.” The lettering is optional, so the crochet itself can be completed first and personalized later.
The finished piece is approximately 12 inches wide and approximately 17–19 inches tall with tassels, making it substantial enough to notice on a classroom door without becoming heavy or difficult to hang.
What You’ll Learn
In this tutorial you will learn how to:
- Start crochet in a magic ring.
- Increase a double crochet circle evenly.
- Change yarn colors cleanly.
- Recognize and correct a circle that cups or ruffles.
- Crochet a simple shell border.
- Make an optional rectangular personalization panel.
- Block a crochet decoration.
- Center crochet evenly inside a wooden hoop.
- Add a secure hanging loop.
- Make simple yarn tassels.
- Adjust the size and colors for different classrooms.
Materials You’ll Need
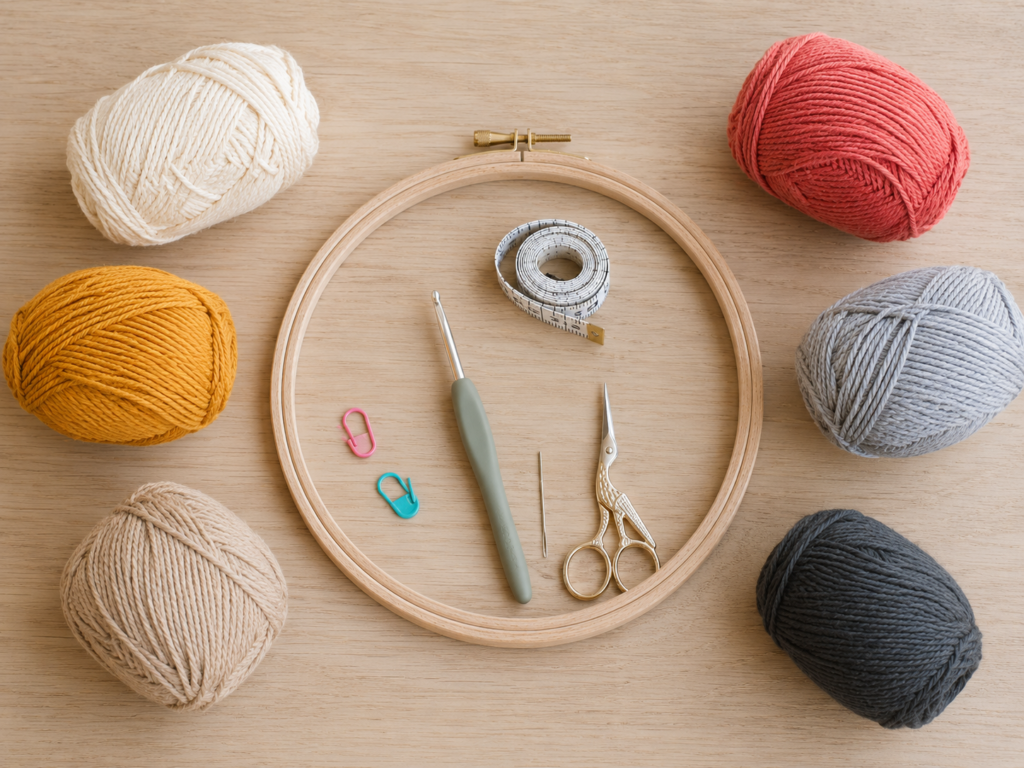
For the sample-style version, use smooth medium #4 cotton or cotton-blend yarn.
Suggested colors:
- Warm cream — approximately 45 yards.
- Golden mustard — approximately 25 yards.
- Dusty coral — approximately 25 yards.
- Soft gray — approximately 20 yards.
- Oat beige — approximately 30 yards.
- Charcoal — a small amount for optional embroidery.
You will also need:
- 4.5 mm crochet hook.
- 12-inch wooden embroidery hoop.
- Yarn needle.
- Scissors.
- Two or more stitch markers.
- Measuring tape.
- Rustproof pins and blocking mat or folded towel.
- Optional felt or additional yarn for teacher-name lettering.
A 4.5 mm hook is intentionally a little firm with many worsted cotton yarns because this is decor rather than clothing. You want visible stitches with enough structure to hold their shape. Yarn-weight and hook recommendations are always guidelines rather than guarantees; the Craft Yarn Council recommends checking the actual fabric and gauge produced by your yarn-and-hook combination.
Crochet Abbreviations Used
This tutorial uses standard U.S. crochet terminology:
- ch = chain
- sc = single crochet
- hdc = half double crochet
- dc = double crochet
- sl st = slip stitch
- st/sts = stitch/stitches
- rep = repeat
The Craft Yarn Council notes an important U.S./U.K. terminology difference: a U.S. single crochet corresponds to a U.K. double crochet, while a U.S. double crochet corresponds to a U.K. treble.
Before You Start
Gauge and finished size
Traditional garment gauge is not critical here.
Instead, measure the motif before mounting it.
After Round 6 and the shell border, aim for approximately 8.5–9.5 inches across. A little variation is fine because the yarn ties between the motif and 12-inch hoop create the remaining space.
If your motif is much smaller than 8.5 inches, either loosen your tension, use a slightly larger hook, or add another increase round.
If it reaches nearly 12 inches before blocking, your tension or hook is probably too loose for this hoop size.
How to count your stitches
Place a stitch marker in the first real stitch of every round.
Do not count the joining slip stitch as a stitch.
The round totals should be:
- Round 1: 12 sts.
- Round 2: 24 sts.
- Round 3: 36 sts.
- Round 4: 48 sts.
- Round 5: 60 sts.
- Round 6: 72 sts.
That consistent increase of 12 stitches per round is what keeps the circle flat.
How to avoid curling
A circle that forms a bowl usually needs either:
- More increases.
- Looser tension.
- A slightly larger hook.
A circle that develops large waves usually has:
- Too many increases.
- Very loose tension.
- Accidental extra stitches near the join.
Minor movement is normal and often disappears during blocking.
Color planning
For a classroom project, choose one dominant neutral plus two or three brighter accents.
The warm sample palette uses mustard and dusty coral for energy while cream, gray and oat keep the result calm enough for classroom decor.
Avoid combining six equally strong colors unless you specifically want a rainbow effect.
Step-by-Step Crochet Tutorial
Step 1: Crochet the Center
Begin with golden mustard yarn.
Make a magic ring.
Round 1
Ch 2. The ch-2 does not count as a stitch.
Work 12 dc into the magic ring.
Pull the yarn tail carefully to close the center.
Sl st into the first dc to join.
Stitch count: 12 dc
A small opening in the exact center is acceptable, but it should not be large enough to look accidental.
Beginner tip:
Before pulling your magic ring closed, count the 12 double crochets. It is much easier to add or remove a stitch while the center is still open.
Common mistake to avoid:
Do not join into the top of the ch-2. Join into your first actual double crochet.
Step 2: Expand the Center Evenly
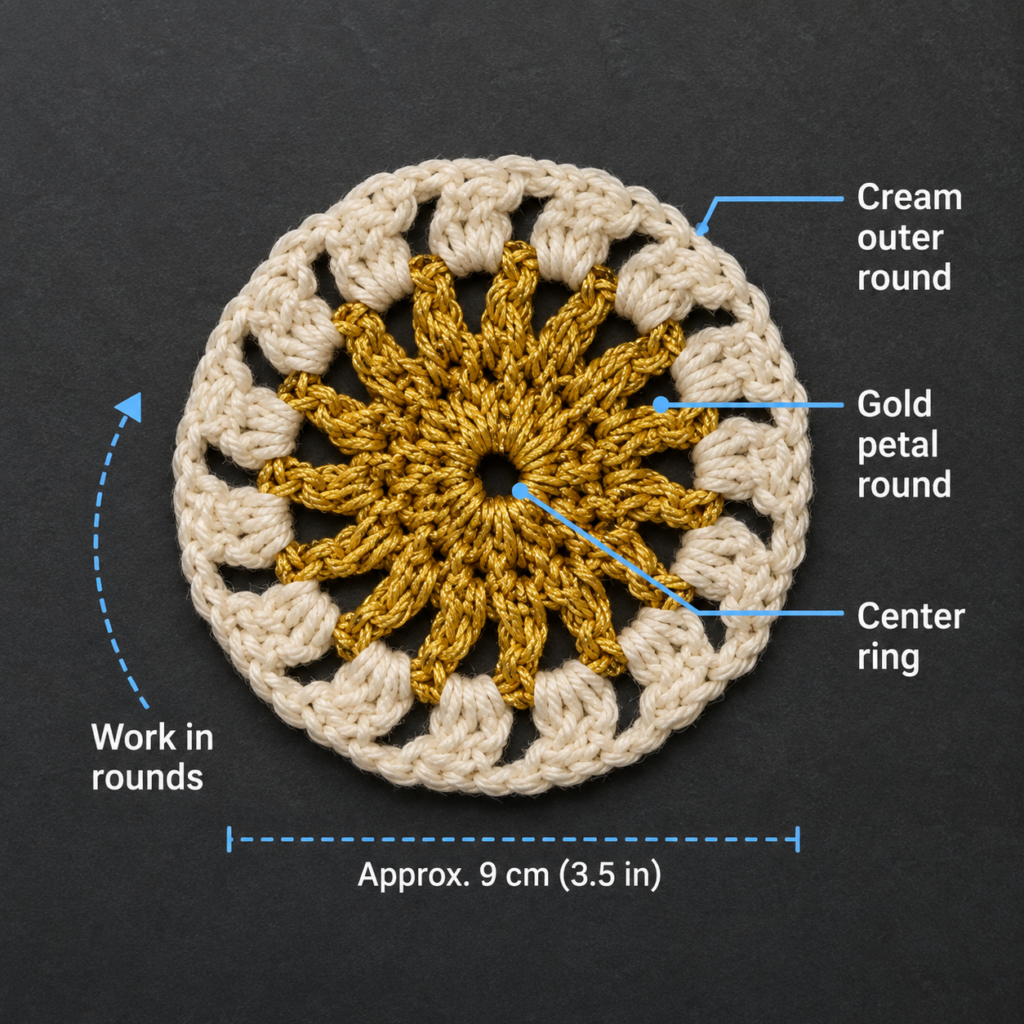
Change to warm cream.
Round 2
Ch 2.
Work 2 dc in each stitch around.
Join with a sl st to the first dc.
Stitch count: 24 dc
Change to dusty coral.
Round 3
Ch 2.
Work:
1 dc in the next stitch, 2 dc in the next stitch.
Repeat that sequence all the way around.
Join to the first dc.
Stitch count: 36 dc
Your piece should now resemble a small, flat coaster.
Beginner tip:
Say the increase rhythm while you crochet: “one, two-in-one; one, two-in-one.”
Common mistake to avoid:
When changing colors, do not knot a bulky new yarn directly on the front. Join neatly at the beginning of the new round and leave a tail long enough to weave securely later.
Step 3: Continue the Color Rings
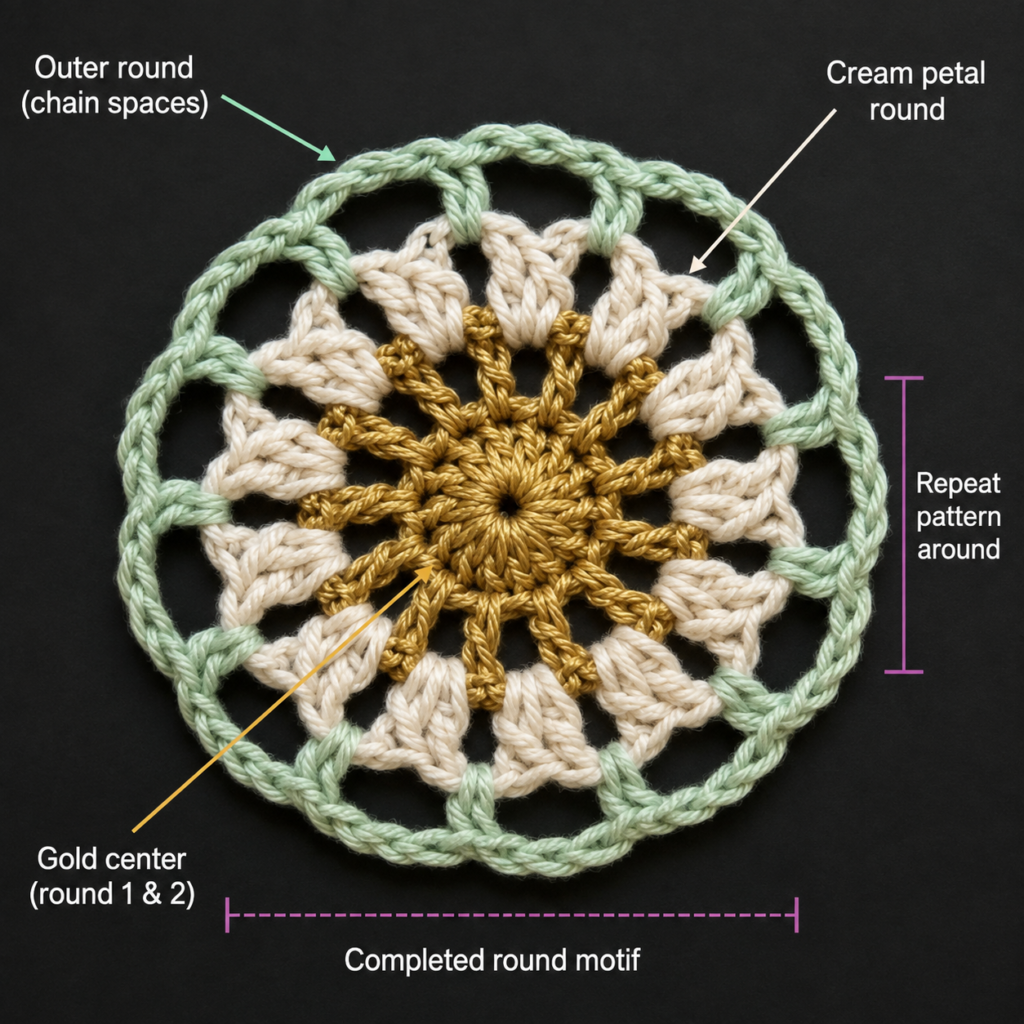
Change back to warm cream.
Round 4
Ch 2.
Work:
1 dc in each of the next 2 sts, 2 dc in the next st.
Repeat around.
Join.
Stitch count: 48 dc
Change to soft gray.
Round 5
Ch 2.
Work:
1 dc in each of the next 3 sts, 2 dc in the next st.
Repeat around.
Join.
Stitch count: 60 dc
At this stage, place the circle flat on the table.
Do not force it flat.
A naturally flat circle means your increase rate and tension are working together correctly.
Step 4: Finish the Main Circle
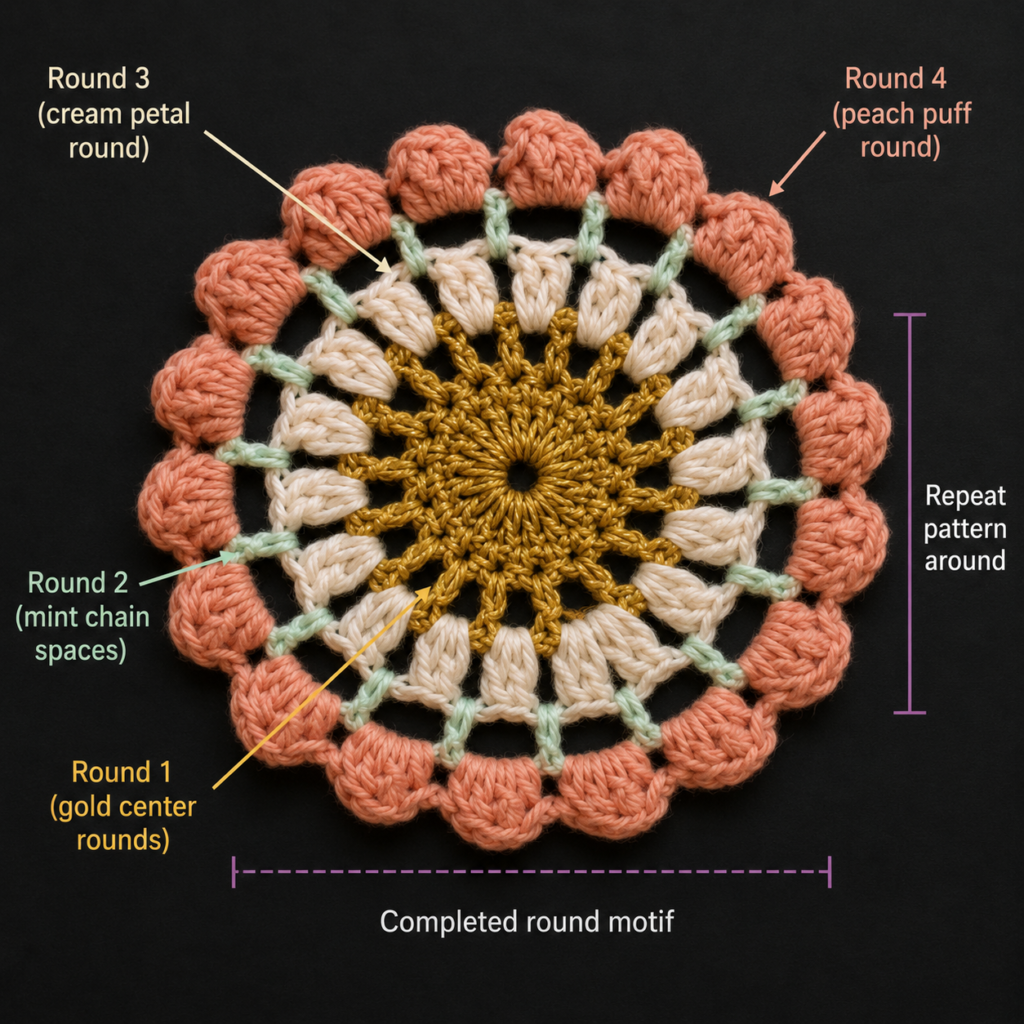
Change to oat beige.
Round 6
Ch 2.
Work:
1 dc in each of the next 4 sts, 2 dc in the next st.
Repeat around.
Join.
Stitch count: 72 dc
Lay your piece flat again.
Measure through the center from edge to edge.
Depending on your yarn and tension, it should now be approximately 8–9 inches before the border.
If the circle forms only very gentle waves, continue. Blocking will usually correct them.
If the piece is heavily ruffled, recount your stitches before proceeding.
Beginner tip:
Count every completed round before changing colors. Fixing one missing stitch now is far easier than compensating for it two rounds later.
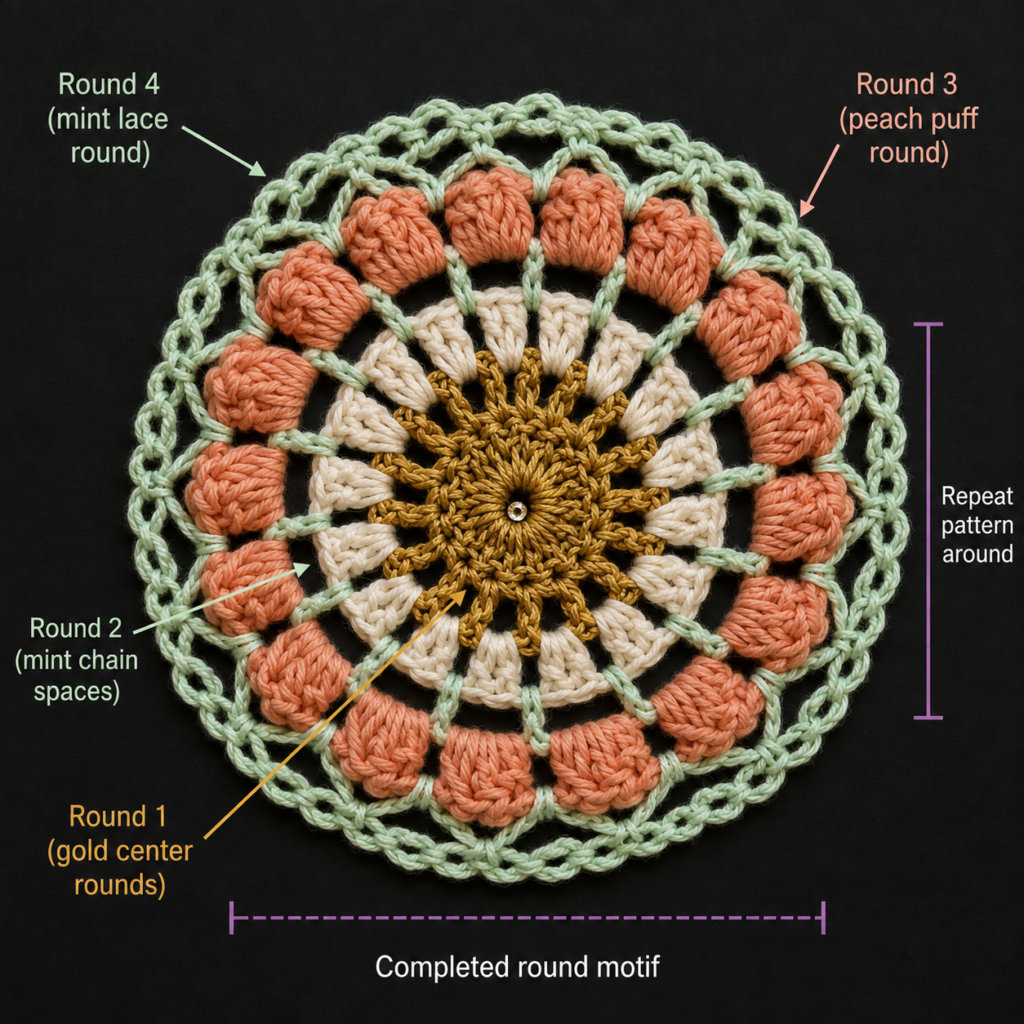
Step 5: Crochet the Decorative Shell Border
Change to warm cream.
Ch 1.
The border repeat uses six stitches from the previous round:
*sc in next st, skip 2 sts, 5 dc in next st, skip 2 sts*
Repeat from * to * around.
Join with a sl st to the first sc.
You should have 12 shells around the motif.
Fasten off.
The center double crochet of each shell will later become a convenient attachment point for the wooden hoop.
Beginner tip:
Count the shells instead of trying to count all the individual border stitches. You need 12 evenly spaced shells.
Common mistake to avoid:
Do not place the shell into the wrong stitch after skipping. A shell that shifts by one stitch can make the border look uneven by the end of the round.
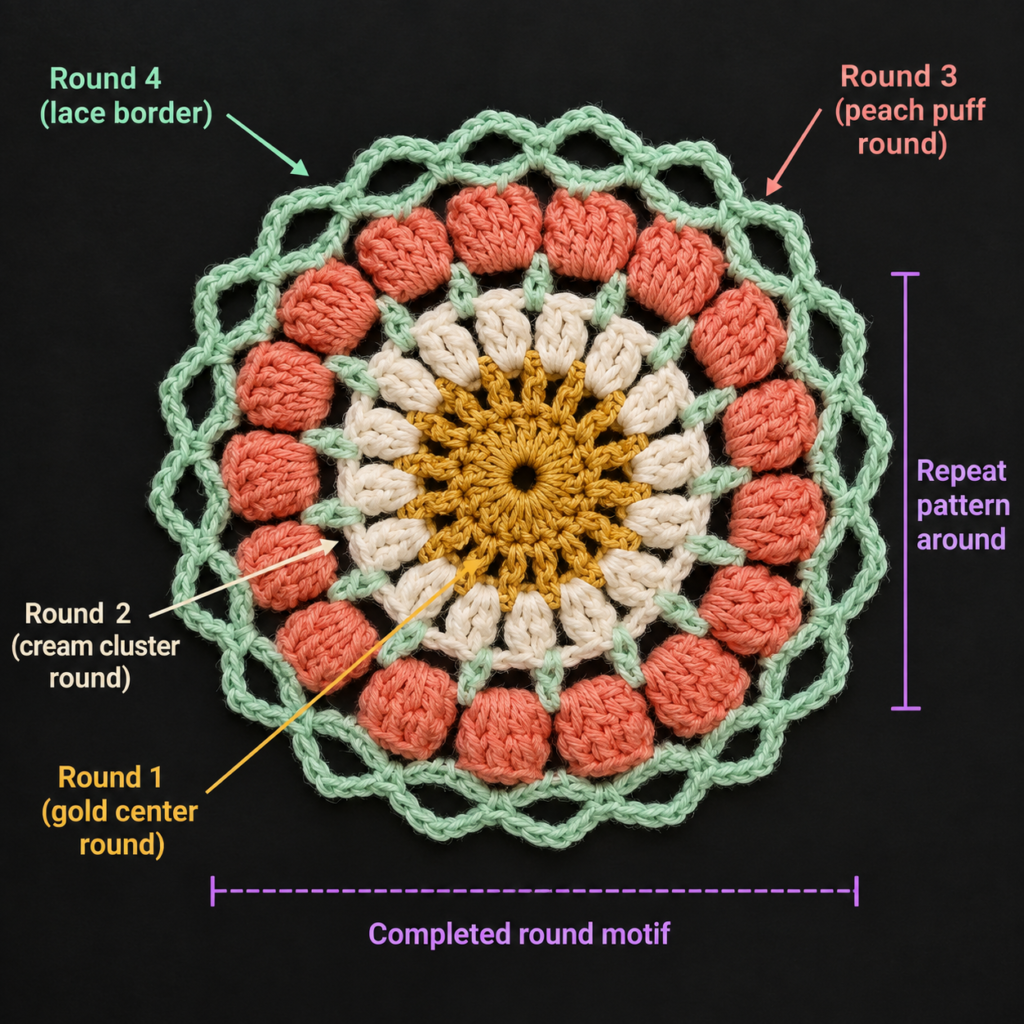
Step 6: Make the Optional Teacher Name Panel
This small panel is not required structurally, but it turns a general wall decoration into recognizable classroom decor.
Using oat beige:
Ch 31.
Row 1
Hdc in the second chain from the hook and in each chain across.
30 hdc
Rows 2–5
Ch 1 and turn.
Hdc in each stitch across.
30 hdc
Fasten off.
For a cleaner finish, join warm cream in a corner and work a simple sc border around the rectangle.
The finished strip should measure approximately 7.5–8.5 inches wide depending on tension.
Personalization options include:
- Yarn embroidery.
- Surface crochet.
- Felt letters.
- A removable fabric name patch.
- Teacher initials.
- Classroom number.
- Grade level.
For a reusable hanger, leave the panel blank until the rest of the door hanger is finished.
Step 7: Block the Crochet Pieces
Blocking makes a major difference to crochet decor.
For cotton yarn:
- Gently soak the motif in cool or lukewarm water.
- Press out excess water between towels. Do not twist.
- Pin the center flat.
- Arrange the 12 shell points evenly.
- Measure across several directions to keep the circle symmetrical.
- Let it dry completely.
Block the name panel separately into a clean rectangle.
If you use acrylic yarn, follow the yarn manufacturer’s care instructions rather than assuming cotton-blocking methods are appropriate. The Craft Yarn Council recommends retaining yarn-label information because the label’s washing and drying symbols tell you how that specific fiber should be cared for.
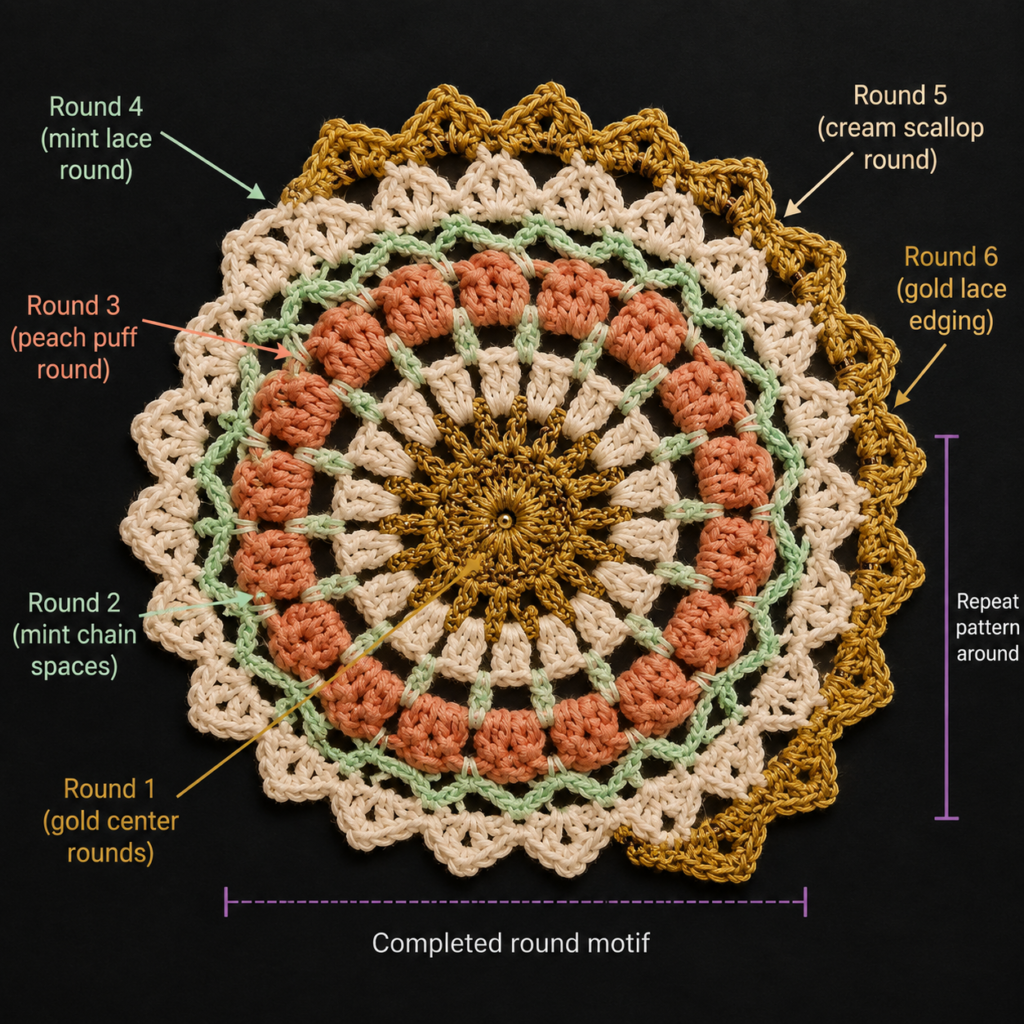
Step 8: Attach the Motif to the Wooden Hoop
Place the wooden hoop flat.
Center the blocked motif inside it.
There should be a reasonably even gap between the crochet and hoop.
Cut 12 cream yarn strands approximately 10 inches long.
Beginning at the top, pass one strand through the center double crochet of a shell and around the hoop.
Tie loosely at the back.
Move to the shell directly opposite it and repeat.
Next secure the left and right sides.
Only after those four anchor points are centered should you add the remaining eight ties.
Now adjust each tie gradually until the motif looks evenly suspended.
The motif should be taut enough to lie flat but not stretched so hard that the circular stitches distort.
Knot each tie securely at the back and weave or trim the ends neatly.
Beginner tip:
Always secure opposite sides first. If you attach twelve points sequentially in one direction, the motif tends to drift away from center.
Common mistake to avoid:
Do not tighten the first attachment point completely before the opposite point is installed.
Step 9: Attach the Name Panel
Position the name panel across the lower third of the hoop.
Do not completely cover the center of the motif.
Using matching yarn and a yarn needle, secure each short side with two or three discreet stitches.
You can attach the strip:
- Directly to the crochet motif.
- To the inner hoop ties.
- To both the motif and hoop for additional support.
Keep the panel level before knotting the yarn.
If using felt letters or embroidery, add them after confirming the panel’s final visible width.
Step 10: Add Tassels and Hanging Loop
Cut yarn strands approximately 8–10 inches long.
For each tassel, gather about 6–10 strands, depending on the fullness you prefer.
Fold the bundle in half.
Insert the folded center through the lower hoop or an outer shell using your crochet hook.
Pull the yarn ends through the loop and tighten gently.
Add approximately 7–9 tassels across the lower section.
Alternate:
- Cream.
- Mustard.
- Coral.
- Oat.
- Gray.
Trim the ends after all tassels are attached so you can create one straight or gently curved lower edge.
Hanging loop
Using cream or oat yarn:
Ch approximately 30–35.
Fasten off with long tails.
Tie both ends securely around the top of the wooden hoop.
For an especially sturdy classroom hanger, make two identical chains and use them together.
Pattern Notes or Stitch Notes
Turning-chain rule
The ch-2 at the start of each double crochet round does not count as a stitch in this pattern.
The ch-1 used for hdc rows also does not count as a stitch.
Stitch counts
The main circle grows by 12 stitches per round:
- 12
- 24
- 36
- 48
- 60
- 72
Do not intentionally add extra stitches near the joining slip stitch.
Repeat pattern
The increase spacing expands by one ordinary dc between increases on every new round.
For example:
Round 3:
1 dc, increase
Round 4:
2 dc, increase
Round 5:
3 dc, increase
Round 6:
4 dc, increase
That logic makes resizing easier.
Right side and wrong side
The motif has a visible right side, although both surfaces should look tidy.
Mount it with your cleaner side facing the classroom.
Hide knots and assembly tails on the back.
Size adjustment notes
For a smaller door hanger
Use:
- DK yarn.
- 3.5–4 mm hook.
- 8–10 inch hoop.
You may also stop after Round 5 if the circle fits your chosen hoop.
For a larger classroom display
Continue with another increase round:
1 dc in next 5 sts, 2 dc in next st around.
That produces 84 stitches.
Check the motif against your hoop before adding the shell border.
Common Beginner Mistakes
1. The circle turns into a bowl
This normally means the project needs slightly more circumference.
First recount the round.
If the count is correct, your tension may simply be tighter than expected.
Try a 5 mm hook or block the piece before making major changes.
2. The circle becomes very wavy
Too many stitches are usually being added.
Pay special attention near the joining slip stitch because beginners sometimes accidentally crochet into both the first stitch and the slip stitch.
Use a marker.
3. The color changes have visible knots
Do not create large knots on the front.
Leave generous yarn tails and weave them securely through the wrong side after crocheting.
4. The shell border does not end evenly
The border depends on the correct 72-stitch count.
If you arrive at the final few stitches and the sequence no longer fits, check Round 6 rather than improvising a different final shell.
5. The motif sits off-center in the hoop
Loosen the mounting ties.
Anchor the top, bottom, left and right first.
Then add diagonal attachment points.
6. The motif puckers after mounting
The ties are too tight.
They should support the motif, not stretch it aggressively.
Relax each tie until the crochet stitches return to their natural shape.
7. Tassels look uneven
Do not trim each tassel individually while attaching them.
Hang all tassels first, let the project hang vertically for a few minutes, then make one final trim.
How to Customize This Crochet Project
Change the yarn colors
Try school colors for an instantly personalized version.
Other combinations include:
- Rainbow classroom colors.
- Primary red, blue and yellow.
- Montessori-inspired cream, rust, sage and ochre.
- Pastel kindergarten colors.
- Black, cream and gold for a more modern teacher office.
Change the size
A smaller 8-inch hoop works well for office doors and narrow classroom spaces.
A 14-inch or 16-inch hoop creates a stronger visual statement for a large entrance.
Always crochet the motif to suit the hoop rather than forcing a small motif to stretch excessively.
Add a different border
Instead of shells, try:
- Plain single crochet.
- Picots.
- Crab stitch.
- Small chain arches.
Beginners will generally find the five-dc shell easiest while still producing a decorative finish.
Add texture
You can replace one solid round with:
- BLO double crochet.
- Alternating front-loop and back-loop stitches.
- Bobbles at evenly spaced intervals.
Do this only after you are comfortable maintaining the required stitch count.
Personalize the plaque
Add:
- Teacher surname.
- Classroom number.
- Grade.
- School initials.
- “READ.”
- “CREATE.”
- “WELCOME.”
For a gift, you could leave the panel blank and include several interchangeable felt name pieces.
Gift ideas
This crochet classroom door hanger works well for:
- Back-to-school teacher gifts.
- Teacher appreciation week.
- New classroom setup.
- Preschool rooms.
- Homeschool rooms.
- Libraries.
- Reading corners.
- School counselors’ offices.
- Craft classrooms.
Finishing Instructions
Examine the back of the project carefully.
Weave every yarn tail through several nearby stitches, reverse direction, and weave through a second section before trimming.
Check the wooden hoop attachment knots.
Pull gently on the hanging loop to confirm it can support the project.
Straighten the name panel.
Trim the tassels.
If needed, lightly re-block only the tassels or personalization panel.
For cleaning, dust the piece regularly rather than frequently washing the entire assembled hoop. If the crochet section needs deeper cleaning, follow the care instructions for the yarn used. Fiber-specific care matters more than a universal crochet rule.
Do not iron directly onto acrylic crochet.
Quick Printable-Style Summary
Skill level: Beginner / easy
Finished size: Approximately 12 inches wide and 17–19 inches tall with tassels
Yarn: Medium #4 smooth cotton or cotton blend
Hook: 4.5 mm
Main stitches: ch, sl st, sc, hdc, dc
Starting method: 12 dc into a magic ring
Circle stitch counts:
12 → 24 → 36 → 48 → 60 → 72
Border:
Repeat sc, skip 2, 5 dc, skip 2 around to create 12 shells.
Name panel:
Ch 31; 30 hdc across; work 5 total rows.
Assembly:
Block motif → center inside hoop → secure at 12 shell points → attach name panel → add tassels → add hanging chain.
Finishing:
Weave in all ends, check attachment knots and trim tassels evenly.
FAQ
Can a beginner make this crochet classroom door hanger?
Yes. The pattern primarily uses double crochet with predictable increases. The most important beginner skills are counting stitches and identifying the first stitch of each round.
What yarn is best for a crochet door hanger?
Smooth cotton or cotton-blend yarn is especially useful because it creates clear stitches and relatively structured fabric. Acrylic can also work if you prefer lighter weight or have suitable yarn already available.
Can I make this without an embroidery hoop?
Yes, but the appearance will change.
You can attach the motif to a wooden dowel using two upper loops or sew it onto a felt backing. The hoop gives the circular motif the cleanest and most stable shape.
Can I use school colors?
Absolutely. School-color versions are particularly appropriate for classroom doors.
Use your main school color for the center and border, then use the secondary colors in the middle rounds and tassels.
How do I add a teacher’s name?
The easiest option is the small crochet panel included in this tutorial.
You can embroider the name with charcoal yarn, use surface crochet, or add removable felt letters.
Why is my crochet circle curling?
First check your stitch count.
If you have fewer stitches than required, the fabric may cup.
If your stitch count is correct, your tension may be very tight. Try blocking or moving up one hook size.
Can I wash the finished classroom door hanger?
The crochet fabric itself may be washable depending on the yarn, but the wooden hoop and added decorative components may not be suitable for soaking. Spot cleaning and regular dust removal are usually more practical. Always follow the care instructions supplied with your yarn.
Conclusion
A classroom decoration does not need complicated tapestry crochet or dozens of color changes to feel special. This crochet classroom door hanger uses a straightforward circular construction and adds interest gradually through color, a simple shell edge, personalization, and tassels.
Once you understand the 12-stitch increase system, the central motif becomes easy to resize. The same project can then be adapted for different teachers, grades, school colors, libraries, homeschool rooms, or seasonal classroom displays.
The most important step is not rushing the assembly. Block the motif first, center it carefully, and tighten opposite mounting points gradually. Those few extra minutes are what make the finished hanger look balanced rather than homemade in a hurried way.
Save the pattern so you can reuse the basic construction with another color palette when the next school season or teacher-gift project comes around.





