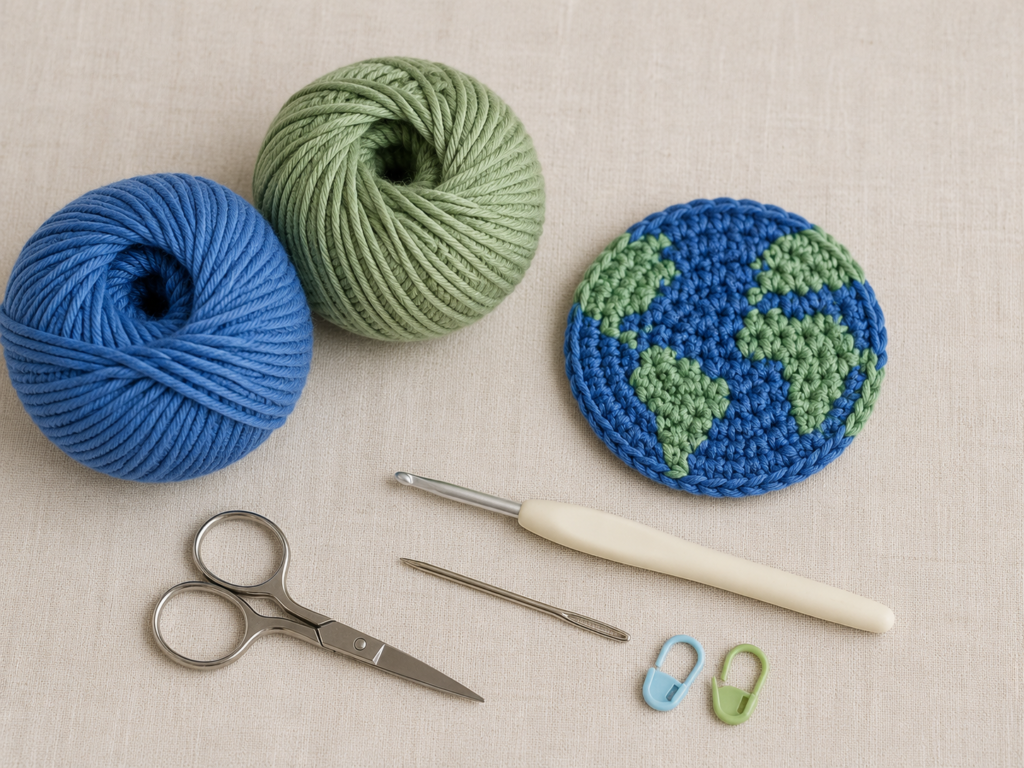
A tiny crochet Earth is one of those projects that looks much more complicated than it actually needs to be.
Traditional globe designs often use tapestry crochet or frequent color changes to build the green land directly into the blue background. That approach can look beautiful, but it asks a beginner to watch stitch counts, change yarn colors, manage carried strands, and shape a circle at the same time.
This crochet globe applique pattern takes a simpler route.
First, you will crochet one smooth blue circle. Then you will make three small green land pieces separately and sew them onto the surface. The result is a recognizable Earth motif without having to juggle two yarn colors in every round.
The finished applique works well on tote bags, school projects, blankets, classroom banners, children’s accessories, Earth Day decorations, notebook covers, pillows, wall hangings, and handmade gifts.
The design is intentionally stylized rather than geographically exact. Think of the green sections as cheerful hints of continents rather than a detailed map.
This is also an original construction. Although the visual research for this tutorial used Repeat Crafter Me’s blue-and-green Earth projects to study how a globe motif reads clearly as an applique, the pattern below uses a different method rather than reproducing that site’s row-by-row colorwork instructions. The selected source itself demonstrates that a flat Earth motif can successfully function as an appliqué.
What You’ll Learn
By the end of this tutorial, you will know how to:
- Crochet a flat circle using regular increases.
- Count stitches in joined rounds.
- Prevent a crochet circle from cupping or ruffling.
- Shape small crochet pieces with increases and decreases.
- Arrange simple pieces so they suggest continents.
- Sew a crochet applique neatly without bulky visible stitches.
- Block a small motif so it lies flat.
- Adjust the finished size for different projects.
Materials You’ll Need
For one applique approximately 4–4½ inches across:
- DK or light-worsted cotton yarn in ocean blue, approximately 12–18 yards.
- DK or light-worsted cotton yarn in fern green, approximately 6–10 yards.
- 3.5 mm crochet hook.
- Tapestry or yarn needle.
- Scissors.
- 2–4 locking stitch markers.
- Measuring tape or ruler, optional.
- Rust-resistant blocking pins, optional.
Cotton is particularly useful for applique because the stitches stay crisp and the motif blocks neatly. A cotton-acrylic blend also works well.
If you substitute yarn, try to keep both colors the same yarn weight and fiber type. The Craft Yarn Council classifies DK/light worsted as weight category 3 and lists approximately 3.5–4.5 mm as a common crochet-hook range for that yarn category, although individual tension and patterns can require a different size.
Crochet Abbreviations Used
This tutorial uses US crochet terminology.
- ch = chain
- sc = single crochet
- hdc = half double crochet
- sl st = slip stitch
- st/sts = stitch/stitches
- inc = increase; work 2 sc in the same stitch
- dec = single crochet decrease; combine 2 stitches into 1
- rep = repeat
- MR = magic ring
- RS = right side
- WS = wrong side
The Craft Yarn Council’s standardized abbreviation list uses terms such as ch, sc, sl st, st, and WS, and it also notes the important terminology difference that a US single crochet corresponds to a UK double crochet.
Before You Start
Gauge
Exact gauge is not critical because this is an applique rather than a fitted garment.
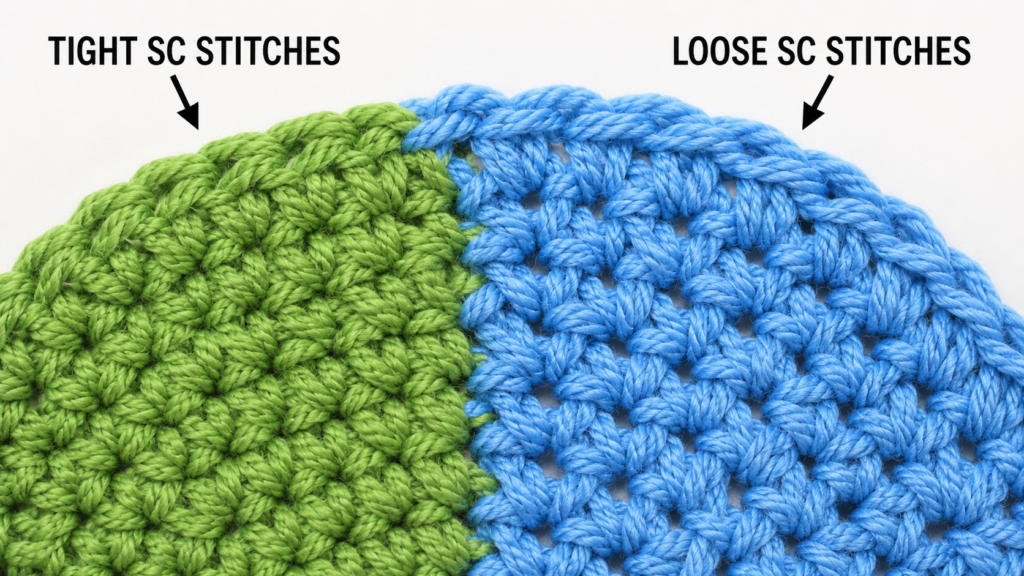
What matters more is that your stitches are firm enough for the motif to hold its shape while still lying flat.
If your stitches are very loose, use a hook 0.5 mm smaller. If your circle feels stiff and begins to curl upward, loosen your tension or try a hook 0.5 mm larger.
How to count joined rounds
The chain 1 at the beginning of each globe round does not count as a stitch.
Place a stitch marker in the first actual single crochet if you find it difficult to identify the beginning of the round.
How to prevent curling
A flat single-crochet circle generally needs evenly distributed increases.
This pattern adds six stitches per round.
If the circle begins forming a bowl, your tension may be too tight. If it becomes wavy like a ruffle, your tension may be too loose or you may have accidentally added extra increases.
Color choice
The Earth is immediately recognizable when the water and land have strong contrast.
Try combinations such as:
- Medium blue + grass green
- Dusty teal + sage
- Navy + mint
- Sky blue + olive
- Turquoise + emerald
You can also add a tiny amount of white later for clouds.
Beginner note
Do not worry about creating geographically accurate continents. Small irregular shapes usually look more natural than perfectly symmetrical ones.
Step-by-Step Crochet Tutorial
Step 1: Crochet the Blue Globe Base
The globe begins as a simple single-crochet circle.
With blue yarn, make a magic ring.
Round 1
Ch 1. Work 6 sc into the magic ring. Pull the ring closed firmly. Join with a sl st to the first sc.
6 sts
Round 2
Ch 1. Work 2 sc in every stitch around. Join.
12 sts
Round 3
Ch 1. Repeat:
1 sc in next st, 2 sc in next st
around. Join.
18 sts
Round 4
Ch 1. Repeat:
1 sc in each of next 2 sts, 2 sc in next st
around. Join.
24 sts
Round 5
Ch 1. Repeat:
1 sc in each of next 3 sts, 2 sc in next st
around. Join.
30 sts
Round 6
Ch 1. Repeat:
1 sc in each of next 4 sts, 2 sc in next st
around. Join.
36 sts
Round 7
Ch 1. Repeat:
1 sc in each of next 5 sts, 2 sc in next st
around. Join.
42 sts
Fasten off and leave a 6-inch tail for weaving in.
Your circle should lie mostly flat.
Do not worry if it is not perfectly flat yet. A small amount of blocking at the end will usually settle the stitches.
Beginner tip: Count every round before starting the next. Finding a missing increase several rounds later is much harder than checking immediately.
Common mistake to avoid: Do not crochet into the joining slip stitch as though it were one of the 42 stitches. Doing so gradually adds unwanted stitches.
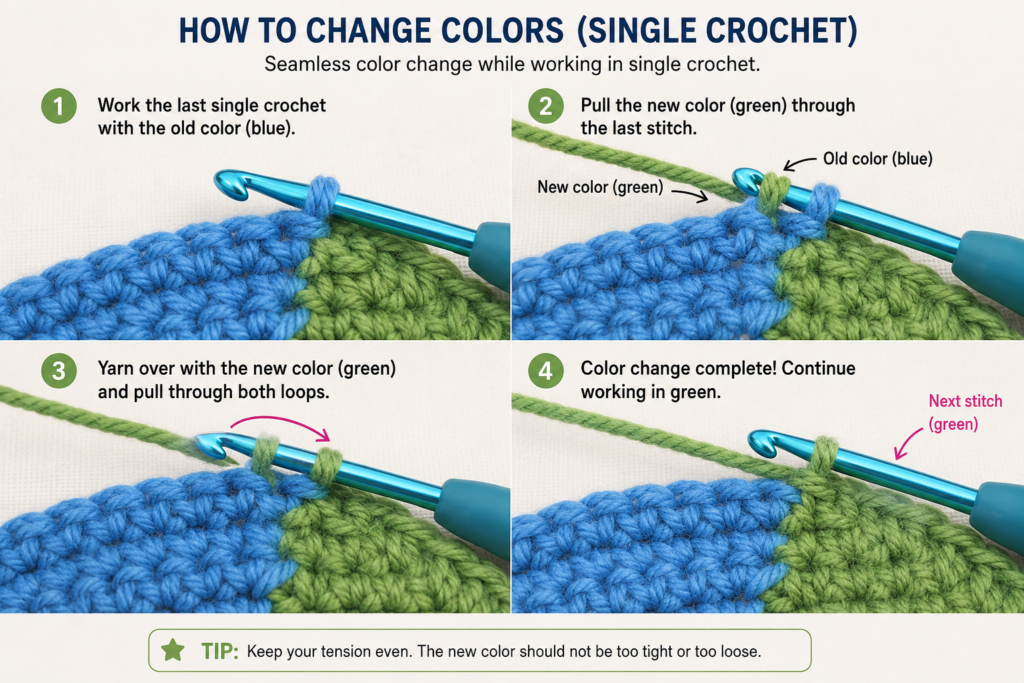
Step 2: Crochet the Large Green Land Patch
Now switch to green yarn.
The land pieces are deliberately irregular. They should suggest continents rather than form precise geometric shapes.
Ch 6.
Row 1
Starting in the second chain from the hook, sc across.
5 sts
Ch 1 and turn.
Row 2
Inc in the first stitch, sc in each of the next 3 stitches, inc in the final stitch.
7 sts
Ch 1 and turn.
Row 3
Sc in each of the first 2 stitches, hdc in each of the next 3 stitches, sc in each of the final 2 stitches.
7 sts
Ch 1 and turn.
Row 4
Skip the first stitch, sc in each of the next 5 stitches, leaving the final stitch unworked.
5 sts
Ch 1 and turn.
Row 5
Dec over the first 2 stitches, sc in the next stitch, dec over the final 2 stitches.
3 sts
Fasten off, leaving approximately 12 inches of yarn for sewing.
If desired, create one tiny peninsula. Join green yarn near a lower edge, ch 3, sl st into the second chain from the hook and the next chain, then sl st back into the land piece and fasten off.
Beginner tip: Your piece does not need to match the exact shape you imagine. Once it sits on the blue circle, even a simple irregular patch looks much more continent-like.
Common mistake to avoid: Avoid pulling the turning chains too tightly. Tight turning chains can make the land patch curl.
Step 3: Crochet the Medium Land Patch
Ch 5 with green yarn.
Row 1
Sc in second chain from hook and across.
4 sts
Ch 1 and turn.
Row 2
Inc in first stitch, sc in each of next 2 stitches, inc in last stitch.
6 sts
Ch 1 and turn.
Row 3
Sc across.
6 sts
Ch 1 and turn.
Row 4
Dec, sc in each of next 2 stitches, dec.
4 sts
Fasten off with a long sewing tail.
This piece should be noticeably smaller than the first patch.
Beginner tip: Rotate the patch when you place it on the Earth. The crochet rows do not have to sit horizontally.
Step 4: Crochet the Small Land Patch
Ch 4.
Row 1
Sc in second chain from hook and across.
3 sts
Ch 1 and turn.
Row 2
Inc, sc in next stitch, inc.
5 sts
Ch 1 and turn.
Row 3
Sc across.
5 sts
Ch 1 and turn.
Row 4
Dec, sc in next stitch, dec.
3 sts
Fasten off with a sewing tail.
You now have three separate pieces.
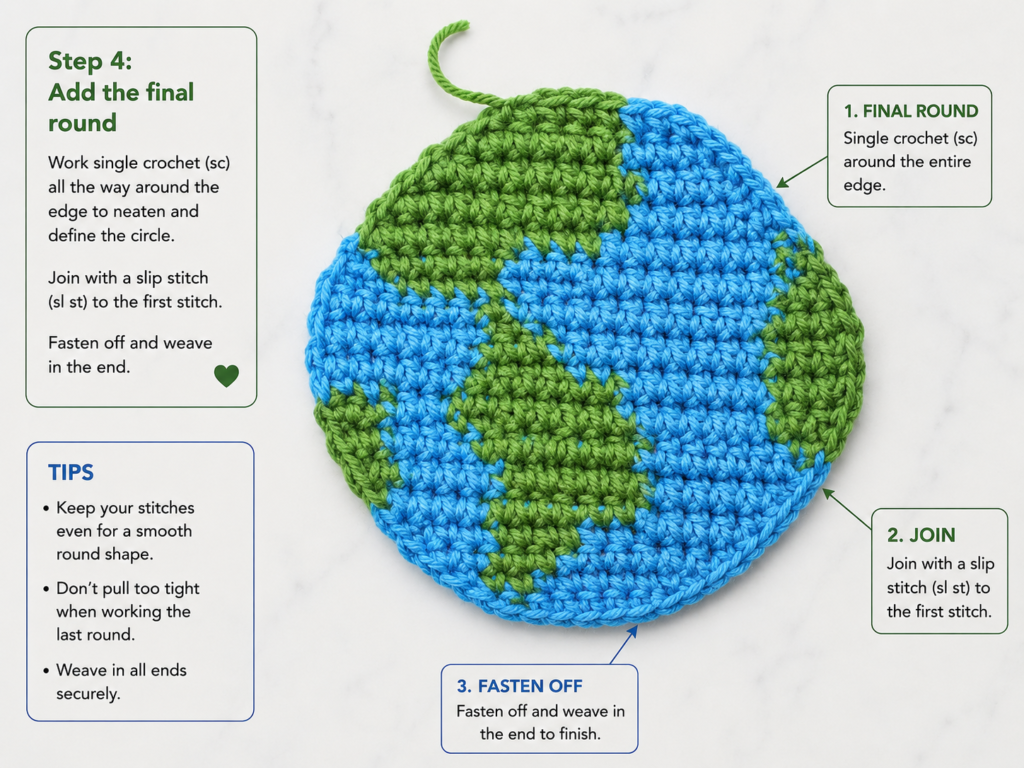
Step 5: Arrange the Green Land Pieces
Place your blue circle with the right side facing upward.
Do not begin sewing yet.
Try placing the large land piece toward the upper-left portion of the globe.
Position the medium piece toward the lower-middle area.
Place the smallest piece near the right edge.
Rotate all three pieces until the overall arrangement feels balanced.
Avoid perfect symmetry. Real coastlines are irregular, and an asymmetric arrangement makes a simplified Earth motif more convincing.
Leave enough visible blue between the green areas for the “ocean” to remain obvious.
If one land section touches the outer edge, that is perfectly fine. In fact, allowing one green piece to meet the edge often helps the Earth read more naturally.
Use locking stitch markers to hold the patches temporarily.
Beginner tip: Look at the project from several feet away. If it still immediately looks like an Earth, your placement is working.
Common mistake to avoid: Do not cover most of the blue background. The color contrast is what makes the design recognizable.
Step 6: Sew the Land Patches to the Globe
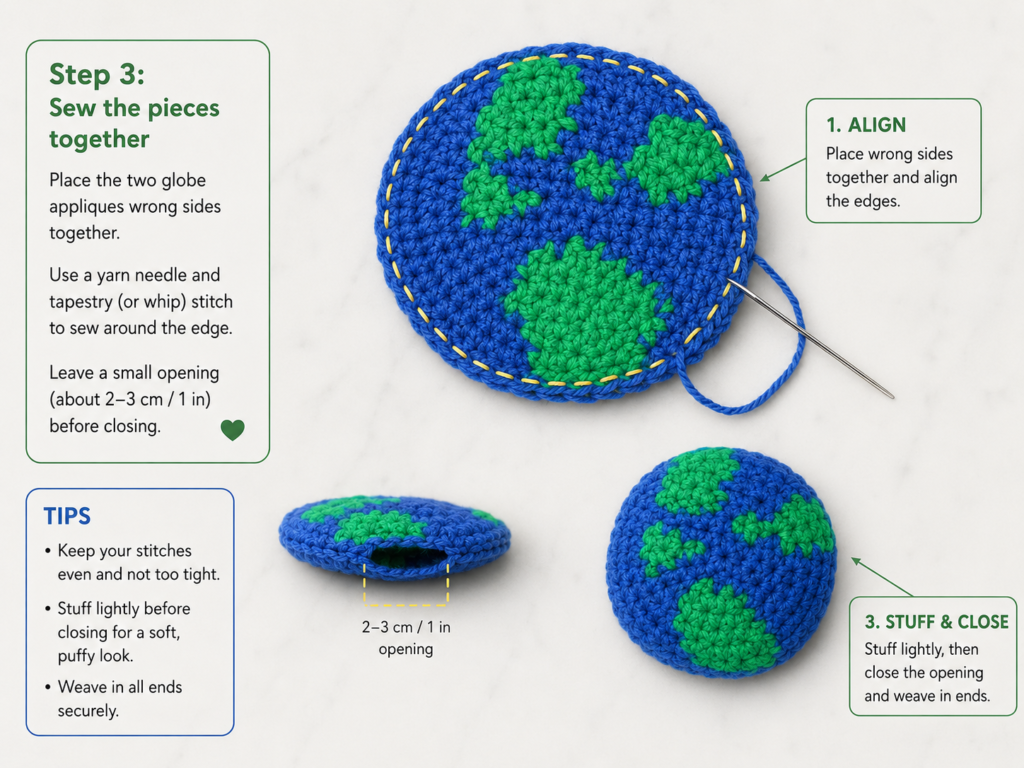
Thread the long green tail from the large patch onto your tapestry needle.
Begin from the back of the blue circle so the first tail is hidden.
Bring the needle up close to the edge of the green patch.
Take small stitches around the land piece.
Try to catch:
- A loop near the back edge of the green patch.
- Only a small amount of the blue base underneath.
Pull until the yarn lies flat, but do not pull hard enough to pucker the globe.
Continue around the entire patch.
When you return to the beginning, take the yarn to the wrong side, secure it by passing underneath several nearby stitches, then trim.
Repeat for the medium and small land pieces.
The Repeat Crafter Me companion tutorial also uses a tapestry needle to secure the finished Earth motif to its background, and its close-up attachment photograph is particularly useful for understanding how shallow crochet sewing stitches can remain unobtrusive on the front.
Beginner tip: Make more small stitches rather than fewer large stitches. Small stitches hold irregular curves more smoothly.
Common mistake to avoid: If the land patch begins bunching, you are pulling the sewing yarn too tightly. Undo the last few stitches and resew them with less tension.
Step 7: Check the Shape and Correct Any Curling
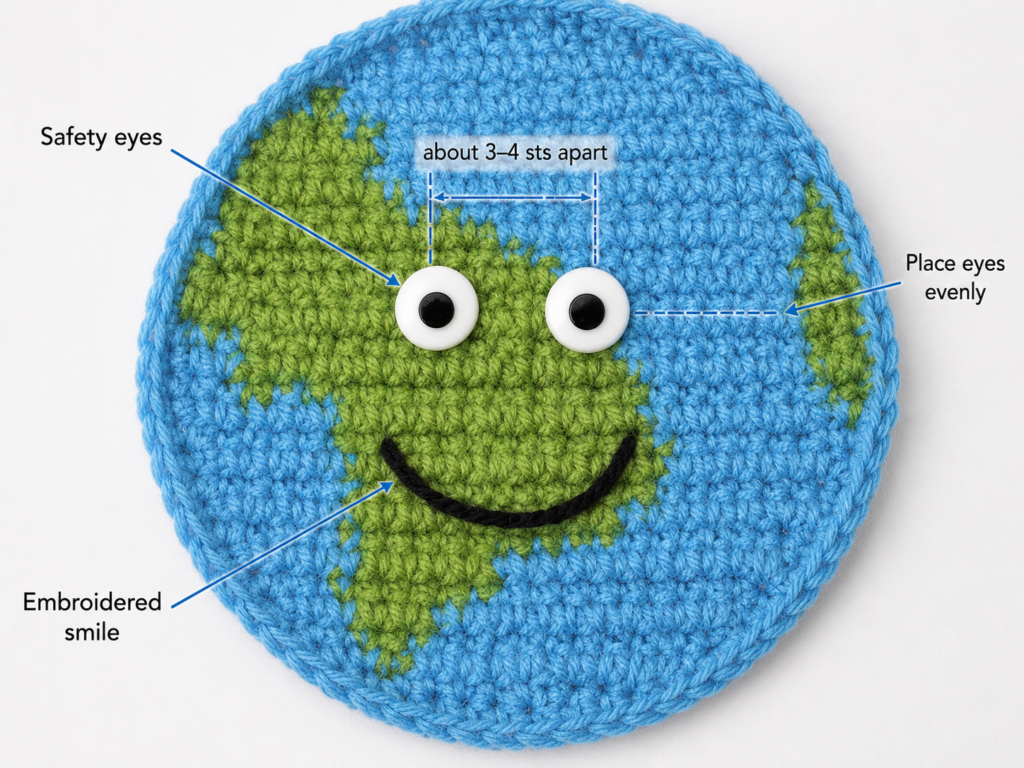
Lay the globe on a flat surface.
Look at it from directly overhead.
You are checking three things:
- The outer blue edge should look approximately circular.
- The green pieces should lie flat.
- The entire applique should rest against the table without forming a bowl.
A tiny amount of unevenness is normal.
If one land patch looks too rectangular, gently stretch a corner diagonally with your fingers.
If the globe itself cups upward, lightly dampen it during the blocking step and spread the circle outward.
If your edge is especially uneven, you can optionally add one relaxed round of slip stitches in blue around the outside.
Do not work those slip stitches tightly. Tight slip stitches can make the edge curl inward.
The primary reference tutorial similarly discusses refining the outside of its initially angular Earth to create a rounder finished shape.
Step 8: Attach the Crochet Globe Applique
Your globe can now be attached to another project.
Place it on the item and secure it temporarily with stitch markers.
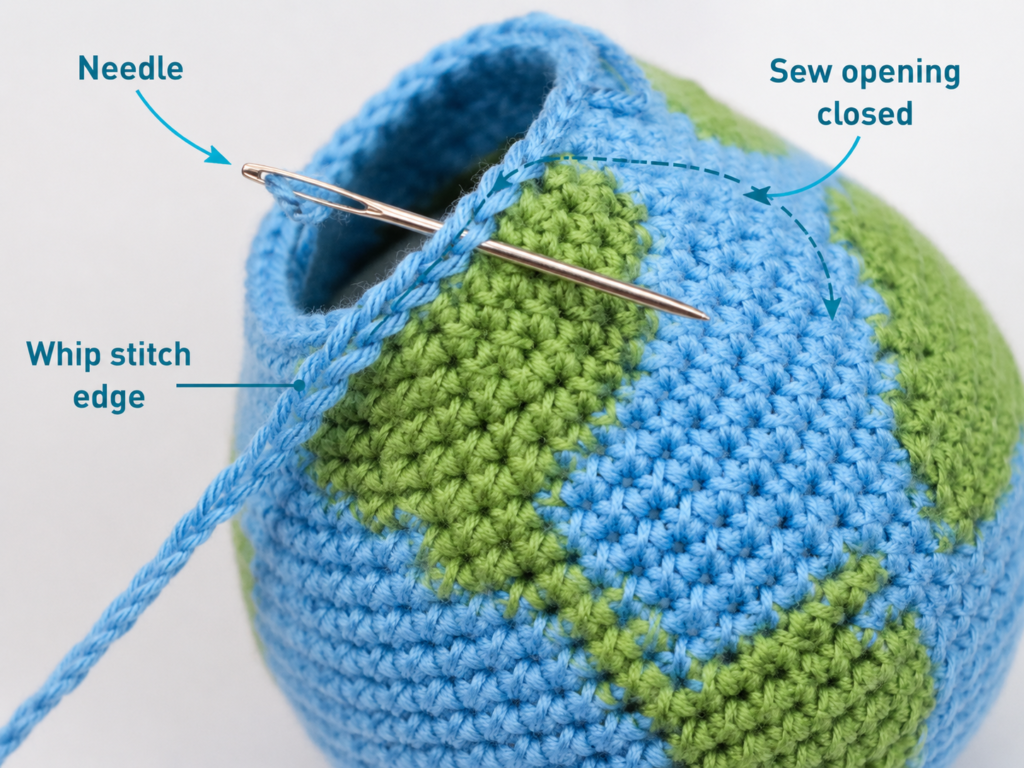
Thread a tapestry needle with blue yarn.
Bring the yarn up from the wrong side of the background close to the globe’s edge.
Sew around the circumference using small stitches.
Whenever possible, pass your needle beneath the outer loops of the applique rather than directly through the center of the stitches.
This keeps the seam neat.
Before tying off, hold the project vertically and check that no part of the globe lifts away from the background.
Add an extra stitch wherever necessary.
For a blanket or bag that will receive regular washing, sew particularly securely around any green land section that touches the blue outer edge.
Beginner tip: Matching the sewing yarn to the blue outer edge hides minor irregularities.
Safety note: When using an applique on baby or toddler items, avoid adding buttons, beads, or other detachable embellishments, and make sure every crochet component is securely sewn down.
Pattern Notes or Stitch Notes
Turning chain rules
The chain 1 at the beginning of the blue-circle rounds does not count as a stitch.
For the green land pieces, the chain 1 is simply used to gain enough height to turn the work.
Stitch-count rule
The blue circle grows by six stitches in every round:
- 6
- 12
- 18
- 24
- 30
- 36
- 42
Checking these numbers is one of the easiest ways to prevent shaping problems.
Right side and wrong side
For this simple design, choose whichever side of your blue circle looks cleanest as the right side.
Sew the green land pieces to that face.
Keep knots and woven ends on the wrong side whenever possible.
Size adjustments
For a smaller applique, stop the blue circle after Round 6 at 36 stitches.
For a larger globe, continue the same increase logic.
The next round would distribute six increases evenly by working six regular sc between each increase.
If you make the globe significantly larger, enlarge the land sections as well or add one or two extra patches so the design does not look empty.
Common Beginner Mistakes
1. The blue circle turns into a bowl
Cause: Your tension may be very tight, or one or more increases may be missing.
Fix: Check the stitch count. If the count is correct, try a slightly larger hook or relax your tension.
2. The circle looks ruffled
Cause: Too many increases or unusually loose stitches.
Fix: Count the stitches carefully. If the count is correct, gently block the motif before deciding whether to redo it.
3. Green patches pucker the blue base
Cause: The sewing yarn is being pulled too tightly.
Fix: Keep the thread snug enough to secure the patch but loose enough for both layers to remain flat.
4. The globe looks too symmetrical
Cause: The land pieces are positioned at matching angles and distances.
Fix: Rotate one patch, move another closer to the outer edge, and create larger blue gaps in some areas.
5. Sewing stitches show around the green pieces
Cause: The needle is passing through too much of the front of the green stitches.
Fix: Catch small back or edge loops rather than pushing the needle through the center of each stitch.
6. The outer edge curls after adding slip stitches
Cause: Slip stitches were worked too tightly.
Fix: Remove the border and redo it loosely, switch to a slightly larger hook, or leave the border off entirely.
7. A land piece moves while sewing
Cause: The patch was not temporarily secured.
Fix: Use one or two locking stitch markers before beginning.
How to Customize This Crochet Project
Change the yarn
Mercerized cotton gives excellent stitch definition and a clean applique edge.
Regular cotton creates a softer handmade appearance.
Acrylic is lighter and often more economical, making it useful for classroom decorations or large batches.
Change the colors
You do not have to use literal Earth colors.
Try:
- Navy + sage
- Turquoise + lime
- Dusty blue + olive
- Lavender + mint for a pastel planet
- Charcoal + neon green for a sci-fi version
Change the size
Use sport-weight yarn and a 2.5–3 mm hook for a miniature applique.
Use worsted yarn and a 4.5–5 mm hook for a larger motif.
Hook sizing varies between manufacturers, so metric millimeter sizing is the most reliable way to compare hook sizes. The Craft Yarn Council specifically recommends relying on the millimeter measurement rather than only a US letter or number.
Add a border
You can add:
- A relaxed blue slip-stitch edge.
- A white border to suggest atmosphere.
- A dark navy border for stronger contrast.
- Small white surface-crochet chains for clouds.
Add texture
For slightly raised continents, make the green pieces with half double crochet instead of single crochet.
For a flatter result, stick with single crochet.
Gift and project ideas
Use your globe applique on:
- Teacher totes
- Classroom banners
- Earth Day projects
- Pencil pouches
- Children’s blankets
- School backpacks
- Geography-themed wall hangings
- Library bags
- Notebook covers
- Nursery décor
- Crochet bunting
- Handmade cards mounted with removable stitching
Finishing Instructions
After all pieces are sewn:
- Weave every loose end through several stitches on the wrong side.
- Change direction once while weaving so the tail is less likely to loosen.
- Trim excess yarn.
- Lay the applique flat.
- Block according to the fiber and care instructions on your yarn label.
For cotton, gentle wet blocking usually works well.
For acrylic, avoid placing a hot iron directly on the stitches. If heat is used at all, follow the manufacturer’s fiber-care guidance.
Keeping the original yarn label is useful because it contains care information. The Craft Yarn Council recommends including yarn-label care information when a handmade item is given as a gift.
Once dry, the applique should feel flat, smooth, and ready to sew onto your chosen project.
Quick Printable-Style Summary
Skill level: Beginner to easy
Finished size: Approximately 4–4½ inches with DK yarn and a 3.5 mm hook
Materials: Blue and green DK cotton yarn, 3.5 mm hook, tapestry needle, scissors, stitch markers
Stitches: ch, sc, hdc, sl st, inc, dec
Starting method: 6 sc into a magic ring
Blue globe base: Increase by six stitches per round until reaching 42 stitches
Land: Crochet one large, one medium, and one small green shaped piece
Assembly: Arrange the pieces asymmetrically and sew them to the blue base with green yarn
Finishing: Weave in ends, block flat, and attach the globe with matching blue yarn
FAQ
Is this crochet globe applique suitable for beginners?
Yes. You should know how to chain and make a single crochet, but the tutorial avoids complicated tapestry crochet. The land pieces are made separately so you can work with one yarn color at a time.
How large is the finished crochet Earth?
Using DK yarn and a 3.5 mm hook, expect approximately 4–4½ inches across.
Your exact size will depend on yarn, fiber, hook size, and personal tension.
Can I use worsted-weight yarn?
Yes.
Your applique will simply be larger and thicker. Try approximately a 4.5–5 mm hook and adjust if the stitches feel too loose or too stiff.
Do I have to use a magic ring?
No.
If you dislike magic rings, chain 2 and work the 6 stitches for Round 1 into the second chain from the hook.
Why is my crochet circle curling?
First check the stitch count.
If the number of stitches is correct, tight tension is usually the next thing to investigate. A slightly larger hook or gentler tension may solve the problem.
Blocking can correct mild curling, but severe cupping generally means the circle’s tension or increases need adjustment.
Can I sew the globe onto fabric instead of crochet?
Yes.
Use a sewing needle large enough for your yarn or use strong matching sewing thread.
Position the globe carefully, pin or baste it temporarily, and stitch around the perimeter.
Can I make the continents more realistic?
Absolutely.
The included patches are intentionally simplified for beginners.
Once you understand the construction, experiment by adding tiny chain-stitch peninsulas, making additional green islands, or adjusting the row widths of the existing patches.
For a geographically detailed globe, graph-based tapestry crochet would be more appropriate, but it is also considerably more complicated.
Conclusion
This crochet globe applique works because the construction stays simple: one clean blue circle, a few irregular green shapes, and careful finishing.
You do not need complicated colorwork to create a motif that immediately reads as Earth.
Once you have made one, try changing the yarn weight to create a tiny backpack applique, a large classroom decoration, or several matching Earth motifs for a garland.
Save the tutorial so you can reuse the basic circle-and-applique technique for other motifs such as planets, moons, flowers, fruit slices, badges, and school-themed crochet projects.





