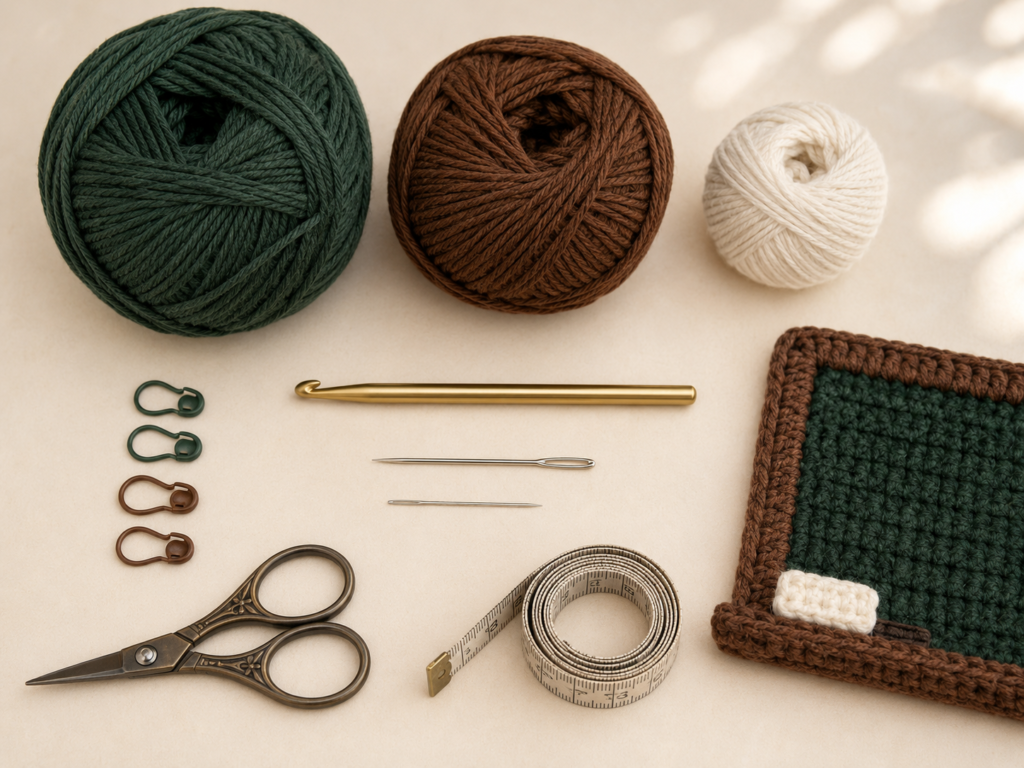
A tiny chalkboard is one of those crochet motifs that immediately says back to school without requiring complicated shaping or advanced stitches.
This beginner-friendly crochet chalkboard applique starts as a simple rectangle worked in rows. A contrasting brown border transforms that rectangle into a wooden chalkboard frame, and a few tiny ivory embroidery stitches give the center the look of chalk marks.
You do not need to know tapestry crochet, complicated colorwork, Tunisian crochet, or advanced shaping. If you can make a chain and single crochet, you already have most of the skills required.
The completed motif can be sewn onto a teacher tote, backpack, blanket, pencil pouch, book sleeve, classroom bunting, handmade card, or another crochet project.
This is an original chalkboard construction created for this tutorial. The external source listed above is used strictly as a visual reference for how a professional school-themed applique tutorial can progress from construction through attachment and finishing.
What You’ll Learn
In this tutorial, you will learn how to:
- Crochet a small, flat rectangle with straight edges.
- Count single crochet stitches correctly.
- Create a neat contrasting border.
- Shape square corners without making the border ruffle.
- Add simple embroidered “chalk” marks.
- Keep a small crochet applique flat.
- Weave in the yarn ends cleanly.
- Sew the completed applique to another crochet or fabric project.
- Adjust the finished size without changing the basic construction.
Materials You’ll Need
For one applique approximately 4½ inches wide by 3½ inches tall, gather:
- Small amount of DK/light-weight cotton yarn in deep chalkboard green or charcoal.
- Small amount of DK cotton in warm brown for the frame.
- A few yards of ivory or off-white yarn for chalk details.
- 3.5 mm (E-4) crochet hook.
- Yarn needle or blunt tapestry needle.
- Smaller embroidery needle if your ivory yarn is thin.
- Scissors.
- 2–4 stitch markers, optional.
- Measuring tape or ruler, optional.
- Rust-resistant pins if you plan to sew the applique to another item.
Cotton is particularly useful for small appliques because its stitch definition makes the rectangular shape and frame easy to see. You can use acrylic, but choose a smooth yarn rather than fuzzy or heavily textured fibers.
The Craft Yarn Council’s yarn-weight system provides standardized weight categories, while its hook-size chart lists a 3.5 mm hook as US E-4. For this applique we deliberately use a fairly small hook to encourage compact fabric rather than loose drape.
Crochet Abbreviations Used
This tutorial uses standard US terminology:
- ch = chain
- sc = single crochet
- sl st = slip stitch
- st/sts = stitch/stitches
- rnd = round
- RS = right side
- WS = wrong side
These abbreviations are consistent with the Craft Yarn Council’s standardized crochet abbreviation list.
US/UK Terminology Note
The project is written in US terminology.
US single crochet (sc) = UK double crochet (dc).
If you normally follow UK patterns, remember that every “single crochet” instruction below means a UK double crochet.
Before You Start
Gauge and Tension
Exact gauge is not critical for an applique because the project does not need to fit a body measurement.
What matters more is that your crochet fabric is:
- firm,
- flat,
- opaque,
- and easy to sew to another surface.
Avoid extremely loose stitches. If large holes appear between your single crochets, try a hook one size smaller.
At the opposite extreme, do not tighten every stitch so aggressively that inserting the hook becomes difficult. Excessive tension can cause the rectangle to curl.
How to Count Your Stitches
The turning chain used in this project does not count as a stitch.
After every row, count your 18 single crochets.
Your first single crochet goes into the first actual stitch at the edge, and your final single crochet must go into the last stitch.
Missing the final stitch is the most common reason a beginner rectangle becomes narrower row after row.
Stitch markers can help. Place one in the first stitch and another in the final stitch while you are learning.
Keeping the Edges Straight
The formula is simple:
Chain 1 → turn → single crochet in every stitch across.
Do not accidentally crochet into the turning chain at the end.
If every row has 18 stitches, your sides should stay relatively straight.
Preventing Curling
A little curling during construction is normal.
Severe curling usually means:
- your hook is too small,
- your foundation chain is much tighter than later rows,
- or your working tension is excessively tight.
You can gently stretch the fabric with your fingers while working. Final light blocking will correct minor curling.
Choosing Chalkboard Colors
Traditional combinations work especially well:
- dark green + medium brown + cream,
- charcoal + walnut + white,
- black + tan + ivory,
- sage green + caramel + cream.
Avoid using three colors with nearly identical values. The frame needs enough contrast to be recognizable immediately.
Step-by-Step Crochet Tutorial
Step 1: Make the Foundation Chain
With deep chalkboard green, make a slip knot.
Ch 19.
Keep the chain relaxed. You should be able to slide the hook through each chain without forcing it.
The extra chain provides the height needed to begin your first row.
For Row 1, skip the first chain next to the hook.
Work 1 sc into the second ch from the hook.
Continue working 1 sc in every remaining chain.
You should finish with:
18 sc.
Do not count the skipped chain as a stitch.
Beginner tip:
If your chains become tighter as you work, deliberately loosen your grip on the yarn. A tight foundation chain can pull the bottom edge inward.
Common mistake to avoid:
Do not accidentally crochet into the first chain from the hook. Doing so removes the small turning space needed for your first row.
Step 2: Crochet the Chalkboard Center
Now we will turn the narrow first row into the rectangular writing surface.
Rows 2–13
Ch 1 and turn.
Work 1 sc in each of the 18 sts across.
Repeat this process until you have completed 13 rows total, including Row 1.
Each row should contain:
18 sc.
Stop occasionally and count.
The fabric should begin looking like a small horizontal rectangle.
Beginner tip:
Look at the tops of your single crochet stitches. Each stitch creates a small “V.” These Vs are much easier to count than the vertical posts on the front of the fabric.
Common mistake to avoid:
If your rectangle is becoming triangular, you are almost certainly losing or adding stitches at the row ends.
Count back to the last correct row rather than continuing and hoping the border will hide the problem.
Step 3: Check and Finish the Green Rectangle
At the end of Row 13, take a moment to inspect the piece before adding the frame.
You should have:
- 18 stitches across each row.
- 13 rows.
- Four reasonably square corners.
- Two parallel long edges.
- Two parallel short edges.
Fasten off the green yarn and leave a tail of about 5–6 inches for weaving in.
Do not worry if the rectangle is not ruler-perfect. Crochet stitches naturally have a small amount of movement.
However, fix a visibly missing corner or sharply tapered edge now.
Beginner tip:
Lay the rectangle on a flat table without stretching it. This gives you a much more accurate idea of its true shape than holding it in the air.
Common mistake to avoid:
Do not aggressively pull the rectangle into shape. We want to see whether the stitch count is correct, not whether the yarn can temporarily be stretched.
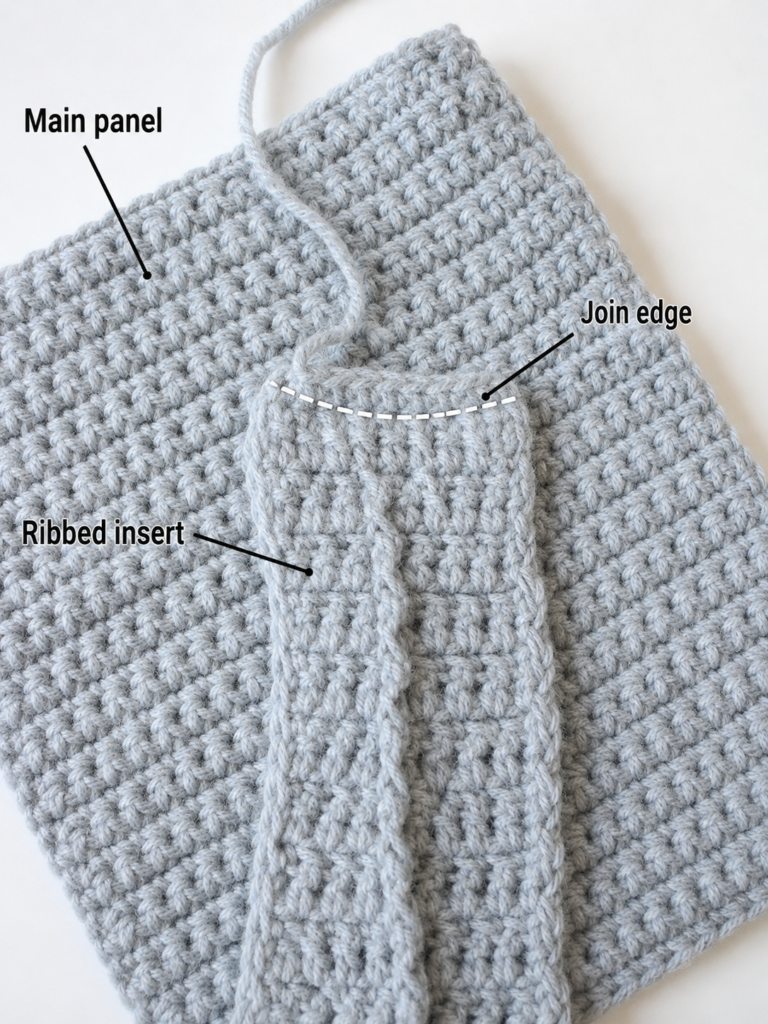
Step 4: Crochet the First Brown Frame Round
Now switch to warm brown yarn.
We will crochet around all four edges of the rectangle rather than continuing in rows.
Join your brown yarn near one corner.
Ch 1.
Begin working single crochet evenly around the rectangle.
Across the top and bottom edges, place approximately 1 sc in each stitch.
Along the vertical sides, work single crochets evenly into the row ends.
At every corner, work:
sc, ch 1, sc
into the corner area.
The chain-1 space creates enough room for the border to turn without pulling the corner inward.
Continue around the entire rectangle and join the round with a slip stitch.
How many stitches should go down each side?
Because row ends do not look exactly like the top loops of crochet stitches, side-edge placement is better judged by flatness than by chasing a rigid count.
Aim for roughly one stitch per row end.
If the border begins to flare outward like a ruffle, you have probably added too many stitches.
If it pulls inward and cups the rectangle, you probably need another stitch or two along that side.
Beginner tip:
After completing one side, place the project flat. A flat edge means your spacing is working.
Common mistake to avoid:
Do not force two or three stitches into every row end simply because the spaces look large. That creates a wavy frame.
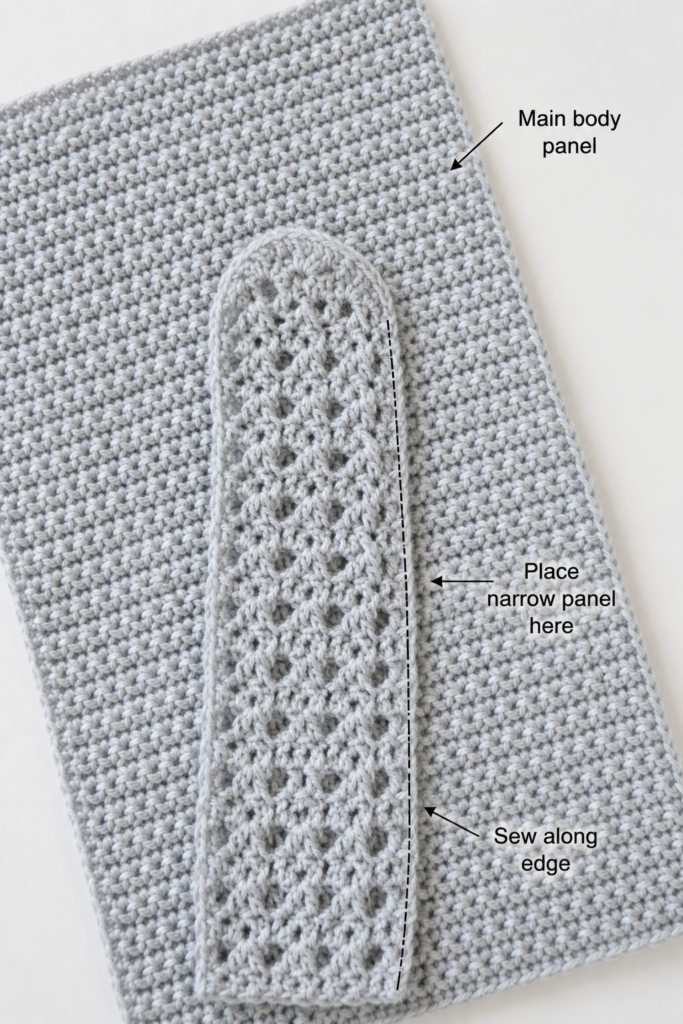
Step 5: Crochet the Second Frame Round
The first brown round gives us structure. The second makes the border look more like a wooden picture frame.
Ch 1.
Work 1 sc in each stitch around.
When you reach each chain-1 corner space, work:
sc, ch 1, sc
inside that space.
Continue around.
Join to the first stitch with a sl st.
Fasten off, leaving a long brown tail if you plan to sew the applique onto another project.
A tail of approximately 20–24 inches is usually easier to work with than repeatedly attaching new sewing yarn.
The frame should now be clearly visible around the dark center.
Beginner tip:
Rotate the applique as you crochet instead of twisting your wrist around every corner.
Common mistake to avoid:
Do not put several extra stitches near a corner “just to make it turn.” Your chain-1 corner already provides the extra room.
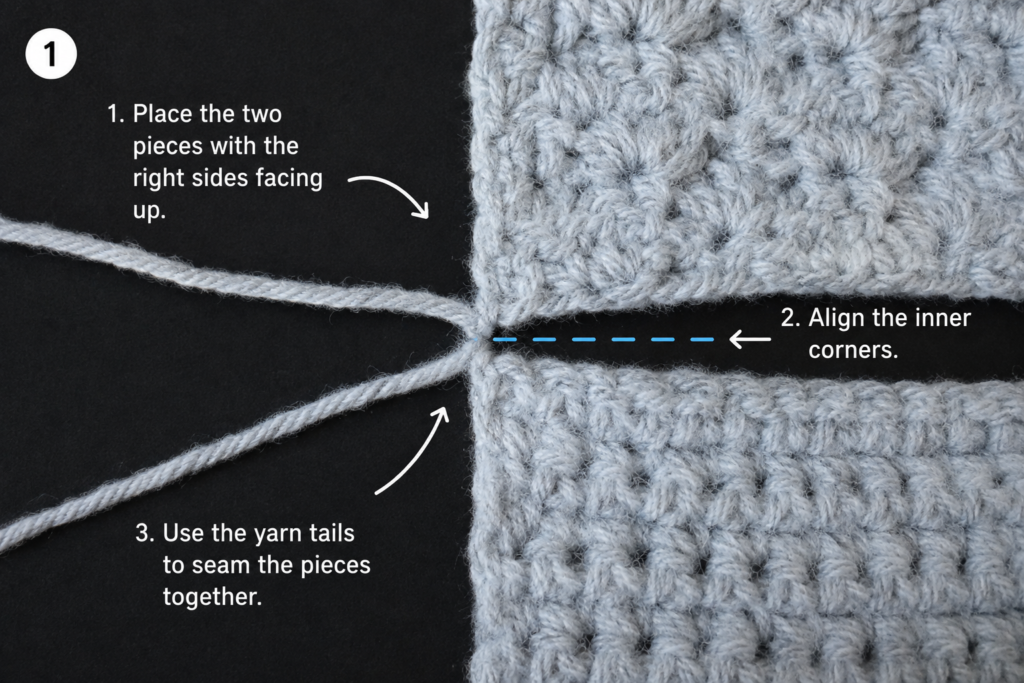
Step 6: Embroider the Chalk Details
The applique already looks like a miniature chalkboard, but a tiny amount of ivory embroidery makes the idea much clearer.
Thread an embroidery or tapestry needle with ivory yarn.
For the most beginner-friendly version, add:
- one short horizontal stitch,
- a second shorter line,
- and perhaps two tiny dot-like stitches.
Keep the markings simple.
Insert your needle from the wrong side so the initial tail stays hidden.
Bring the needle through the green fabric.
Create a short surface stitch.
Return the needle to the wrong side.
Repeat as needed.
Avoid pulling tightly. The ivory stitches should sit on the surface rather than sinking between the green single crochets.
Beginner tip:
Use only one strand or a thinner ivory yarn if your regular DK yarn looks too bulky.
Common mistake to avoid:
Do not repeatedly pass through exactly the same hole. This can enlarge the space between crochet stitches and distort your chalkboard surface.
Optional personalization
Once you are comfortable with embroidery, you can substitute the simple marks with:
- a tiny heart,
- an initial,
- a plus sign,
- a simple number,
- a small flower,
- or miniature chalk-like doodles.
For baby items, use embroidered details rather than beads or other removable embellishments.
Step 7: Weave In Ends and Shape the Applique
Turn the applique over.
Thread each remaining yarn tail onto a tapestry needle and weave it through the backs of several stitches of the same color.
Change direction once.
Then trim the excess.
Avoid carrying a dark-green tail visibly through the brown border or carrying brown yarn through the center.
Now place the applique right side up.
Gently shape the corners with your fingertips.
If it lies flat, you can proceed directly to attaching it.
If it curls slightly, use the light-blocking instructions in the finishing section below.
Beginner tip:
Weaving back in the opposite direction helps reduce the chance of a short tail working loose.
Common mistake to avoid:
Never cut a yarn tail directly beside your fastening-off knot. Leave enough length to weave it securely through several stitches.
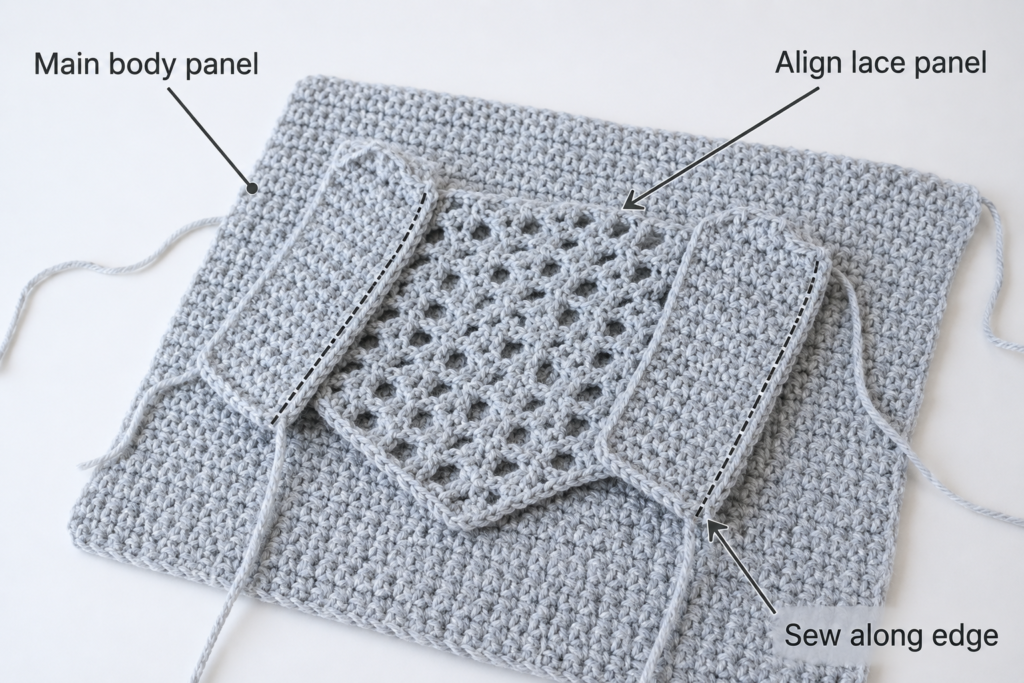
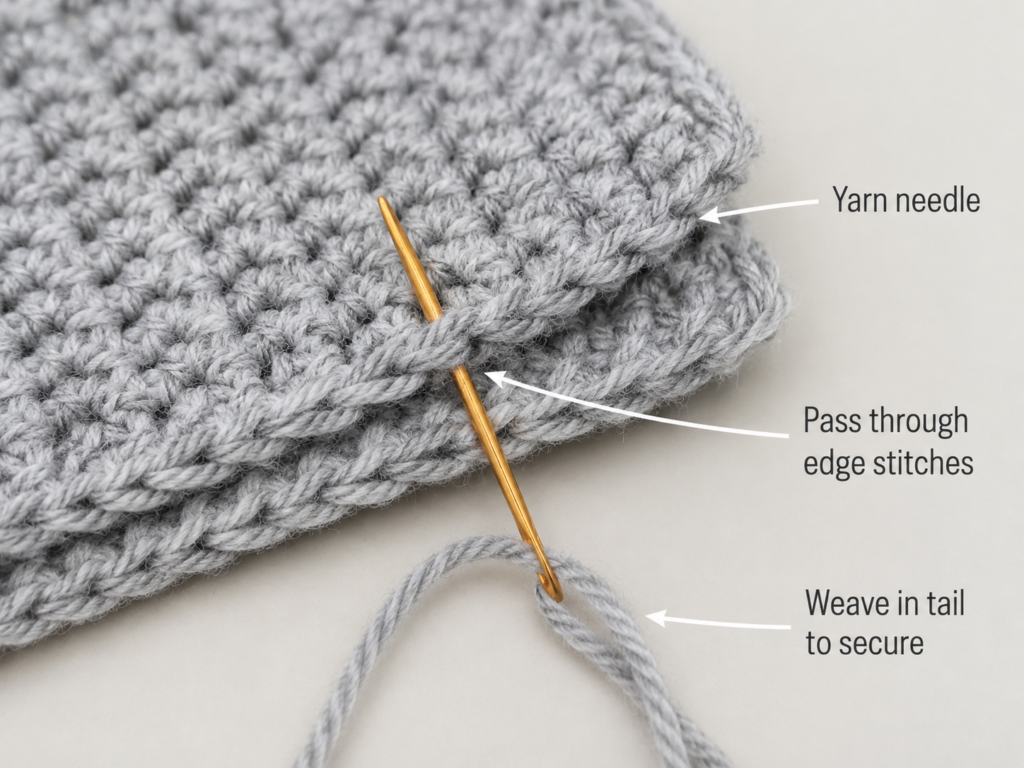
Step 8: Sew the Chalkboard Applique to Your Project
Position the finished chalkboard where you want it.
For a bag or blanket, leave enough empty space around the applique so the motif does not look crowded.
Pin it temporarily if needed.
Thread the long brown frame tail through your tapestry needle.
Starting from the back of the background fabric, bring the needle up near the outer edge of the frame.
Take small stitches around the entire border.
Whenever possible, catch:
- a small amount of the brown frame,
- then a small amount of the background fabric.
Keep the sewing stitches snug but not tight.
If you pull too hard, the applique will pucker.
Check the front every few stitches.
Continue until all four edges are secure.
Bring the yarn to the back, weave it in, and trim.
The source tutorial likewise demonstrates positioning its applique on a crochet square and seaming it in place, which is why its consistent attachment photography works well as the reference sequence for this stage.
Beginner tip:
Match the sewing yarn to the frame, not the background. Small stitches that peek through the frame will then be much harder to notice.
Common mistake to avoid:
Do not sew only the four corners. The center of each side can lift during washing or handling.
Finished Result
Your chalkboard should now have:
- a compact green or charcoal writing surface,
- a clearly defined brown crochet frame,
- small ivory chalk details,
- straight edges,
- and a flat finished shape.
The small scale is what makes this motif useful. You can add it to another project without overpowering the main design.
Pattern Notes or Stitch Notes
Turning Chain
The ch 1 at the beginning of each row does not count as a stitch.
Your first single crochet is worked into the first actual stitch.
Center Stitch Count
Maintain:
18 sc per row.
Check the count after every row while learning.
Number of Center Rows
Work:
13 rows total.
You can add or subtract rows if you prefer a different proportion.
Border
The brown frame is worked continuously around the green center.
Use:
sc, ch 1, sc
at each corner.
Side-edge stitch placement may vary slightly because crochet row ends differ from normal stitch tops.
Flatness is more important than forcing an arbitrary side count.
Right Side and Wrong Side
For a small single-crochet rectangle, the difference is subtle.
Choose whichever face looks cleaner as your right side before adding the embroidery.
Keep your embroidery knots and woven tails on the opposite face.
Adjusting the Size
For a wider chalkboard, increase the foundation chain.
For a taller chalkboard, add more rows.
A useful guideline is:
finished center width = number of center stitches
finished center height = number of rows
Your actual measurements depend on yarn, hook and tension.
For example, you might make:
- 14–15 center stitches for a very small applique,
- 18 stitches for this version,
- 22–24 stitches for a larger classroom motif.
Keep the rectangle wider than it is tall if you want the traditional school-board appearance.
Common Beginner Mistakes
1. The Rectangle Gets Narrower
Cause: Missing the last stitch of one or more rows.
Fix: Count 18 stitches after every row and mark the first and last stitches.
2. The Rectangle Gets Wider
Cause: Accidentally crocheting into the turning chain.
Fix: Remember that the ch 1 does not count as a stitch.
3. The Border Ruffles
Cause: Too many stitches have been placed along the row-end edges.
Fix: Remove a few side stitches and redistribute them evenly.
A correctly spaced border should rest flat without forcing.
4. The Frame Pulls Inward
Cause: Too few side stitches or insufficient room at the corners.
Fix: Add a stitch along the affected edge and make sure every corner contains the prescribed corner sequence.
5. The Chalk Embroidery Looks Bulky
Cause: The ivory yarn is too thick or too many stitches overlap.
Fix: Split the yarn strands if possible or use cotton embroidery floss.
Small marks look more convincingly like chalk than thick raised lines.
6. The Applique Curls
Cause: Tight tension or a foundation chain tighter than the remaining rows.
Fix: Lightly block the piece and use a more relaxed foundation chain next time.
7. The Applique Puckers After Sewing
Cause: Attachment stitches were pulled too tightly.
Fix: Remove several stitches and resew them with just enough tension to hold the motif flat.
The applique should rest against the background rather than compress it.
How to Customize This Crochet Project
Change the Chalkboard Color
You do not have to use traditional dark green.
Try:
- black,
- charcoal,
- navy,
- muted teal,
- dusty sage.
Use a pale embroidery color that contrasts clearly.
Change the Frame
A golden tan gives a classroom look.
Dark walnut feels more traditional.
Cream or white can make the piece feel modern.
You can also work the second frame round in a slightly lighter brown to create subtle depth.
Change the Size
Add foundation chains for width.
Add rows for height.
If you double the dimensions, consider adding a third frame round so the border stays proportional.
Add More Texture
For an intermediate variation, work the second frame round in the back loop only.
This creates a subtle ridge resembling the edge of a wooden frame.
Add a Chalk Tray
Crochet a tiny brown chain approximately half the width of the chalkboard and sew it horizontally beneath the bottom frame.
For an applique attached to children’s items, stitch it down securely rather than leaving it loose.
Add School-Themed Details
Combine the chalkboard with:
- crochet pencil appliques,
- apples,
- books,
- ABC letters,
- rulers,
- stars,
- crayons.
Keep the motifs stylistically consistent by using the same yarn weight and hook size.
Gift Ideas and Uses
The finished chalkboard can decorate:
- teacher tote bags,
- pencil cases,
- book sleeves,
- bookmarks,
- classroom bunting,
- blankets,
- backpacks,
- notebook covers,
- teacher appreciation gifts,
- back-to-school wall hangings,
- crochet garlands.
Finishing Instructions
Fastening Off
After the final frame round, pull your working yarn through the last loop.
If the applique will be sewn to another project, leave a long brown tail.
Otherwise, leave approximately 6 inches for weaving in.
Weaving In Ends
Work each tail through the backs of several stitches.
Reverse direction once before cutting.
Avoid visible diagonal tails across the green chalkboard center.
Blocking
Small cotton appliques usually need only gentle blocking.
Dampen the finished piece lightly.
Shape it into a rectangle on a blocking mat or folded towel.
Pin the corners without stretching.
Let it dry completely.
Steam can also help some fibers, but always follow the care instructions for your yarn and avoid excessive heat on acrylic fibers.
Washing and Care
If the applique is attached to a washable item, use yarn with compatible washing instructions.
Hand washing or a gentle machine cycle will usually put less stress on embroidered details than aggressive washing.
Lay flat or reshape while drying if needed.
Quick Printable-Style Summary
Project: Crochet Chalkboard Applique
Skill level: Beginner / Easy
Finished size: Approximately 4½ × 3½ in, depending on yarn and tension
Yarn: DK/light cotton
Colors: Deep green, warm brown, ivory
Hook: 3.5 mm / E-4
Stitches: ch, sc, sl st
Starting method: Ch 19
Center:
Row 1: Beginning in second ch from hook, sc across — 18 sts.
Rows 2–13: Ch 1, turn, sc across — 18 sts.
Frame Round 1: Join brown. Sc evenly around, using sc, ch 1, sc at each corner.
Frame Round 2: Sc around. Work sc, ch 1, sc into each corner space.
Detail: Add a few short ivory embroidery stitches.
Finishing: Weave in tails, lightly block if needed, and sew around the brown outer frame to attach.
FAQ
Is this crochet chalkboard applique suitable for beginners?
Yes. The actual crochet uses only chains, single crochet and slip stitches. The only additional technique is very simple surface embroidery with a yarn needle.
What yarn is best for a crochet chalkboard applique?
Smooth cotton or a cotton blend works particularly well because it provides defined stitches and a firm surface. DK/light yarn makes a small, detailed applique without becoming overly bulky.
Can I use worsted-weight yarn instead?
Yes.
Your chalkboard will simply be larger and thicker.
Try an appropriate hook for your yarn, then adjust downward slightly if the fabric feels too loose for an applique. Yarn weight categories and suggested hook ranges are general guidelines rather than guarantees that every yarn within a category will behave identically.
How do I stop my crochet applique from curling?
Start with a relaxed foundation chain, avoid overly tight single crochet, space the border stitches evenly, and lightly block the finished applique.
If the brown border ruffles, reduce the number of stitches along the sides.
Can I make a black chalkboard instead of green?
Absolutely.
Black, charcoal and dark navy all work.
If you use black yarn, good lighting becomes particularly important because individual stitch tops are harder to see.
How do I attach a crochet chalkboard applique?
For the most durable finish, sew around the outer brown frame with matching yarn.
Use small stitches and check frequently that the background is not puckering.
Sewing is preferable to permanent glue when the finished object will be washed regularly.
Can I use the pattern as a coaster?
You can enlarge the project and use cotton yarn, but an applique and a functional coaster have different requirements.
For a coaster, skip bulky raised embroidery, make sure the finished surface stays level, and use heat-appropriate cotton yarn if hot drinks will be placed on it.
Conclusion
This crochet chalkboard applique is a useful beginner project because almost all of the shaping comes from basic rectangles and a simple border rather than complicated increases or decreases.
Once you understand the construction, it becomes easy to customize. Change the center from green to charcoal, widen the wooden frame, add embroidered chalk marks, or combine your board with pencils, books and apples for a complete back-to-school crochet collection.
Most importantly, concentrate on three things as you work: count your center stitches, keep the side border spacing even, and avoid pulling the embroidery or sewing yarn too tightly.
Those small details are what make the finished chalkboard look clean and intentionally shaped rather than wavy.
Save the tutorial with your back-to-school crochet ideas so you can reuse the basic rectangle-and-frame technique for future applique projects.