Small crochet projects are useful when you want to practice your stitches without committing to a blanket, garment, or complicated amigurumi project. This crochet gym bag charm pattern takes that idea one step further: it creates a compact handmade accessory sturdy enough to clip onto a gym bag, backpack, tote, sports duffel, or zipper pull.
The project is designed specifically with beginners in mind. You will crochet two matching flower pieces, add a reinforced hanging loop, join the motifs together, lightly pad the middle if you want extra dimension, and finish with a swivel clasp.
There are no complicated shaping calculations and no gauge swatch is required. The entire project can be made from leftover yarn.
The construction is also forgiving. If one petal is slightly wider than another, the flower still looks handmade and intentional. The important points are keeping the center reasonably flat, maintaining six evenly spaced petals, and securing the attachment loop properly so the charm can withstand regular movement on a bag.
This tutorial uses US crochet terminology.
What You’ll Learn
By making this small crochet gym bag charm, you will practice:
- creating a magic ring;
- crocheting single crochet stitches in the round;
- changing yarn colors;
- building simple shell-style flower petals;
- identifying stitch tops;
- making two matching crochet motifs;
- constructing a reinforced hanging loop;
- sewing crochet pieces together;
- lightly stuffing a flat crochet accessory;
- attaching bag-charm hardware securely;
- weaving yarn ends so they do not work loose during everyday use.
Materials You’ll Need
For one charm:
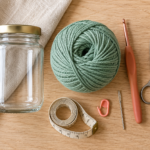
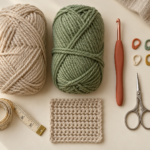
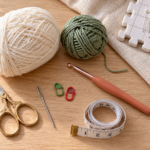
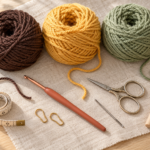
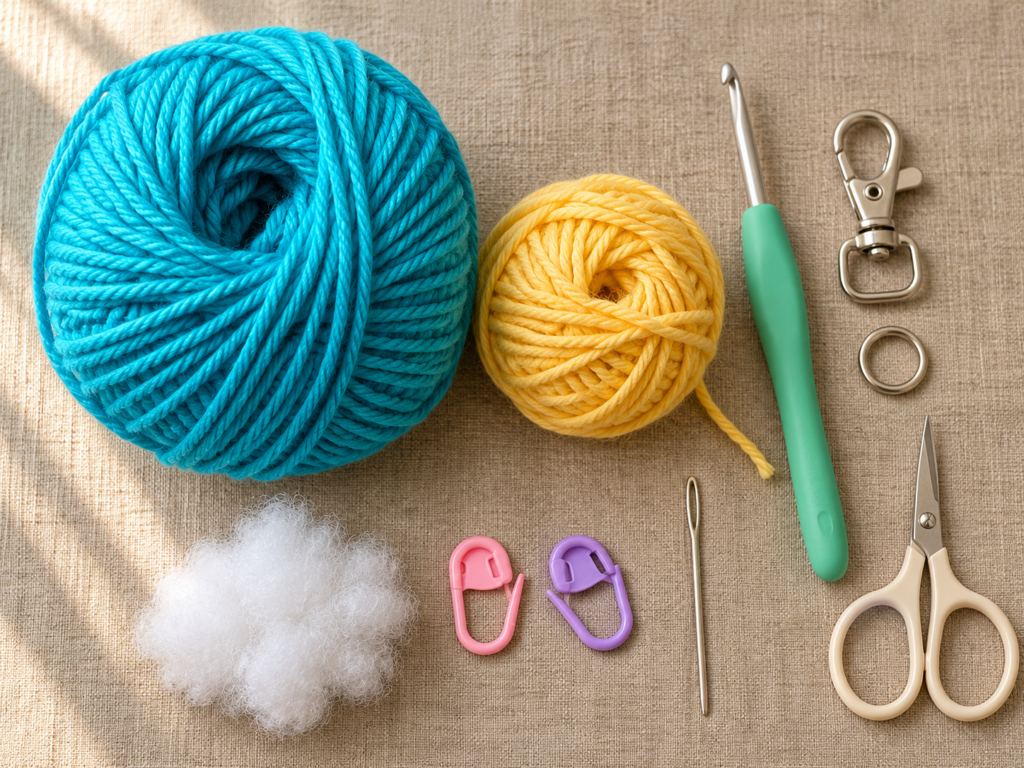
- approximately 10–15 g DK or light worsted cotton yarn in aqua teal for the petals;
- approximately 5 g contrasting mango yellow yarn for the centers;
- 3.25 mm or 3.5 mm crochet hook;
- tapestry/yarn needle;
- sharp scissors;
- one stitch marker;
- approximately 2 g polyester filling, optional;
- one swivel lobster clasp or sturdy keyring;
- one small jump ring if your clasp requires it;
- jewelry pliers if using a closed jump ring.
Cotton is particularly useful here because a bag charm gets handled and rubbed against fabric frequently. Cotton or a cotton-rich blend generally gives a crisp stitch definition and a relatively stable shape.
The Craft Yarn Council classifies DK/light worsted as a light-weight yarn category and provides standardized yarn-weight and hook guidance, although the hook used for a small accessory can deliberately be smaller to create denser fabric.
Crochet Abbreviations Used
- ch = chain
- sc = single crochet
- dc = double crochet
- sl st = slip stitch
- st / sts = stitch / stitches
- rep = repeat
- MR = magic ring
These abbreviations follow common US crochet terminology. The Craft Yarn Council’s standardized abbreviation list also notes that US sc corresponds to UK dc, while US dc corresponds to UK tr. Craft Yarn Council
Before You Start
Gauge and tension
Exact gauge is not important because this is not a fitted project.
Your goal is simply to produce firm fabric without large gaps. If your stitches are loose enough that filling shows through, change to a hook about 0.5 mm smaller.
Do not crochet so tightly that pushing the hook through the stitches becomes uncomfortable.
Finished size
Using DK cotton and a 3.25 mm hook, expect a finished flower around 7–8 cm / 2¾–3¼ inches across, excluding the clasp.
Your exact size will depend on yarn, hook and tension.
Counting stitches
The yellow center finishes with 12 stitches.
Those 12 stitches are then used in six pairs, giving you six petals.
Place a marker in the first stitch if you have trouble recognizing where a round begins.
Right side and wrong side
The flower motif has a more polished side—the side facing you while you crochet the petals. Treat this as the right side.
When you assemble the charm, both right sides should face outward.
Choosing colors
A high-contrast combination works especially well for small charms because the flower needs to remain recognizable from several feet away.
For gym bags, try:
- teal + yellow;
- hot pink + cream;
- royal blue + orange;
- black + neon green;
- lavender + bright coral.
Step-by-Step Crochet Tutorial
Step 1: Make a Magic Ring
Begin with the center color.
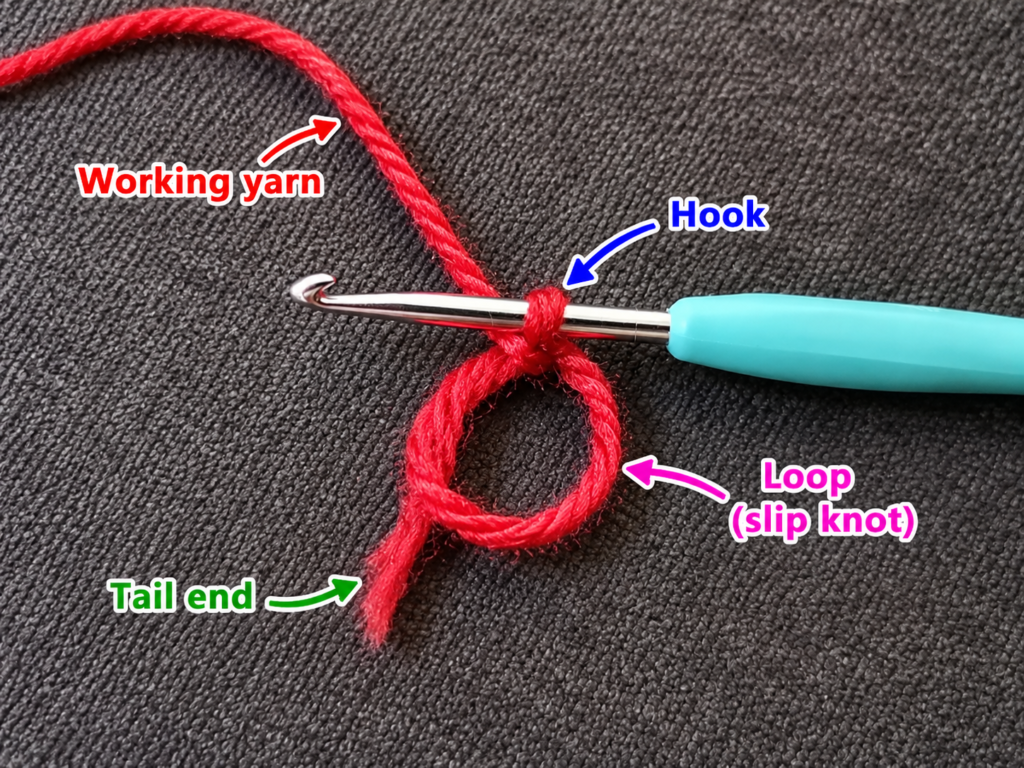
Wrap the mango-yellow yarn around your fingers to form an adjustable loop. Insert your hook under the working strand, yarn over and pull a loop through.
Chain one to stabilize the ring.
Do not tighten the ring completely yet.
You need enough room to work the first six stitches comfortably.
Beginner tip: Hold the crossing point of the yarn between your thumb and middle finger while making the first few stitches.
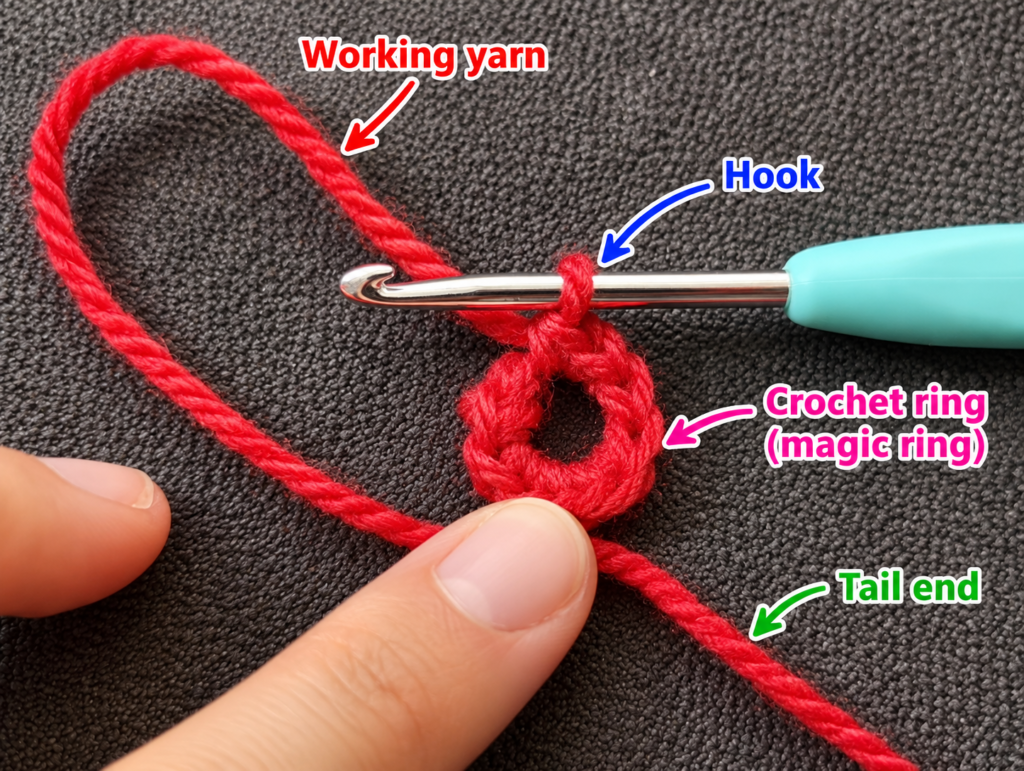
Common mistake to avoid: Do not accidentally crochet around only one strand of the ring. Your stitches should surround both the ring and the short yarn tail so the center can be pulled closed.
Step 2: Crochet the Flower Center
Round 1
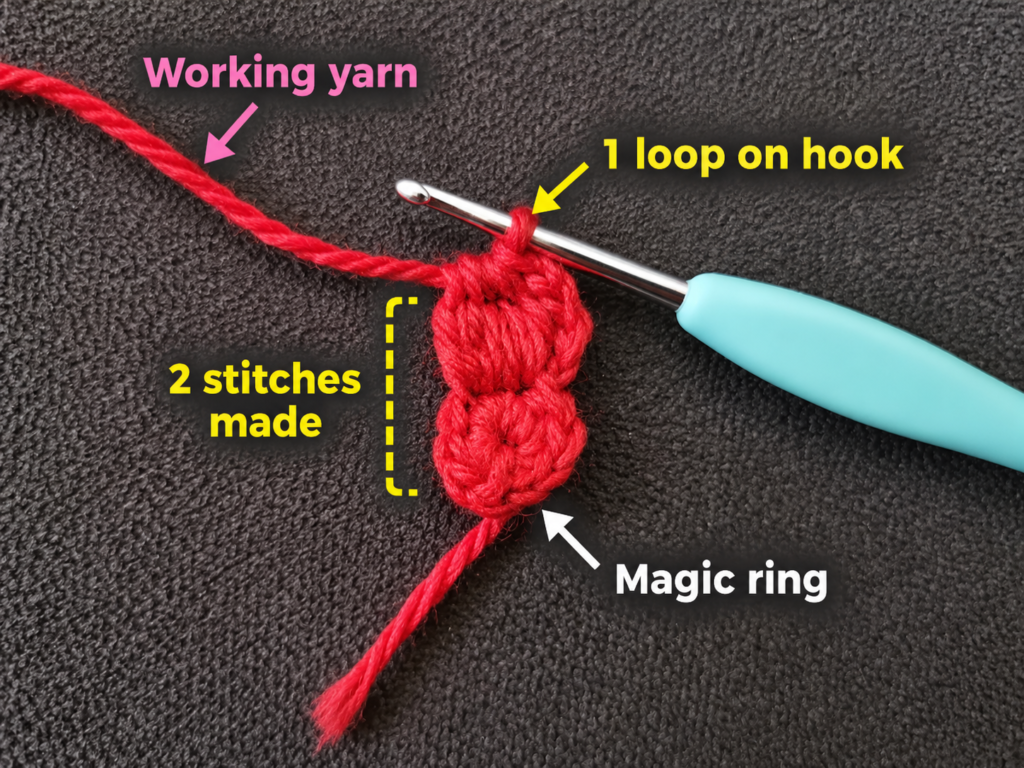
Work 6 sc into the magic ring.
Pull the yarn tail gradually until the center closes.
Join with a sl st into the first sc.
Stitch count: 6
Round 2
Ch 1.
Work 2 sc in every stitch around.
Join to the first sc with a sl st.
Stitch count: 12
Fasten off the yellow yarn.
This little circle becomes the center of your flower.
It should sit reasonably flat. A slight cup is acceptable because the finished charm will have dimension.
Beginner tip: Count immediately after finishing the round. Fixing the stitch count now is much easier than discovering an error when forming the sixth petal.
Common mistake to avoid: Do not work into the slip stitch used to join the previous round. Count only the actual 12 sc stitches.
Step 3: Join the Petal Color
Turn the yellow center so the right side faces you.
Insert your hook into any sc from Round 2.
Place the aqua yarn over the hook and pull a loop through the stitch.
Leave an approximately 10 cm / 4-inch tail.
Ch 1 to secure the new color.
You are now ready to build six petals around the 12-stitch center.
Beginner tip: Do not knot the two colors together. Leaving yarn tails and weaving them through the back of the work produces a flatter result.
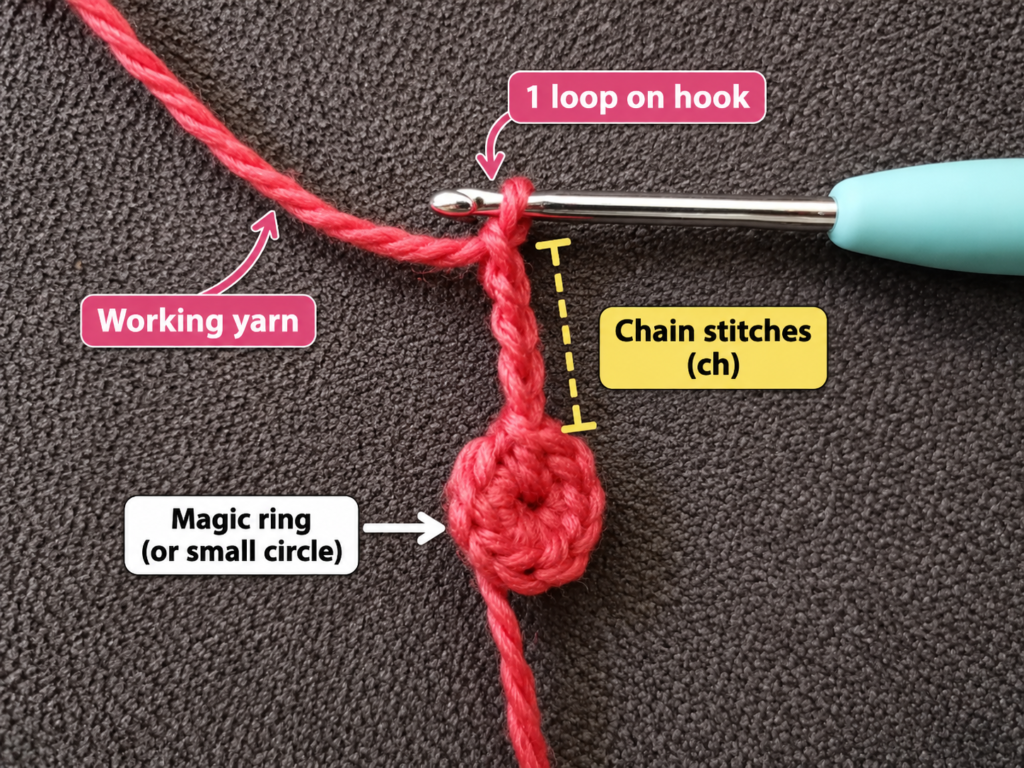
Step 4: Crochet the First Petal
The 12 center stitches will be used in pairs.
In the stitch where you joined the aqua yarn:
- ch 2;
- work 2 dc into the same stitch.
In the next stitch:
- work 2 dc;
- ch 2;
- sl st into the same stitch.
That forms one rounded shell-style petal covering two center stitches.
Gently spread the double crochets with your fingers rather than pulling hard on them.
Beginner tip: Look at the tops of the two yellow stitches used for each petal. The next petal begins immediately after them.
Common mistake to avoid: If you accidentally make both halves of the petal in the same center stitch, you will run out of space before completing all six petals.
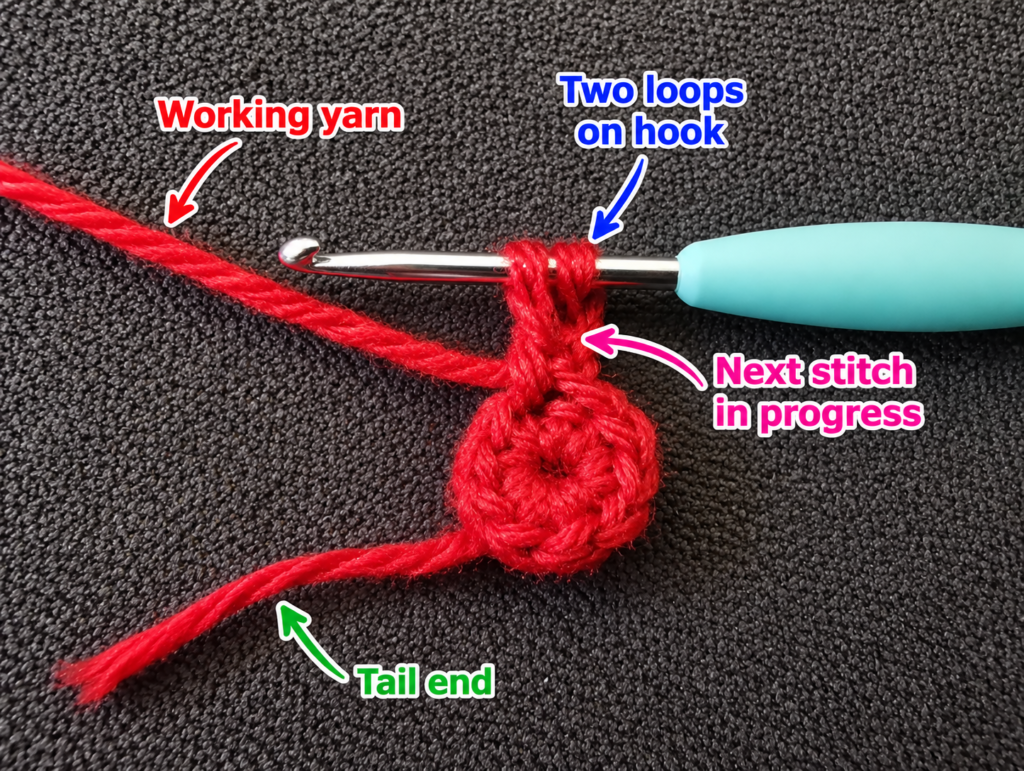
Step 5: Repeat the Petal Sequence
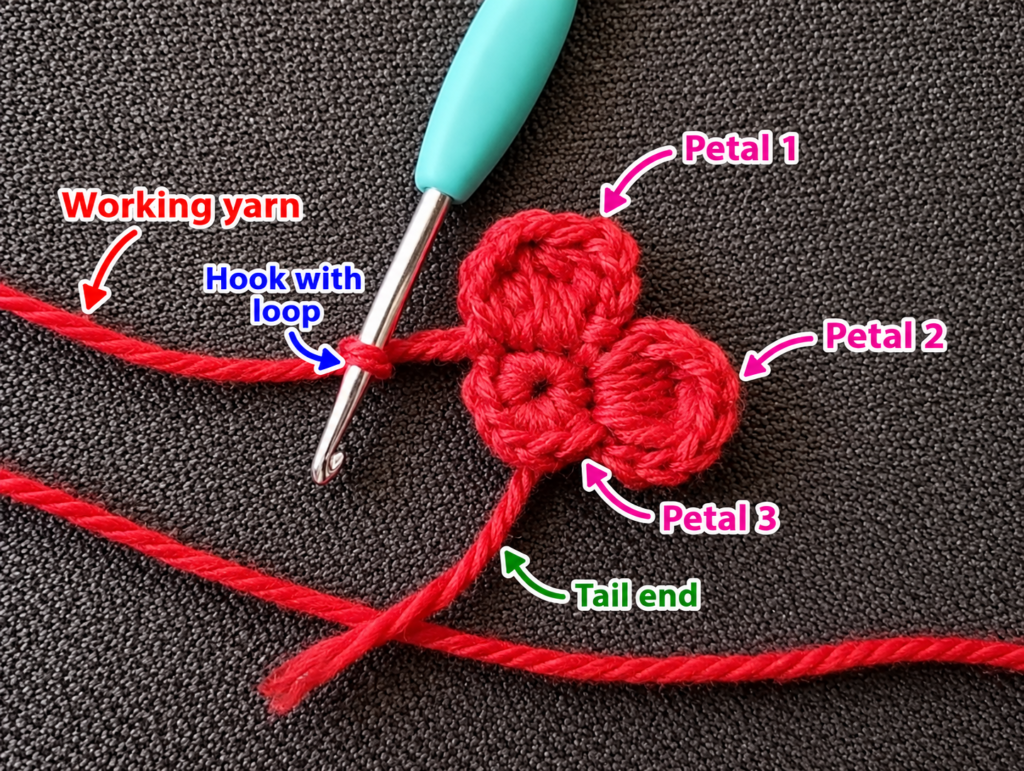
Repeat the same construction over each next pair of stitches:
In first stitch: ch 2, 2 dc.
In second stitch: 2 dc, ch 2, sl st.
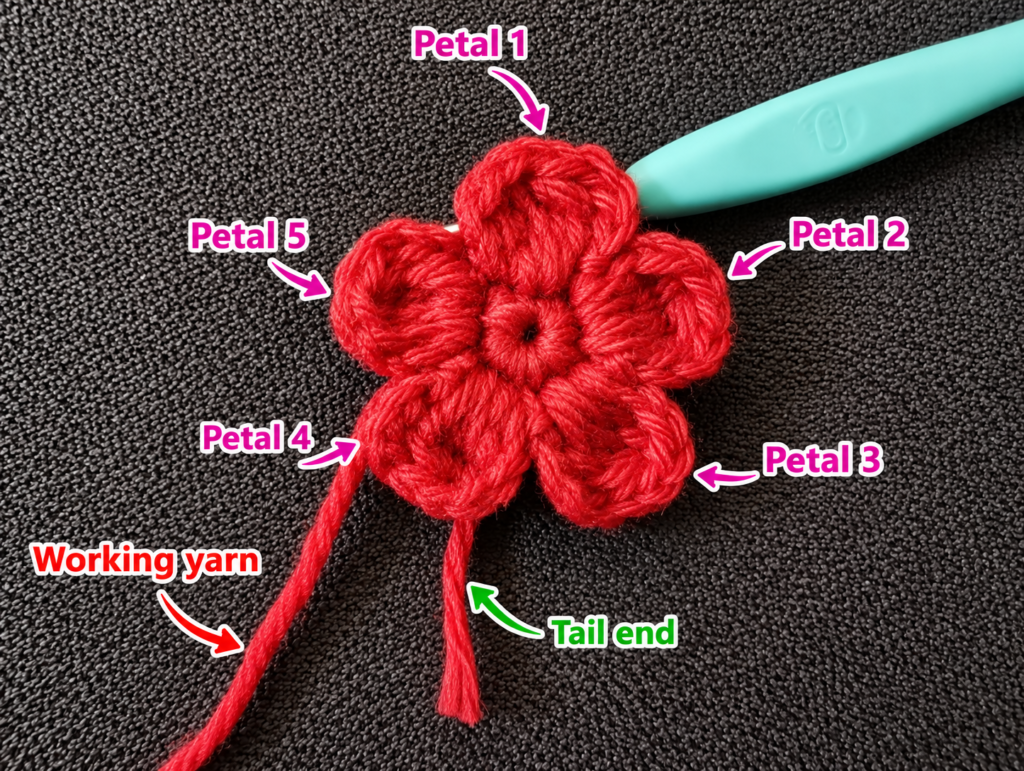
Continue until you have six petals.
After finishing the sixth petal, sl st neatly near the base of the first petal if necessary, then fasten off.
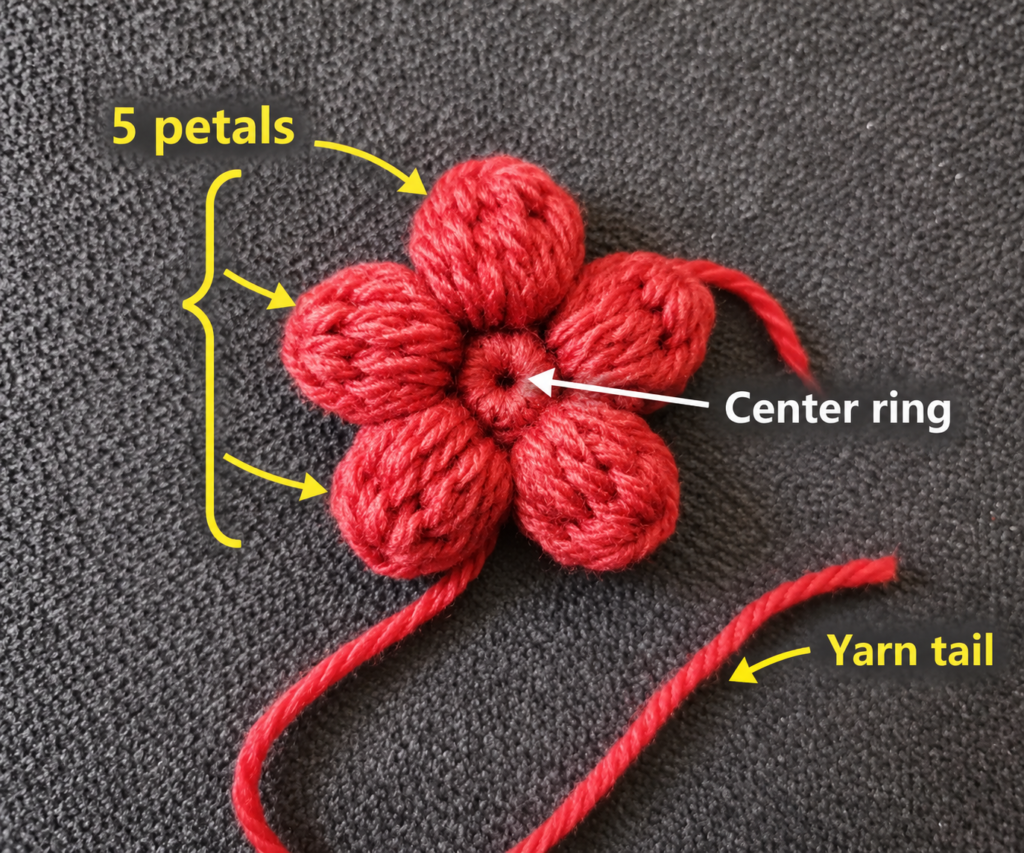
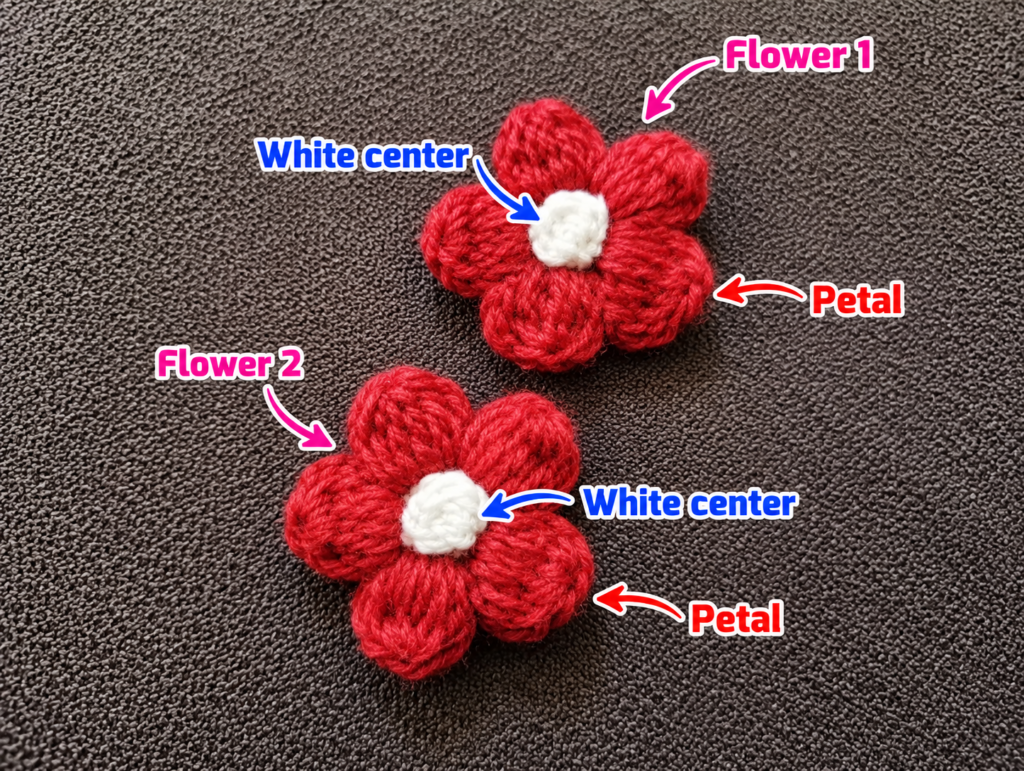
Your finished front motif should resemble a simple six-petal flower.
Check before continuing
Confirm:
- 6 petals;
- one compact center;
- no obvious missed stitches;
- petals reasonably similar in height;
- no loose loops along the outer edge.
Do not worry if the motif curls slightly upward.
Once two pieces are joined, the shape becomes more stable.
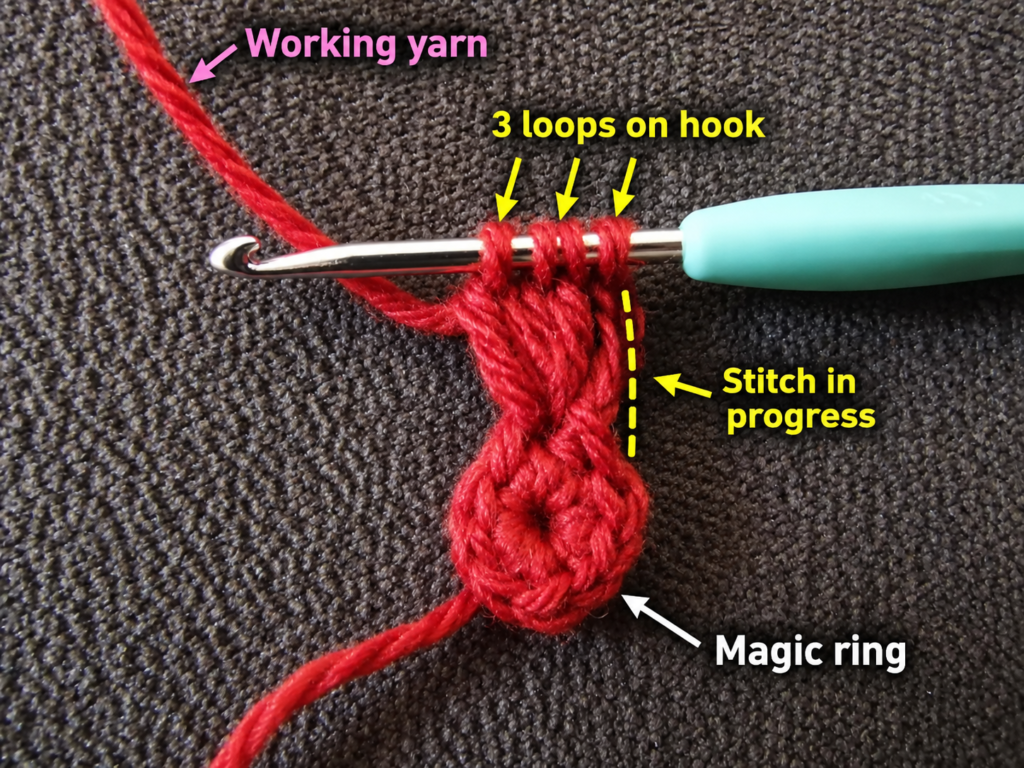
Step 6: Make a Second Flower Face
Repeat Steps 1–5 to make another identical flower.
Try to use the same hook and tension.
Lay both motifs beside each other before assembly.
If one is noticeably larger, check whether:
- you accidentally added a center stitch;
- one motif was crocheted much more loosely;
- one petal contains an extra double crochet.
A difference of a few millimeters is fine.
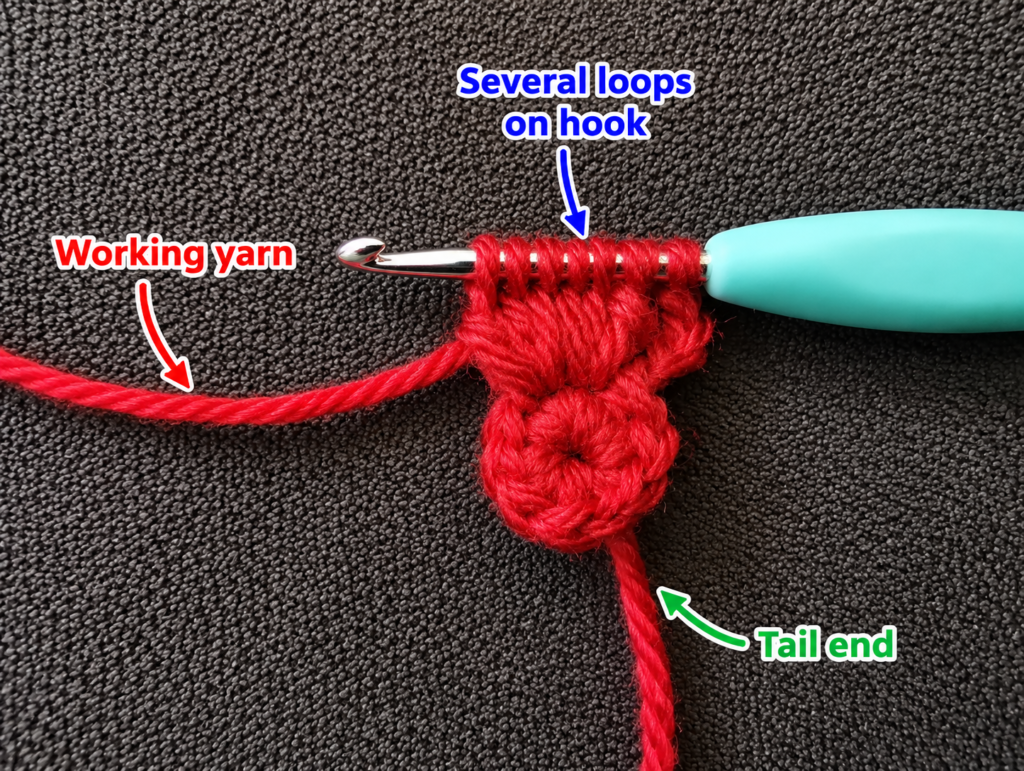
Step 7: Make a Reinforced Hanging Loop
Because this charm is intended for a gym bag rather than simply lying on a table, the attachment point deserves extra reinforcement.
With aqua yarn:
- ch 14;
- turn;
- sl st back through every chain;
- fasten off, leaving two long tails.
You now have a compact crochet cord.
Fold it in half.
Position the two cut ends together behind one petal on the first flower motif.
Using the yarn tails and tapestry needle, sew the loop through several stitches near the flower center—not just through the outermost edge of one petal.
Make several secure passes.
This spreads the pulling force over a larger section of crochet.
Beginner tip: Pull firmly enough that the loop does not wobble, but do not cinch so tightly that the petal folds inward.
Common mistake to avoid: Never rely on a single strand of yarn passing through one crochet stitch if the charm will be clipped to a frequently used bag.
Step 8: Join the Two Flower Faces
Place the two flower motifs wrong sides together, meaning both attractive sides face outward.
Thread a tapestry needle with aqua yarn.
Beginning near the hanging loop, whipstitch the outer edges together.
Work through corresponding loops on both motifs.
Continue around each petal slowly.
Optional padding
When approximately 80% of the seam is complete, stop and decide whether you want the charm flat or slightly padded.
For a dimensional charm, insert a very small amount of polyester filling.
Do not pack the petals tightly.
The aim is to give the center a soft raised profile rather than turning the charm into a stuffed toy.
Continue sewing until the opening closes.
Secure the yarn inside the seam and weave the end through several stitches before trimming.
Step 9: Attach the Swivel Clasp
Slide the finished reinforced crochet loop through the base ring of your swivel clasp.
If the hardware cannot open, use a small jump ring.
Open a jump ring sideways with two pairs of pliers rather than pulling the ends directly apart. Insert the crochet loop and the clasp ring, then close the ring until both ends align.
Check the connection by gently pulling on the clasp.
The flower should remain secure without stretching dramatically.
Safety note
This accessory contains small metal hardware. It is intended for bags and accessories, not for babies or toddlers. Do not use it as a toy, pacifier attachment, or chewable item.
Pattern Notes or Stitch Notes
Center stitch count
- Round 1: 6 sc
- Round 2: 12 sc
Petal repeat
Each petal consumes 2 center stitches.
12 center stitches ÷ 2 = 6 petals.
Turning chains
There are no conventional turning rows because the motif is crocheted in joined rounds.
The ch-2 sections in the petals create height and curve; they are construction chains rather than a separate row.
Right side
Keep the smoother, more defined surface of each motif facing outward during assembly.
Adjusting the size
To make a larger flower, use worsted-weight yarn with approximately a 4 mm hook rather than adding complicated new rounds.
For a miniature zipper charm, use sport-weight yarn and approximately a 2.5–3 mm hook.
Common Beginner Mistakes
1. The center will not close
You may have crocheted around only part of the magic ring or accidentally trapped the tail incorrectly.
Fix: Undo the first round and remake the ring before continuing. A clean center is easier to fix now than after petals are added.
2. You end with only five petals
You probably used more than two center stitches for one petal.
Fix: Count the 12 center stitches and mentally divide them into six pairs before beginning.
3. The flower ruffles excessively
Your tension may be loose or the hook may be too large.
Fix: Move down 0.5 mm in hook size.
4. One flower face is bigger
The second motif was probably crocheted at a different tension.
Fix: Place the motifs together after completing the center. Adjust your tension before adding all six petals.
5. Filling shows between stitches
Too much filling was inserted.
Fix: Remove approximately half. Small charms need surprisingly little padding.
6. The clasp stretches the petal
The attachment point was probably sewn only through an outer petal.
Fix: Anchor the hanging loop deeper into the motif through several sturdy stitches.
7. The center looks uneven
You may have counted the chain or joining slip stitch as an additional crochet stitch.
Fix: Use a stitch marker in the first true sc.
How to Customize This Crochet Project
Change the colors
Make the charm coordinate with a favorite workout bag.
A black bag can look particularly striking with:
- neon coral;
- lime;
- aqua;
- bright yellow;
- electric blue.
Make team colors
Use two school, sports-team or club colors for a handmade locker-bag charm.
Avoid trademarked logos if you intend to sell the finished item unless you have appropriate rights.
Skip the stuffing
A flat charm is lighter and dries faster if it gets damp.
Add surface embroidery
Before joining both flower faces, embroider:
- an initial;
- a tiny lightning bolt;
- a heart;
- a simple star.
Make a longer hanger
Increase the hanging cord from 14 chains to about 22–26 chains for a longer loop.
Add a tassel
Attach a small yarn tassel underneath the flower for extra movement.
Keep it short enough that it will not repeatedly catch in the bag zipper.
Turn it into a zipper pull
Use a smaller lobster clasp and lighter yarn.
Make a gift set
Pair several charms with:
- a handmade water-bottle holder;
- crochet wristlet;
- mini pouch;
- headband;
- scrunchie.
Finishing Instructions
After attaching the clasp, inspect the entire piece carefully.
Fastening off
Every yarn end should travel through several stitches before trimming.
Because a gym bag moves frequently, loosely hidden ends can eventually emerge.
Weaving ends
Change direction at least once while weaving. That makes the tail less likely to slide out.
Blocking
Heavy blocking is unnecessary.
If the petals look uneven, lightly dampen them, arrange them with your fingers and let the charm dry flat.
Do not place a hot iron directly onto acrylic yarn.
Washing
If the charm uses washable cotton yarn, hand washing is safest because of the metal clasp.
Use cool or lukewarm water and mild soap.
Pat excess water out with a towel and reshape before air-drying.
Always follow the care instructions supplied with your actual yarn.
Quick Printable-Style Summary
Skill level: Beginner
Finished size: Approximately 7–8 cm flower, excluding hardware
Yarn: DK/light worsted cotton
Hook: 3.25–3.5 mm
Main stitches: sc, dc, sl st, ch
Starting method: Magic ring
Center: 6 sc followed by an increase round to 12 sc
Petal repeat: One petal over each pair of center stitches
Total petals: 6
Pieces: Make 2 matching flower faces
Hanging loop: Ch 14, sl st back along chain, fold and reinforce securely
Assembly: Place wrong sides together and whipstitch around edges
Padding: Optional and very light
Finishing: Weave ends, attach swivel clasp or split ring, gently reshape
FAQ
Is this crochet gym bag charm pattern suitable for beginners?
Yes. You should be comfortable—or willing to learn—chains, single crochet, double crochet and slip stitches. The project is short enough that mistakes are relatively easy to undo.
What yarn is best for a gym bag charm?
Cotton or a cotton-rich blend works well because it creates clear stitches and a firm little motif. Acrylic can also work, particularly if you want a softer or lighter charm.
Can I use worsted-weight yarn?
Yes. Your charm will simply be larger. Try approximately a 4 mm hook and check that the fabric remains firm.
Do I need to stuff the crochet charm?
No. Stuffing is optional. Leaving it flat produces a lighter charm and is often preferable for zipper pulls.
Can I attach a normal keyring instead of a swivel clasp?
Absolutely. A split keyring works well. Keep the reinforced crochet loop because it helps protect the flower from repeated pulling.
How can I make the bag charm stronger?
Use cotton yarn, a slightly smaller hook, weave all ends securely, reinforce the hanging loop through several stitches and use quality metal hardware.
Can I sell charms made from this tutorial?
This article presents an original tutorial rather than reproducing the selected reference pattern. For your own finished products, also consider applicable local labeling, product-safety and marketplace requirements, particularly when accessories contain small metal parts.
Conclusion
This crochet gym bag charm is a useful small project because it combines several fundamental crochet skills in something you can complete in one sitting.
You begin with simple circles, turn them into a six-petal flower, make a matching second layer, reinforce the attachment point and finish the project like a tiny textile accessory rather than a fragile decoration.
Once you have made one, experiment with color combinations or change the yarn weight to create a coordinated set of charms for gym bags, backpacks, totes and zipper pulls.