A water bottle sling is one of those crochet projects that is small enough to finish in an afternoon but useful enough to carry regularly.
Instead of putting a bottle in your handbag, carrying it in one hand, or trying to squeeze it into a small backpack pocket, this project gives the bottle its own lightweight crossbody carrier.
This beginner-friendly crochet water bottle sling pattern begins with a sturdy circular base. From there, you’ll turn the work upward and crochet an airy mesh body, reinforce the opening, and finish with a simple low-stretch strap.
The construction is intentionally adjustable. Water bottles vary enormously, so rather than depending only on a fixed stitch count, you’ll check the actual bottle while you crochet.
That makes this tutorial especially useful if you’re making a carrier for a reusable stainless-steel bottle, a standard 500 ml bottle, or a slightly wider sports bottle.
What You’ll Learn
- How to crochet a flat circular base
- How to increase evenly without creating waves
- How to make the base fit your actual bottle
- How to create a clean transition from base to sides
- How to work a simple crochet mesh
- How to mark and count rounds
- How to make a strong upper edge
- How to crochet a low-stretch strap
- How to attach the strap securely
- How to customize the holder for different bottles
Materials You’ll Need
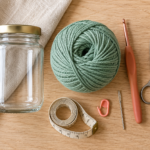
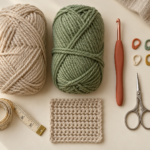
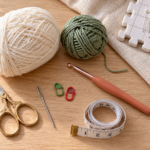
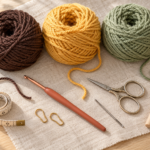
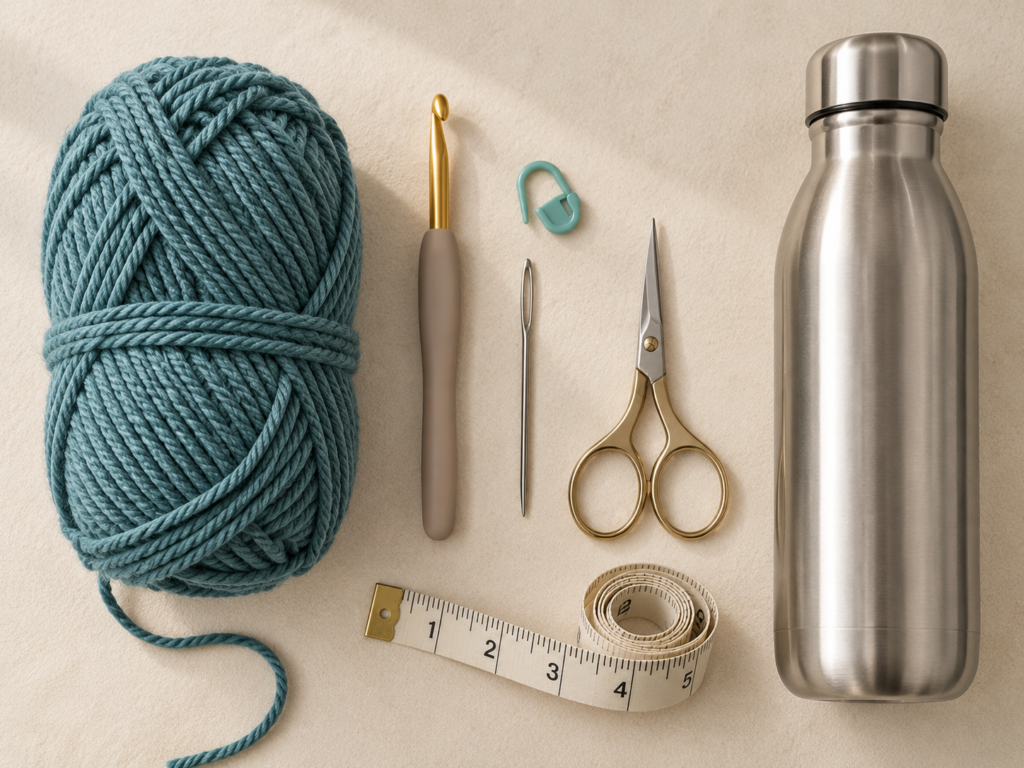
For this project, I recommend:
- Approximately 100–150 yards of medium-weight #4 cotton yarn
- 4.5 mm crochet hook
- Locking stitch marker
- Yarn or tapestry needle
- Scissors
- Measuring tape
- Water bottle you want the sling to fit
A smooth cotton yarn is ideal because it gives the sling useful structure and clearly shows the stitches. Cotton also tends to be practical around a bottle that may develop condensation.
The Craft Yarn Council classifies worsted, afghan and aran yarns within medium category 4.
Crochet Abbreviations Used
This tutorial uses US crochet terminology.
- ch = chain
- sc = single crochet
- dc = double crochet
- sl st = slip stitch
- st / sts = stitch / stitches
- rnd = round
- rep = repeat
- BLO = back loop only
- ch-sp = chain space
- RS = right side
Before You Start
Gauge and tension
Exact gauge is not as important here as it would be for a fitted sweater, because you can test the base directly against your bottle.
What is important is firmness.
If your stitches are extremely loose, the sling may stretch dramatically when the bottle is full. Your base and strap should feel firm rather than floppy.
A useful target is approximately 13–15 single crochet stitches per 4 inches, depending on the yarn.
If the fabric feels loose, try a hook 0.5 mm smaller.
How big should the base be?
Place your bottle on top of the crochet base.
Stop increasing when the crochet circle is approximately the same diameter as the bottom of the bottle—or a few millimeters smaller.
A slightly snug base is preferable to a base that sticks far beyond the bottle.
How to keep your rounds organized
Place a locking stitch marker in the first stitch of each round.
Move it upward every time you begin another round.
This takes only seconds and prevents a surprising number of beginner mistakes.
How to avoid curling
During the circular base, the work should lie mostly flat.
If it turns into a bowl too early, you probably need more increases.
If it becomes wavy like a ruffle, you probably have too many increases.
Step-by-Step Crochet Tutorial
Step 1: Make the Starting Ring
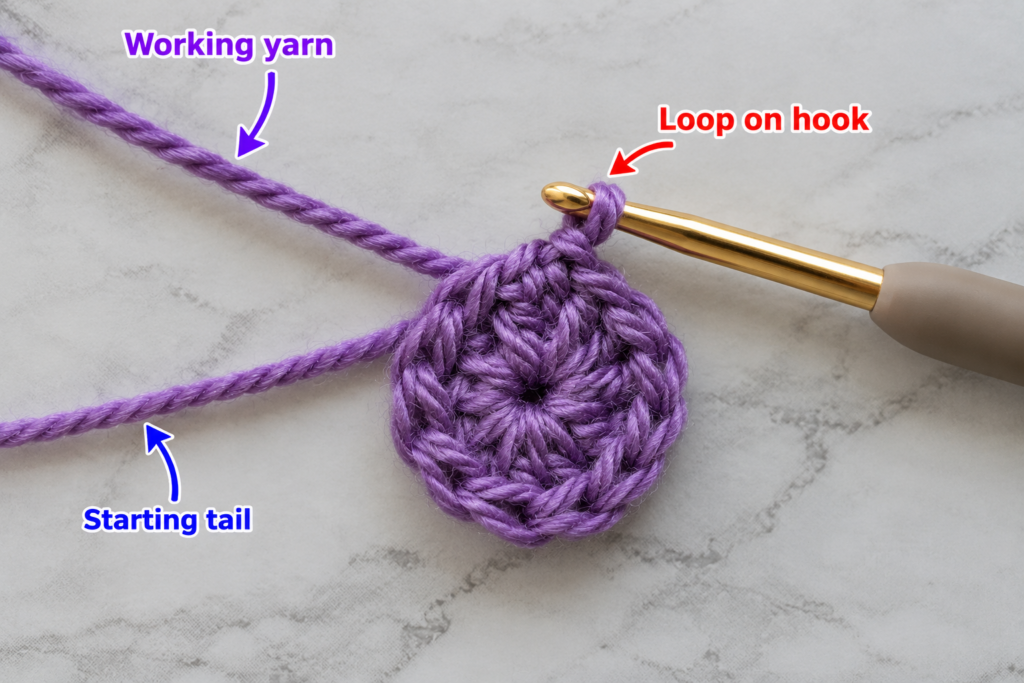
Make a magic ring.
If you’re uncomfortable with a magic ring, chain 2 and work the first round into the second chain from your hook instead.
Work 6 sc into the ring.
Pull the yarn tail to close the center.
Do not turn.
Place your stitch marker in the first stitch.
You now have:
6 sc
Beginner tip: Pull the magic ring closed firmly, but wait until you’ve worked another round before trimming or weaving the tail. This gives you a chance to tighten it again.
Common mistake to avoid: Do not accidentally crochet into the slip knot instead of the center of the magic ring.
Step 2: Expand the Circular Base
Now increase the circle evenly.
Round 2
Work 2 sc in every stitch around.
You should finish with:
12 sts
Round 3
Repeat:
1 sc in next st, 2 sc in next st
around.
You should have:
18 sts
Round 4
Repeat:
1 sc in each of next 2 sts, 2 sc in next st
around.
You should have:
24 sts
Round 5
Repeat:
1 sc in each of next 3 sts, 2 sc in next st
around.
You should have:
30 sts
Round 6
Repeat:
1 sc in each of next 4 sts, 2 sc in next st
around.
You should have:
36 sts
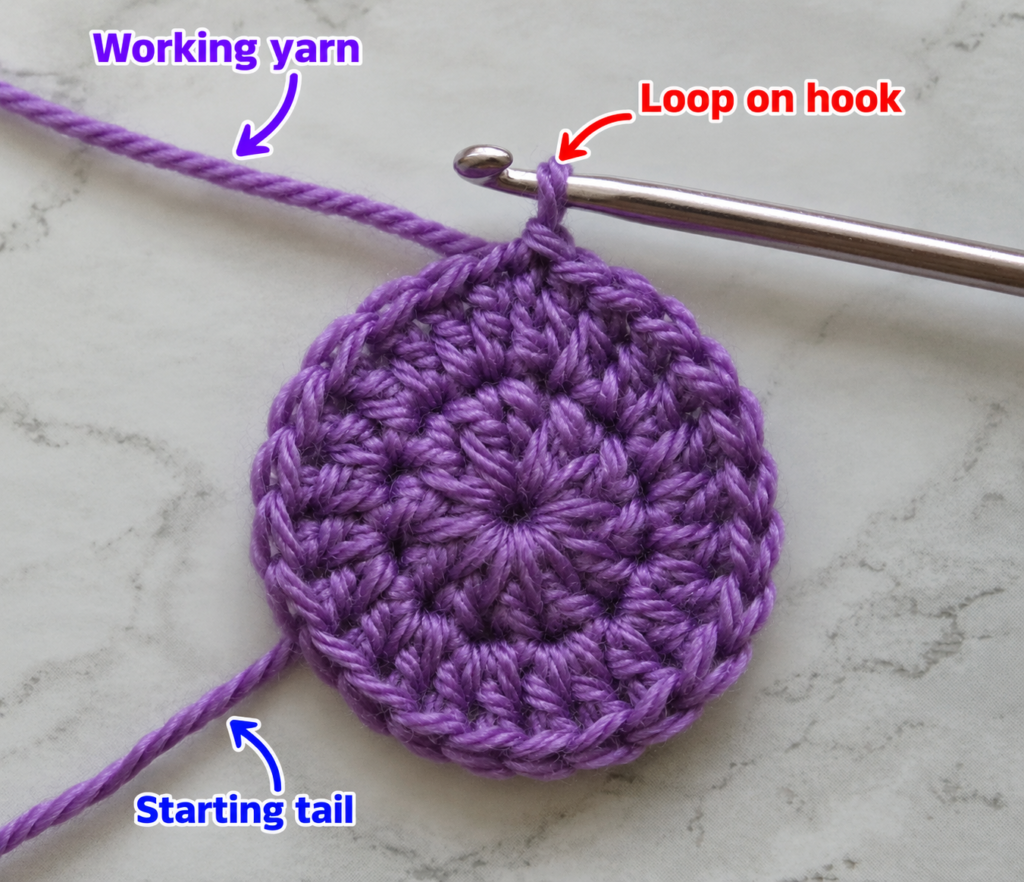
The circle should now be reasonably flat.
Beginner tip: Count after every increase round. Catching a missing increase now is much easier than fixing the shape five rounds later.
Common mistake to avoid: If the circle suddenly develops six obvious corners, your increases may be stacking directly above one another. Slightly offsetting where each round begins can produce a smoother circle.
Step 3: Check the Fit Against Your Bottle
Place the bottle on the crochet circle.
For a typical bottle, approximately 36 single crochet stitches in medium cotton may be enough.
However, your yarn, hook, tension and bottle diameter determine the real answer.
The ideal base should sit beneath the bottle without extending dramatically beyond it.
If the crochet base is too small, add another increase round:
sc in the next 5 sts, 2 sc in next st; repeat around.
If it is already slightly wider than the bottle, do not add more increases.
Beginner tip: Fit matters more than matching somebody else’s exact stitch count.
Common mistake to avoid: Do not make an oversized base “just to be safe.” Once the bottle is inserted, an oversized bottom can make the sling sag and wobble.
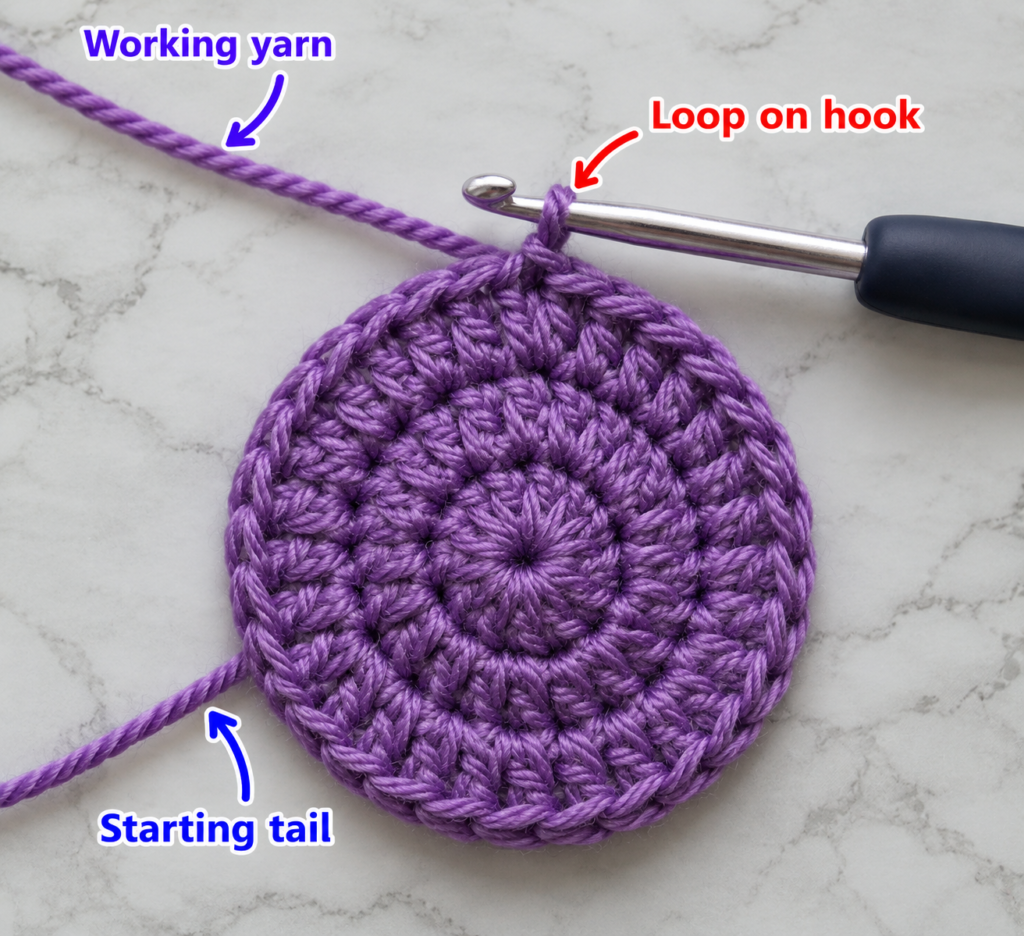
Step 4: Create the Base-to-Body Corner
Crocheting in the back loop leaves the unused front loops visible as a subtle ridge.
More importantly, it encourages the fabric to turn upward instead of continuing outward.
Work 1 sc BLO in each stitch around.
Join only if you prefer joined rounds; otherwise continue spiraling with your stitch marker.
Beginner tip: The back loop is the strand of the stitch farthest away from you when looking down at the top “V.”
Common mistake to avoid: Do not accidentally crochet under both loops halfway around. The transition ridge should remain visually consistent.
Step 5: Crochet the First Mesh Round
Now we can make the holder lighter and faster to crochet.
Chain 3. For this tutorial, the chain 3 counts as your first double crochet.
Then:
ch 1, skip 1 st, dc in next st
Repeat that sequence around.
Finish with a chain 1 and join with a slip stitch to the top of the beginning chain 3.
You should see alternating double crochets and small open chain spaces.
This mesh is open enough to reduce bulk but tight enough to hold a standard bottle securely.
Beginner tip: Put your stitch marker into the top of the beginning chain if you find it difficult to locate when joining.
Common mistake to avoid: Don’t work the double crochet into the chain space yet. On this first mesh round, you’re establishing the vertical columns from the solid base.
Step 6: Build the Mesh Body
For the following rounds:
Chain 3.
Work 1 dc into the top of each dc from the previous round and ch 1 above each previous chain space.
Continue around.
Join to the top of the beginning chain.
Repeat until the body reaches close to the shoulder of your bottle.
For many bottles, the mesh section will measure around 6–7 inches from the base transition, but use your actual bottle rather than relying only on that number.
Insert the bottle occasionally while you work.
You want enough height to hold the bottle securely without crocheting over the neck or lid.
Beginner tip: Lay the holder flat every few rounds and check that your vertical dc columns remain aligned.
Common mistake to avoid: Accidentally adding extra double crochets into chain spaces can gradually increase the circumference of the bag.
Step 7: Reinforce the Top Opening
A mesh body is lightweight, but the strap should not pull directly against open chain spaces.
We’ll therefore make a solid upper band.
Upper Edge Round 1
Chain 1.
Work 1 sc into every dc and 1 sc into every ch-1 space around.
Join.
Upper Edge Round 2
Chain 1.
Work 1 sc in each stitch around.
Join and fasten off unless you plan to continue directly into your strap.
This creates a compact top edge that distributes stress more evenly.
Beginner tip: Before finishing the second round, place the bottle inside and check that it can slide in and out comfortably.
Common mistake to avoid: Don’t make the edging dramatically tighter than the mesh below. If necessary, consciously relax your tension.
Step 8: Crochet a Strong Strap
A long strap experiences more stress than the body, so it should be dense.
Join the yarn to one side of the top edge.
Work 5 sc across.
Chain 1 and turn.
Continue:
5 sc across, ch 1, turn
until the strap reaches your desired length.
Approximate finished lengths:
- Short hand carry: 12–18 in
- Shoulder strap: 28–34 in
- Crossbody strap: approximately 38–48 in
Measure the strap while gently stretched, because cotton straps can lengthen when loaded.
For the most accurate crossbody length, hold one end of the strap at the bottle-holder position on your hip and run it over your opposite shoulder.
Beginner tip: Before sewing the second end, temporarily pin or stitch-marker it to the holder and test the fit with a full bottle.
Common mistake to avoid: Avoid an extremely narrow one- or two-stitch strap. It can stretch and dig into your shoulder.
Step 9: Attach the Strap Securely
Position the free end directly opposite the first strap attachment.
Make sure the strap is not twisted.
Thread a tapestry needle with a generous length of matching cotton yarn.
Sew through the strap end and several stitches of the reinforced upper band.
Work across the attachment several times.
Then reverse direction and secure the same area again.
The bottle will put significant leverage on this seam, so durability matters more than making the inside perfectly invisible.
Weave the yarn tail through several nearby stitches before trimming it.
Beginner tip: Test the empty sling first and then test it with a filled bottle over a soft surface.
Common mistake to avoid: Do not attach the entire weight-bearing strap to only one crochet stitch.
Pattern Notes or Stitch Notes
Turning chain
The chain 3 at the beginning of each mesh round counts as the first double crochet.
The chain 1 used before rows of the strap does not count as a stitch.
Stitch count
The example base reaches 36 stitches before the BLO transition.
If you enlarge the base, keep an even stitch count before beginning the mesh pattern.
Mesh repeat
The mesh repeat is:
dc, ch 1, skip 1
This produces an alternating solid/open structure.
Working direction
The base is worked in continuous rounds.
The mesh body is easier for beginners if worked in joined rounds.
The strap is worked back and forth in rows.
Right side / wrong side
This simple sling does not depend strongly on RS/WS appearance. Choose the side of the fabric you prefer as the outside and remain consistent.
Common Beginner Mistakes
1. The base looks like a bowl
Cause: Too few increases or very tight tension.
Fix: Check whether you skipped an increase. If your stitch count is correct but the base still cups strongly, increase the hook size slightly.
2. The base becomes wavy
Cause: Too many increases.
Fix: Check stitch counts and remove any accidental extra increases.
3. The holder gets wider as you crochet upward
Cause: Extra stitches are being added to the mesh.
Fix: Maintain one double crochet above each existing double crochet and one chain above each chain space.
4. The bottle falls too deeply into the holder
Cause: The cotton has stretched or the body is too tall.
Fix: Finish the mesh slightly snug and avoid overly loose tension.
5. The strap keeps stretching
Cause: Loose stitches or an elastic yarn.
Fix: Use cotton, crochet the strap densely, use a slightly smaller hook for the strap, or add a fabric ribbon lining underneath.
6. The strap twists after attachment
Cause: The second end was rotated before sewing.
Fix: Lay the finished sling flat before sewing and follow the strap continuously from one side to the other.
7. The top opening pulls out of shape
Cause: Strap stress is concentrated into a weak mesh section.
Fix: Always create at least two solid edging rounds and sew across several stitches.
How to Customize This Crochet Project
Change the yarn
Cotton gives you the most structured everyday sling.
A cotton-acrylic blend can produce a softer result.
Acrylic can work but may stretch more and won’t behave exactly like cotton around condensation.
The Craft Yarn Council notes that yarns within the same nominal weight category are not automatically interchangeable; gauge and fiber behavior should still be considered. craftyarncouncil.com
Add color changes
Try:
- Cream base + sage body
- Terracotta base + beige mesh
- Navy + natural cotton
- Rainbow mesh with a solid strap
- Two-tone alternating mesh rounds
Make the bottle holder wider
Continue the circular increase sequence until the base matches the bottle.
Then begin the BLO transition.
Make it taller
Simply add more mesh rounds before the solid upper band.
Add a decorative border
Around the top you could work:
- Crab stitch
- Contrasting single crochet
- Small picots
- Simple reverse single crochet
Avoid a very loose scalloped border at the strap connection points.
Add a bottle stabilizing cord
A simple drawstring threaded through the upper band can help secure narrower bottles.
Gift ideas
A handmade bottle sling works well for:
- Walkers
- Travelers
- Festival visitors
- Teachers
- Students
- Hikers
- Dog walkers
- Gym users
- Summer market trips
Pair it with a reusable bottle for an easy handmade gift set.
Finishing Instructions
Once the strap is attached:
- Weave all yarn tails through multiple stitches.
- Pull gently on each attachment point.
- Check that the strap is not twisted.
- Insert your bottle.
- Let the filled bottle hang for several minutes.
- Check whether the fabric stretches excessively.
Cotton crochet may relax slightly after use.
If the holder looks uneven, lightly dampen it and shape it around the empty bottle.
Avoid aggressive stretching during blocking because the purpose of this project is to support weight.
Follow the washing instructions printed on your specific yarn label.
Quick Printable-Style Summary
Skill level: Beginner / Easy
Yarn: Medium #4 cotton
Hook: 4.5 mm
Main stitches: sc, dc, sl st, ch, BLO
Starting method: Magic ring with 6 sc
Base: Increase evenly until approximately the same diameter as the bottle bottom.
Transition: One BLO sc round.
Body repeat:
dc, ch 1, skip 1; repeat around.
Body height: Continue until the pouch reaches near the bottle shoulder.
Top edge: Two solid sc rounds.
Strap: Approximately 5 sc wide, worked back and forth to desired length.
Finishing: Sew strap securely across multiple stitches, weave in ends and test with the filled bottle.
FAQ
What is the best yarn for a crochet water bottle sling?
Cotton is one of the best options because it is durable, relatively structured and practical around condensation. A cotton blend can also work well.
Can a beginner crochet a water bottle holder?
Yes. This project mainly requires basic single crochet, double crochet, chain stitches and working in rounds. The mesh repeat is simple once the first round is established.
How much yarn do I need?
For an average bottle sling, roughly 100–150 yards of medium-weight yarn is a reasonable starting estimate. Larger bottles and long straps require more.
How long should a crochet water bottle sling strap be?
A shoulder strap may be approximately 28–34 inches, while a crossbody strap often falls around 38–48 inches. The ideal length depends on the wearer, so measure before finishing.
How do I stop the crochet strap from stretching?
Use a firm cotton yarn, tight single crochet stitches and a relatively wide strap. You can also line the back of the strap with cotton twill tape if the sling will regularly carry a heavy bottle.
Can I make this for a large 32 oz bottle?
Yes. Continue increasing the circular base until it approximately matches the bottle diameter. Then proceed with the body. You will also need additional yarn.
Should the bottle holder fit tightly?
It should be comfortably snug rather than loose. The bottle should slide in without excessive force, but the holder should not sag dramatically around it.
Conclusion
A crochet water bottle sling is a useful way to practice several core skills in one manageable project: crocheting a flat circle, increasing evenly, working through one loop, creating mesh and constructing a strap.
The most important trick is to use the actual bottle as your measuring tool. Once your circular base fits, almost every other dimension can be customized as you crochet.
Save this tutorial for your next practical crochet project, and once you’re comfortable with the basic version, try adding stripes, a contrast border, a wider crossbody strap or a small accessory pocket.